
How to create travel videos: the ultimate guide
Create an animated route, preview it and download a video without installing software. This guide uses an example road trip across the American West.
Screenshots illustrate an earlier interface. The instructions and linked help topics below describe the current controls.
On this page
Step 1 - Open Travel Story Maker
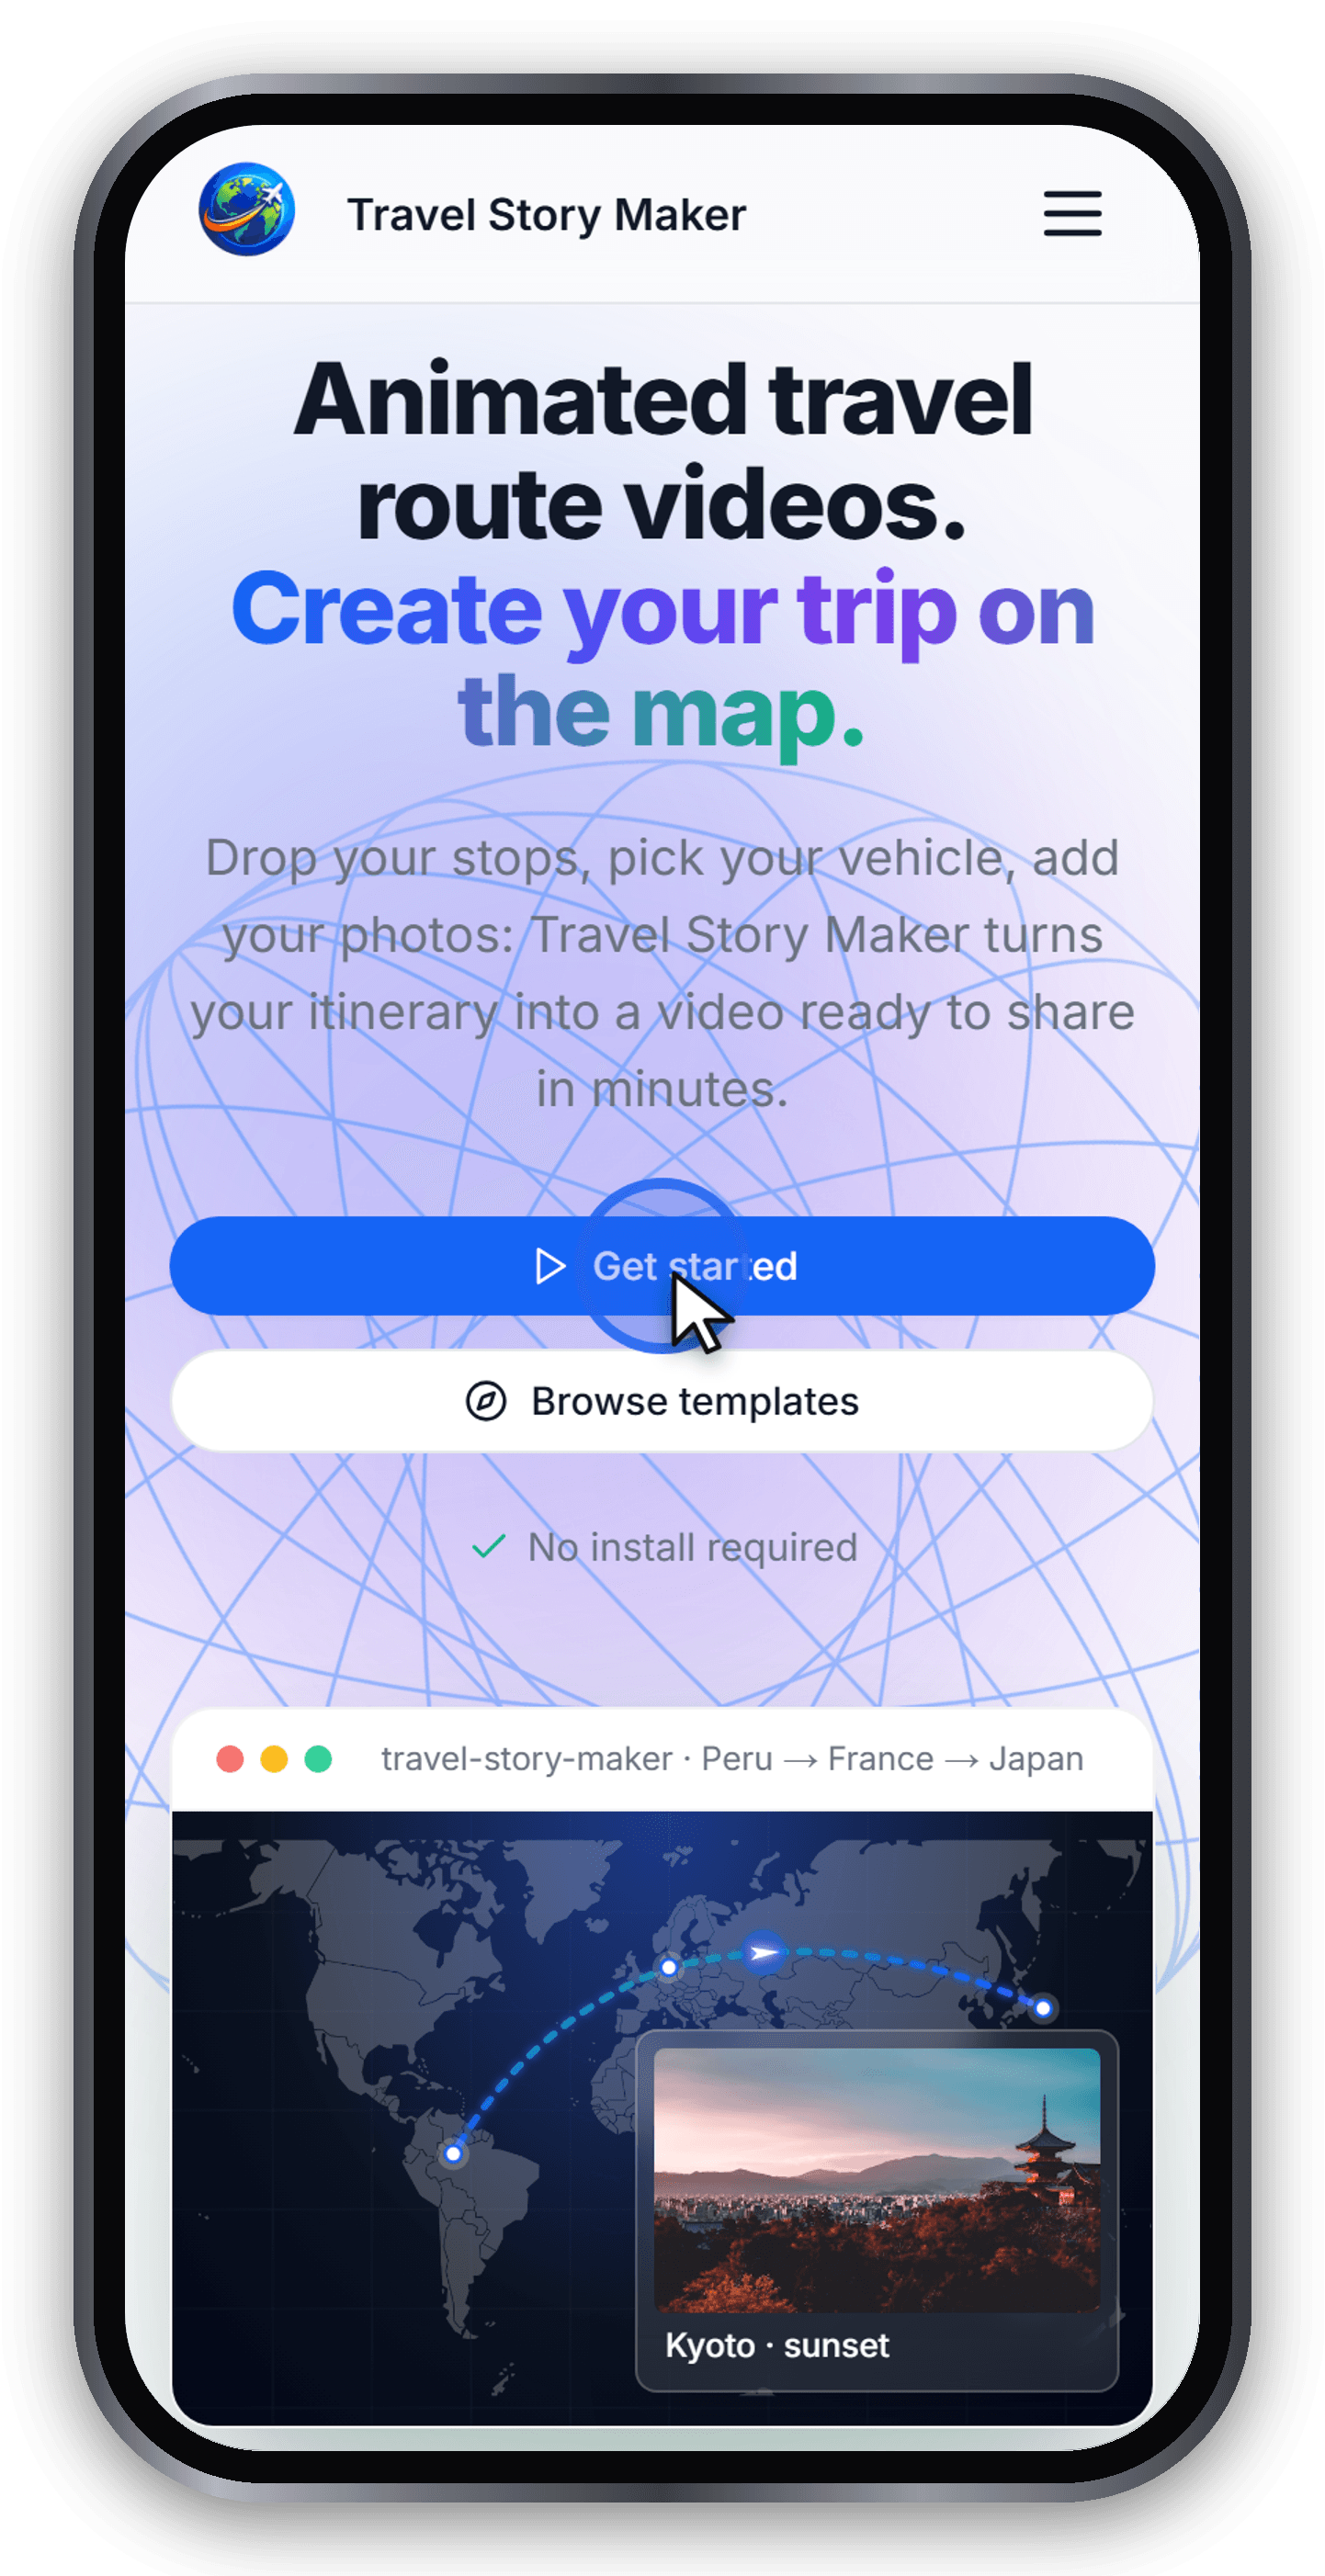
Start on the Travel Story Maker home page. There is nothing to install: editing and video rendering run in your browser. Saving to your account or confirming a share link uploads a copy of the project to our servers.
Open the editor. If it is already open, continue with your current route; you do not need to return to the home page.
Control and access: Add a place
Step 2 - Open the editor
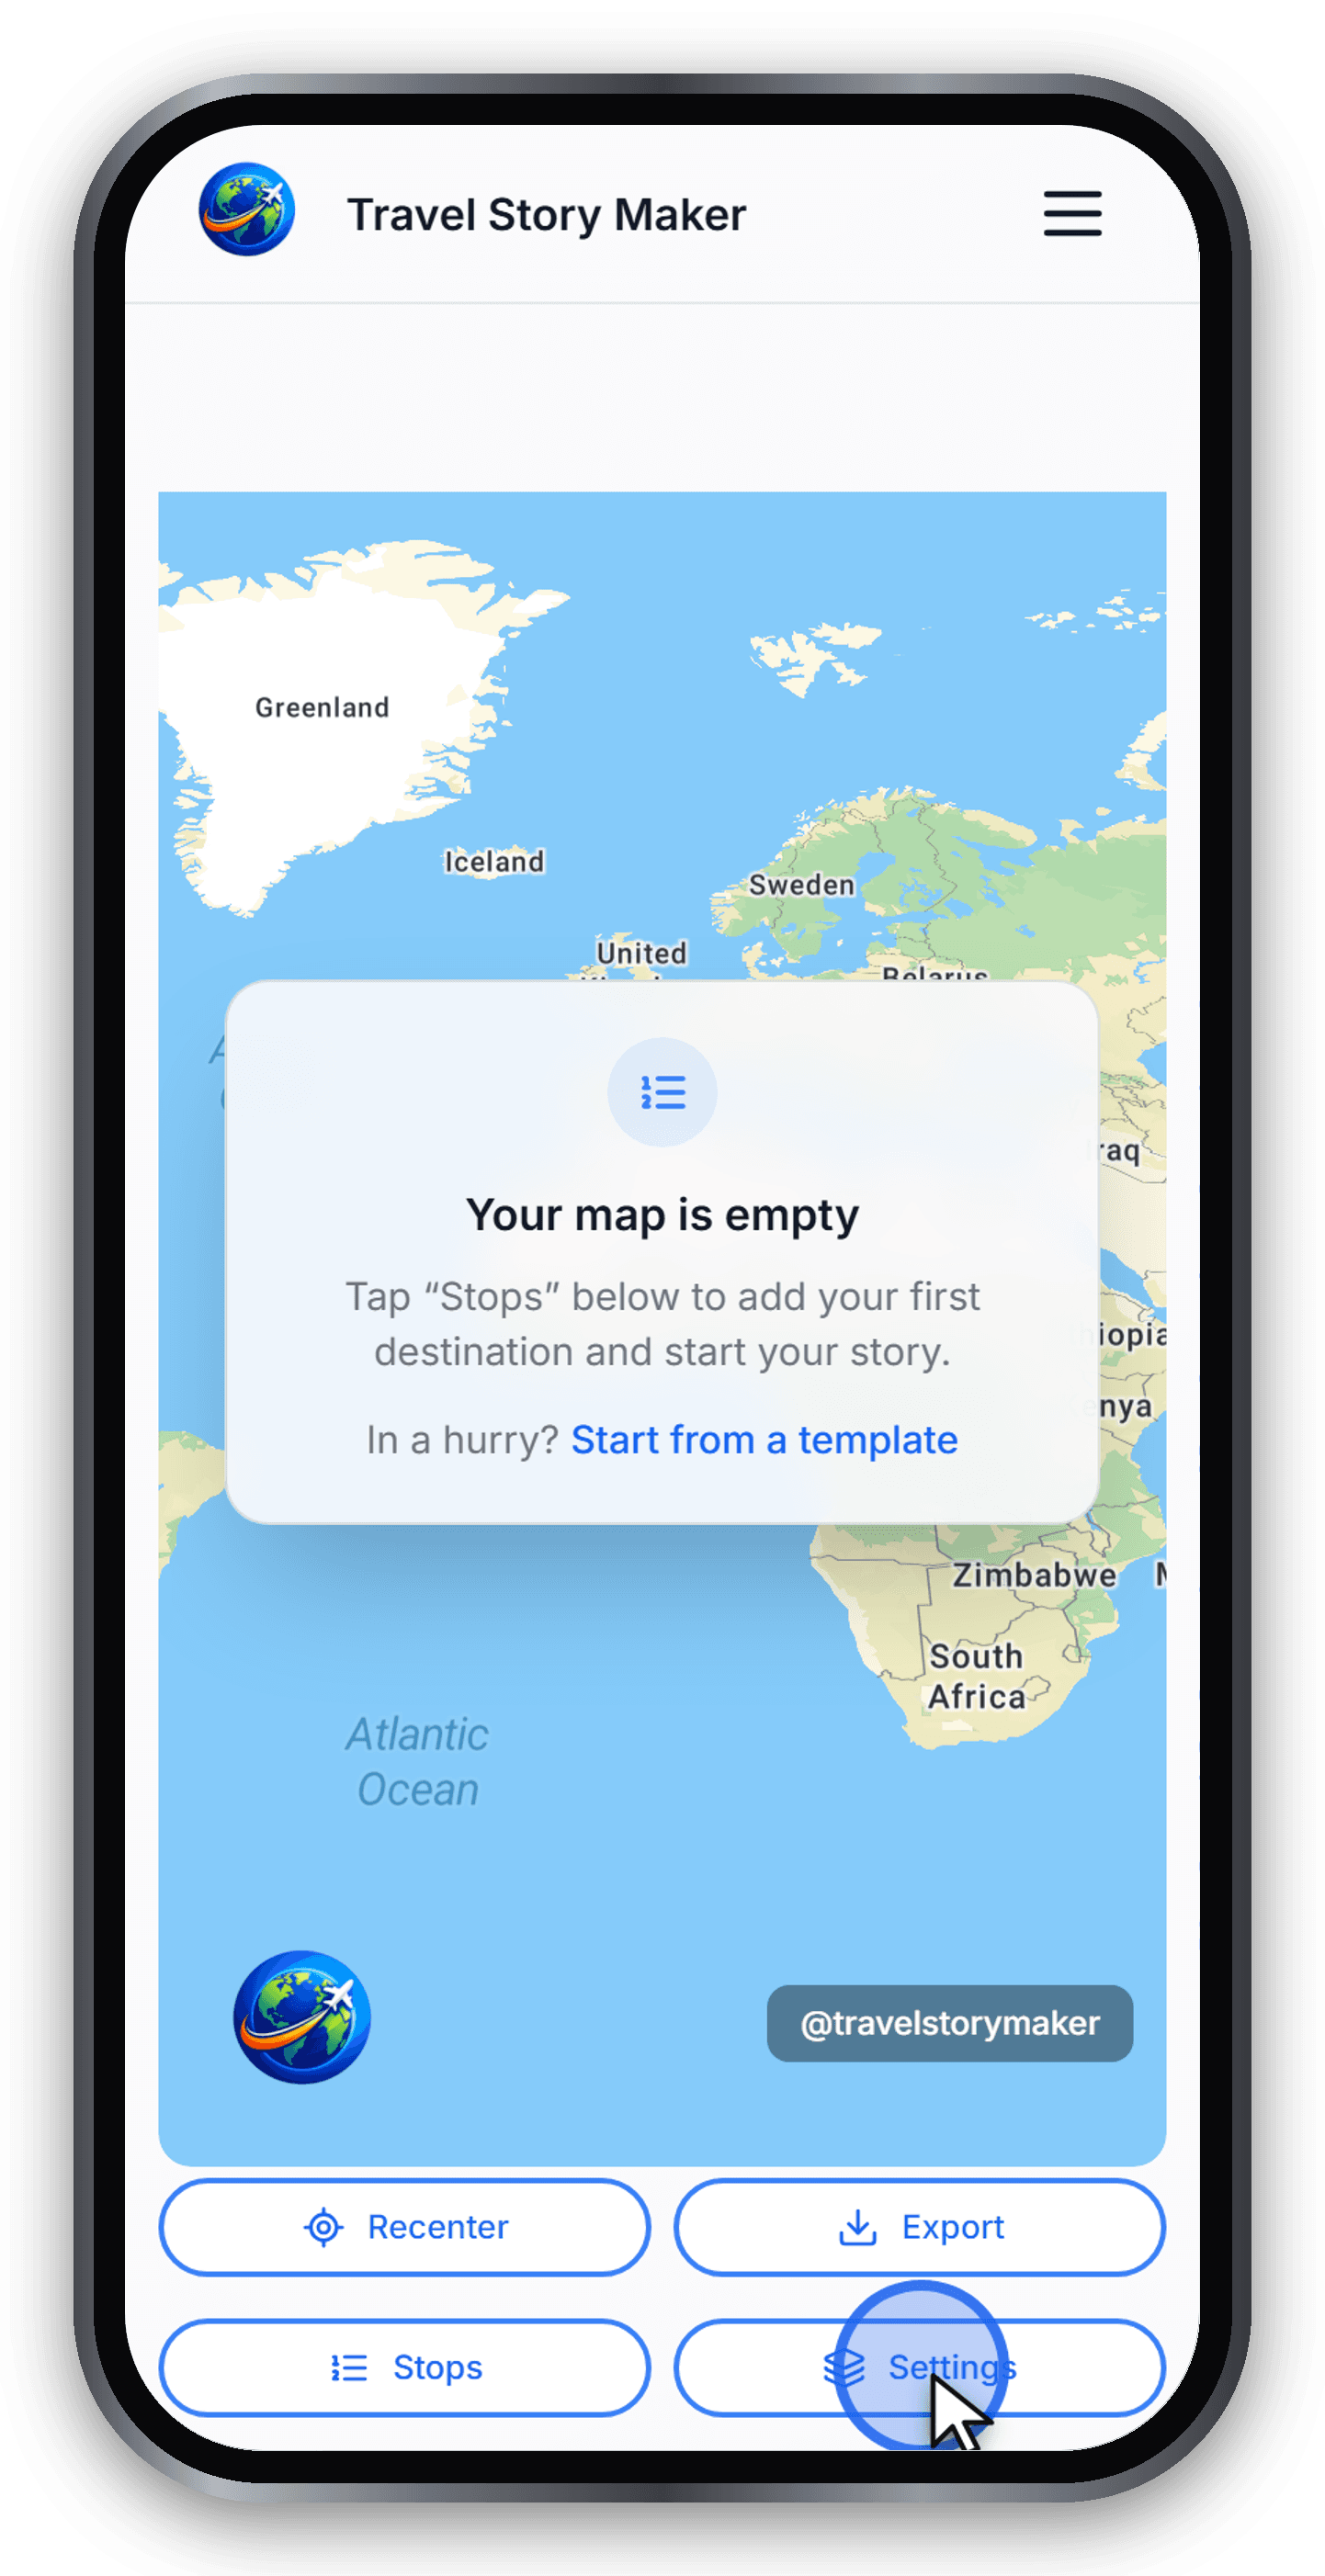
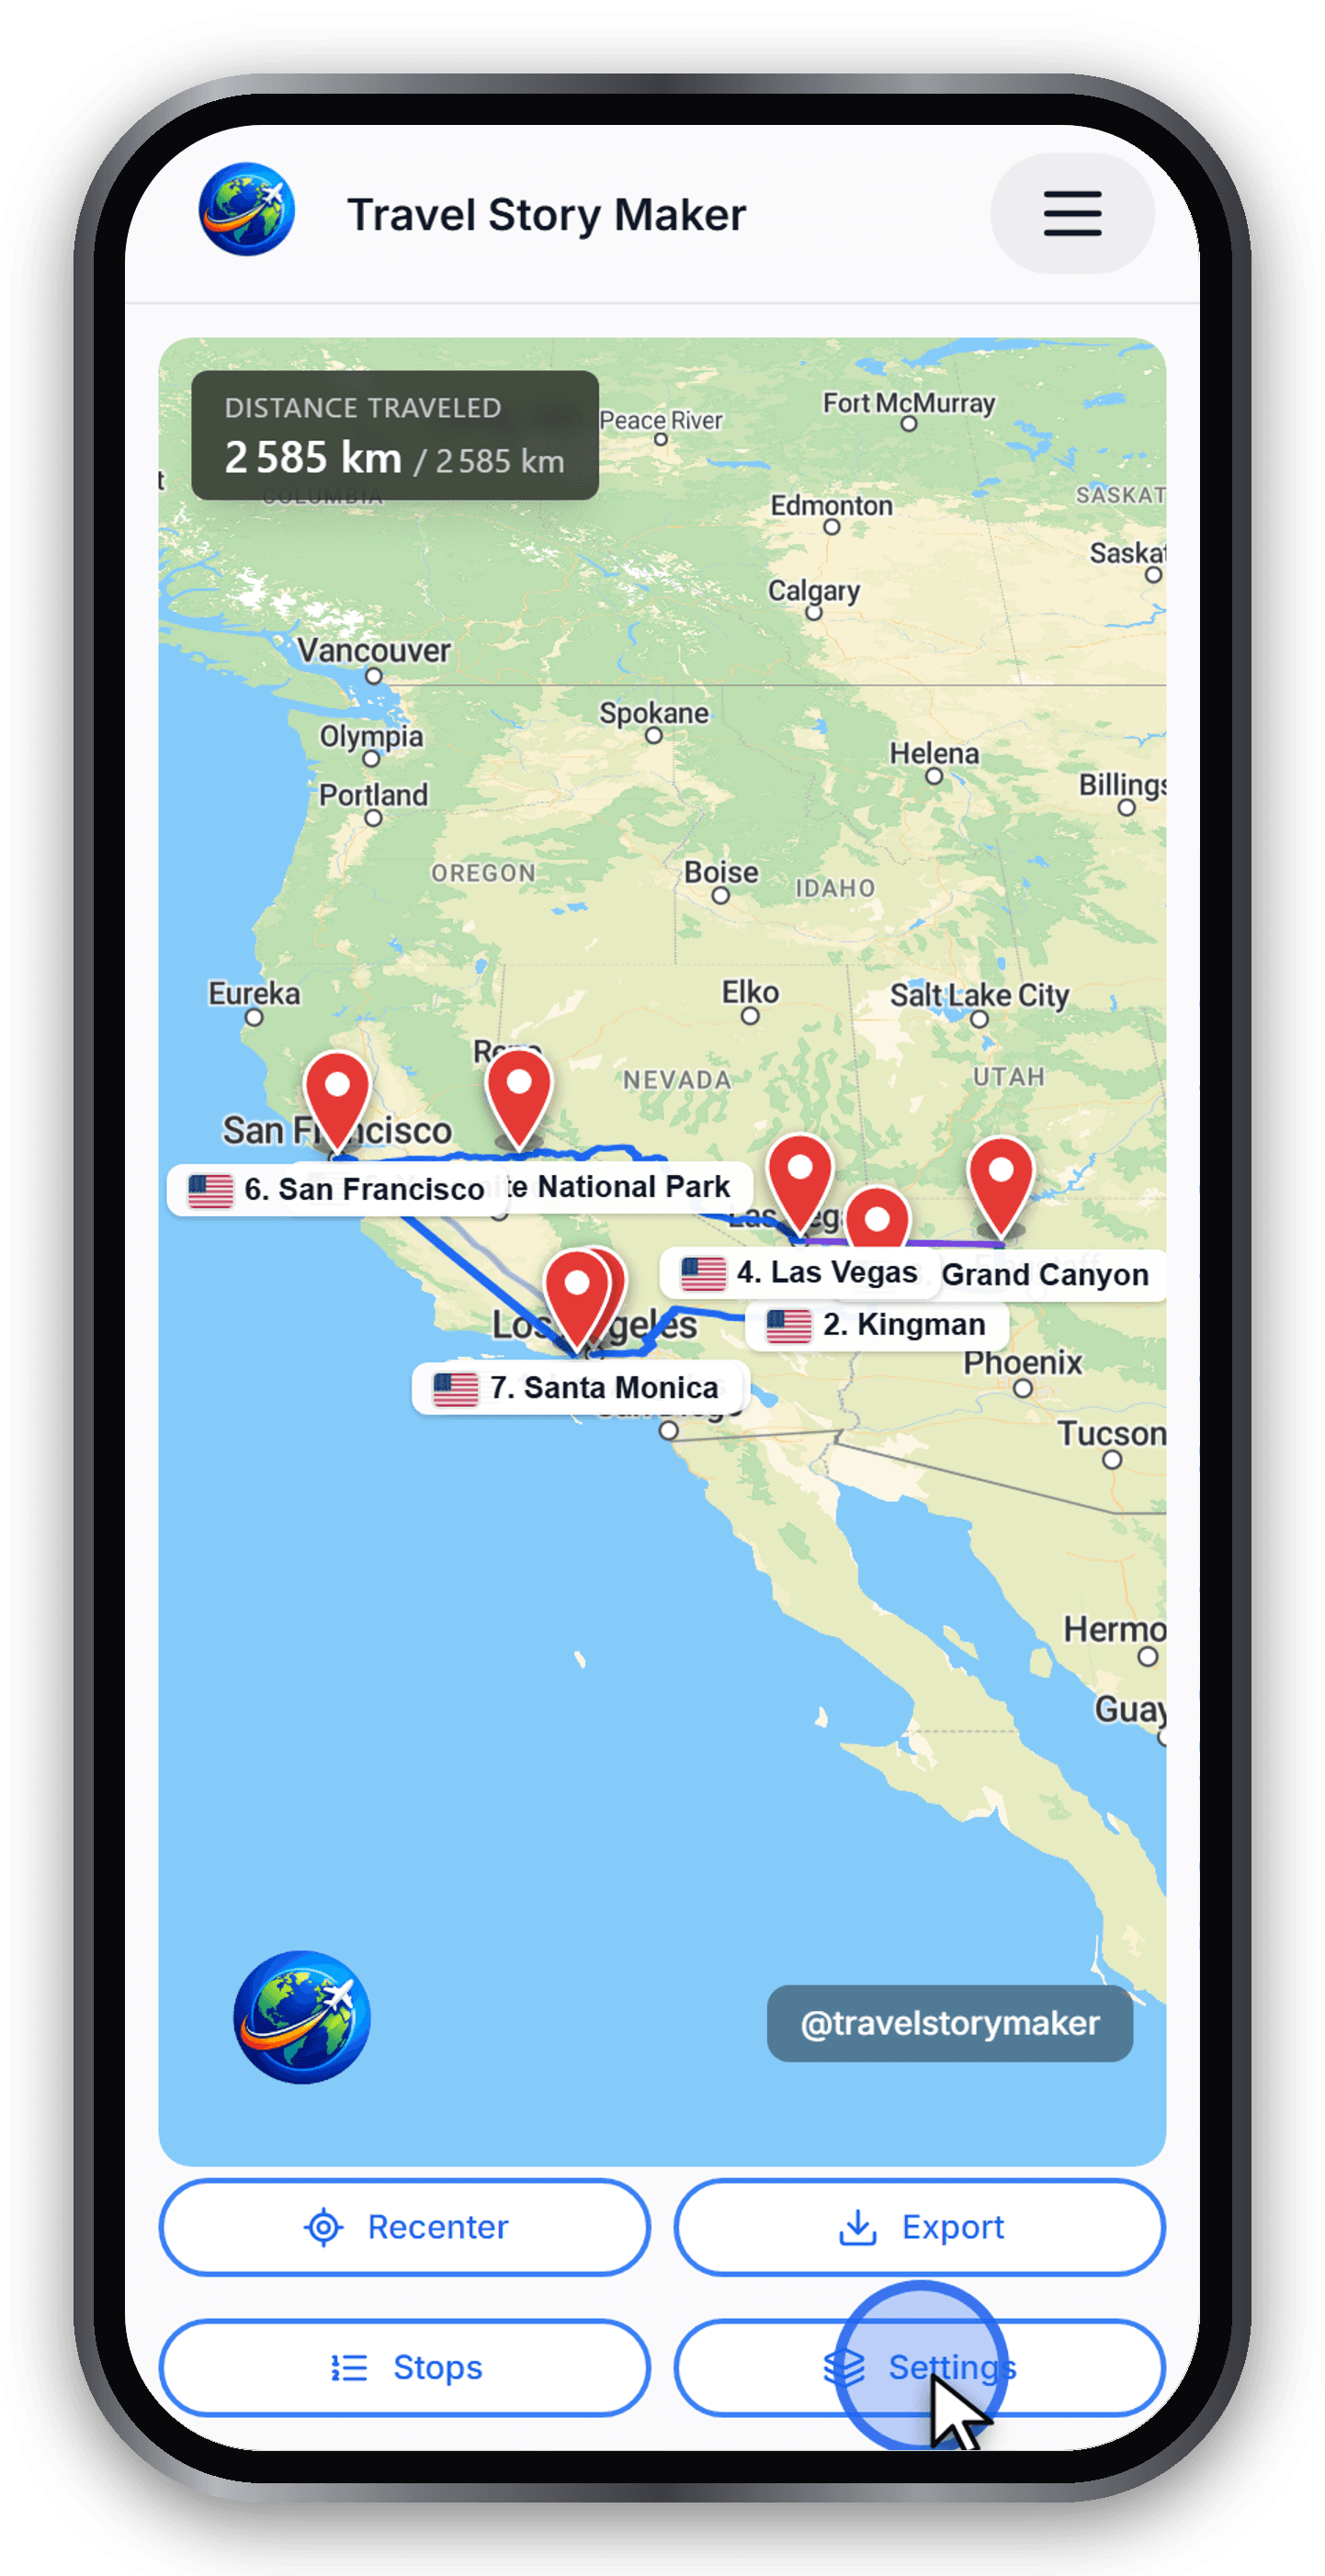
The editor opens with a full-screen map and a toolbar at the bottom: Recenter, Export, Stops and Settings. The map is a live preview of the final video - everything you change updates here in real time.
Control and access: Preview / Stop
Step 3 - Name your trip
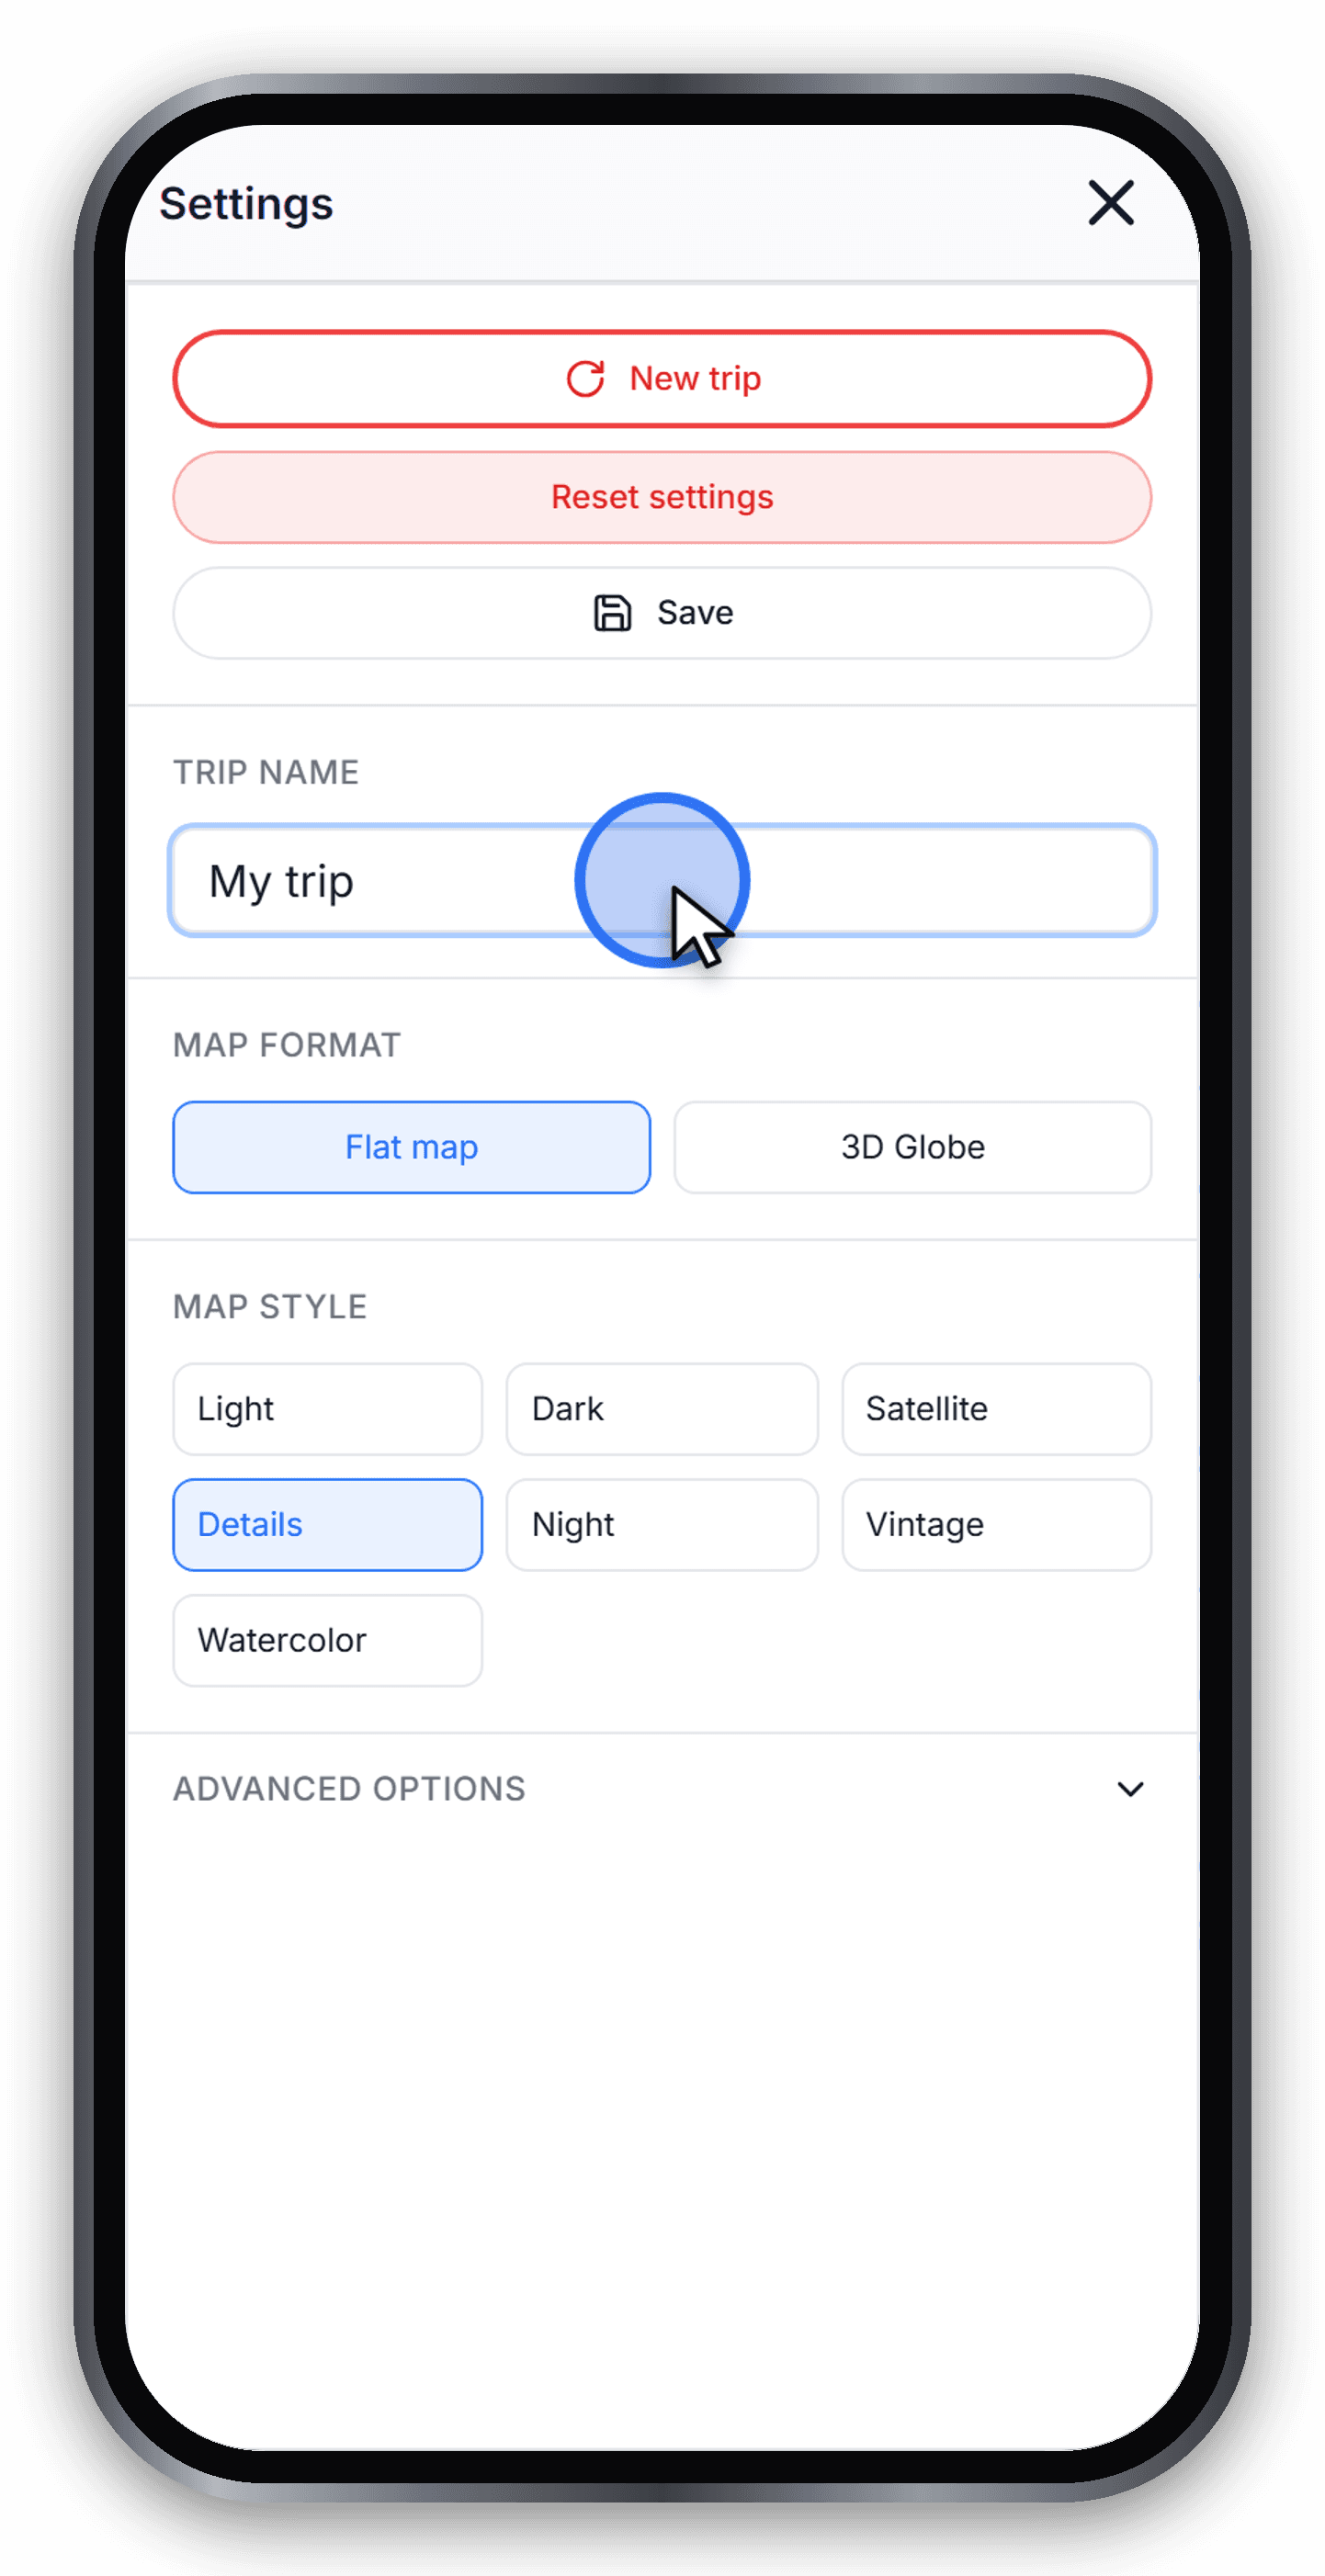
Open the Settings panel and type a clear, descriptive title in the Trip name field. A good title doubles as your video caption and keeps you focused on the story - for example, “Road trip across the American West”.
Step 4 - Open the stops panel
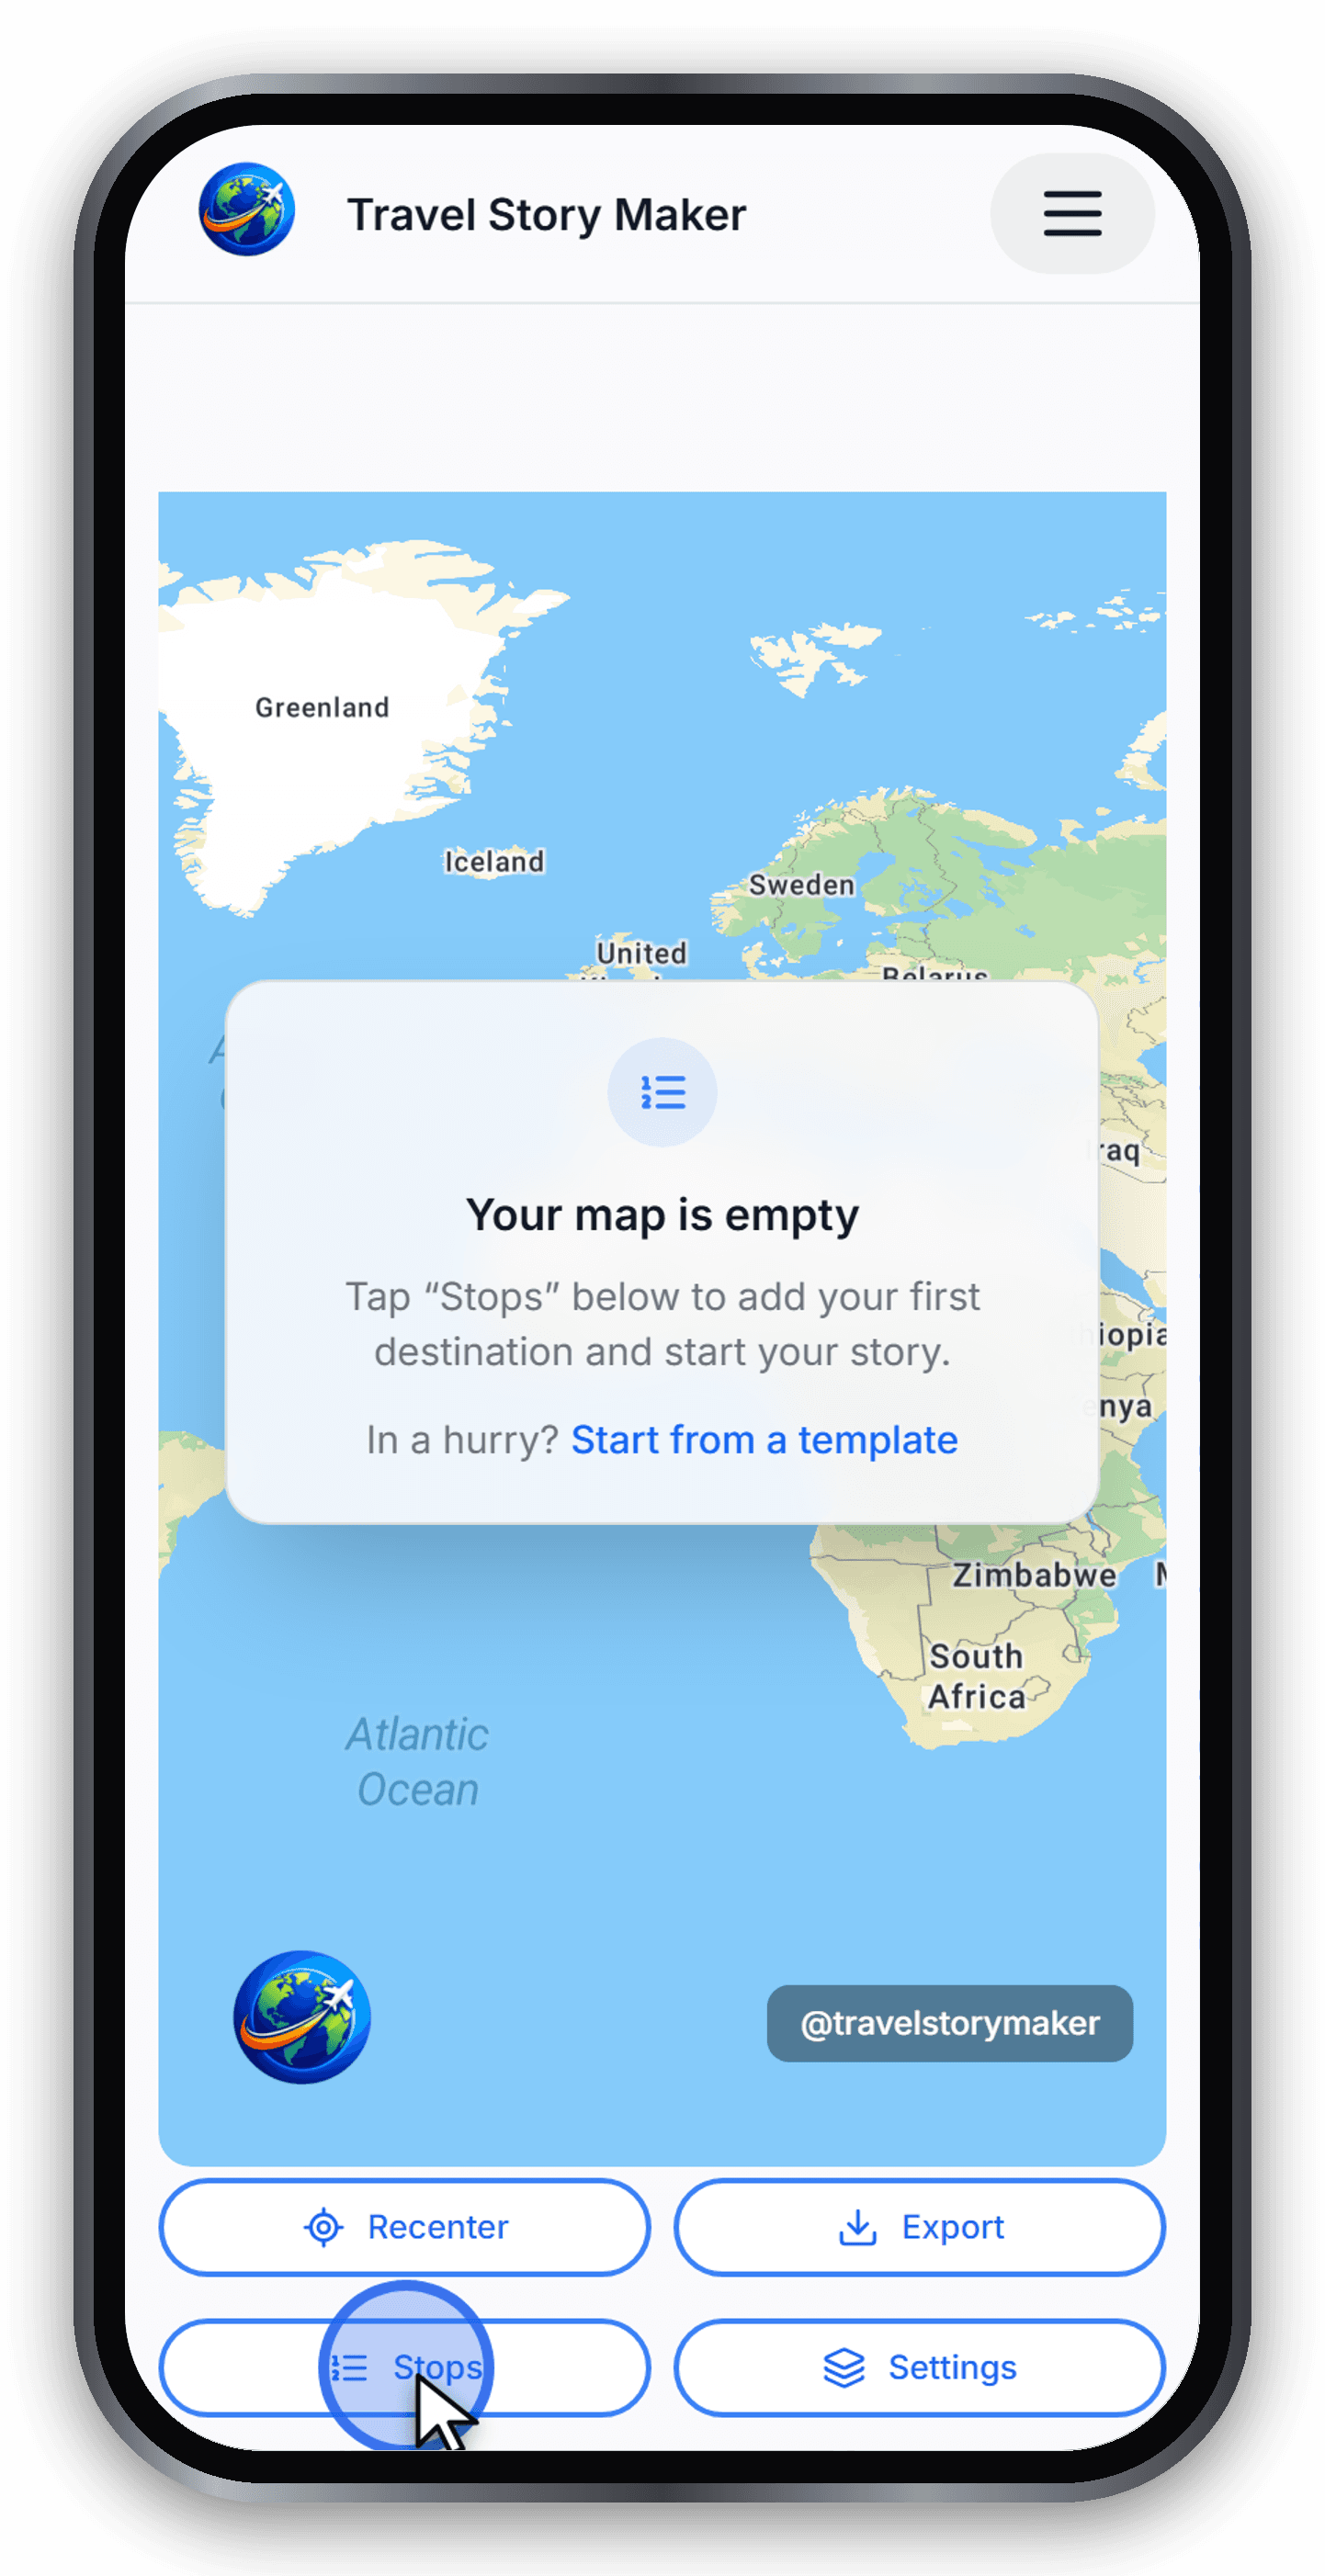
Close Settings and open the Stops panel. This is where you build your itinerary, one destination at a time, and reorder stops with drag-and-drop.
Control and access: Reorder and remove stops
Step 5 - Build your itinerary
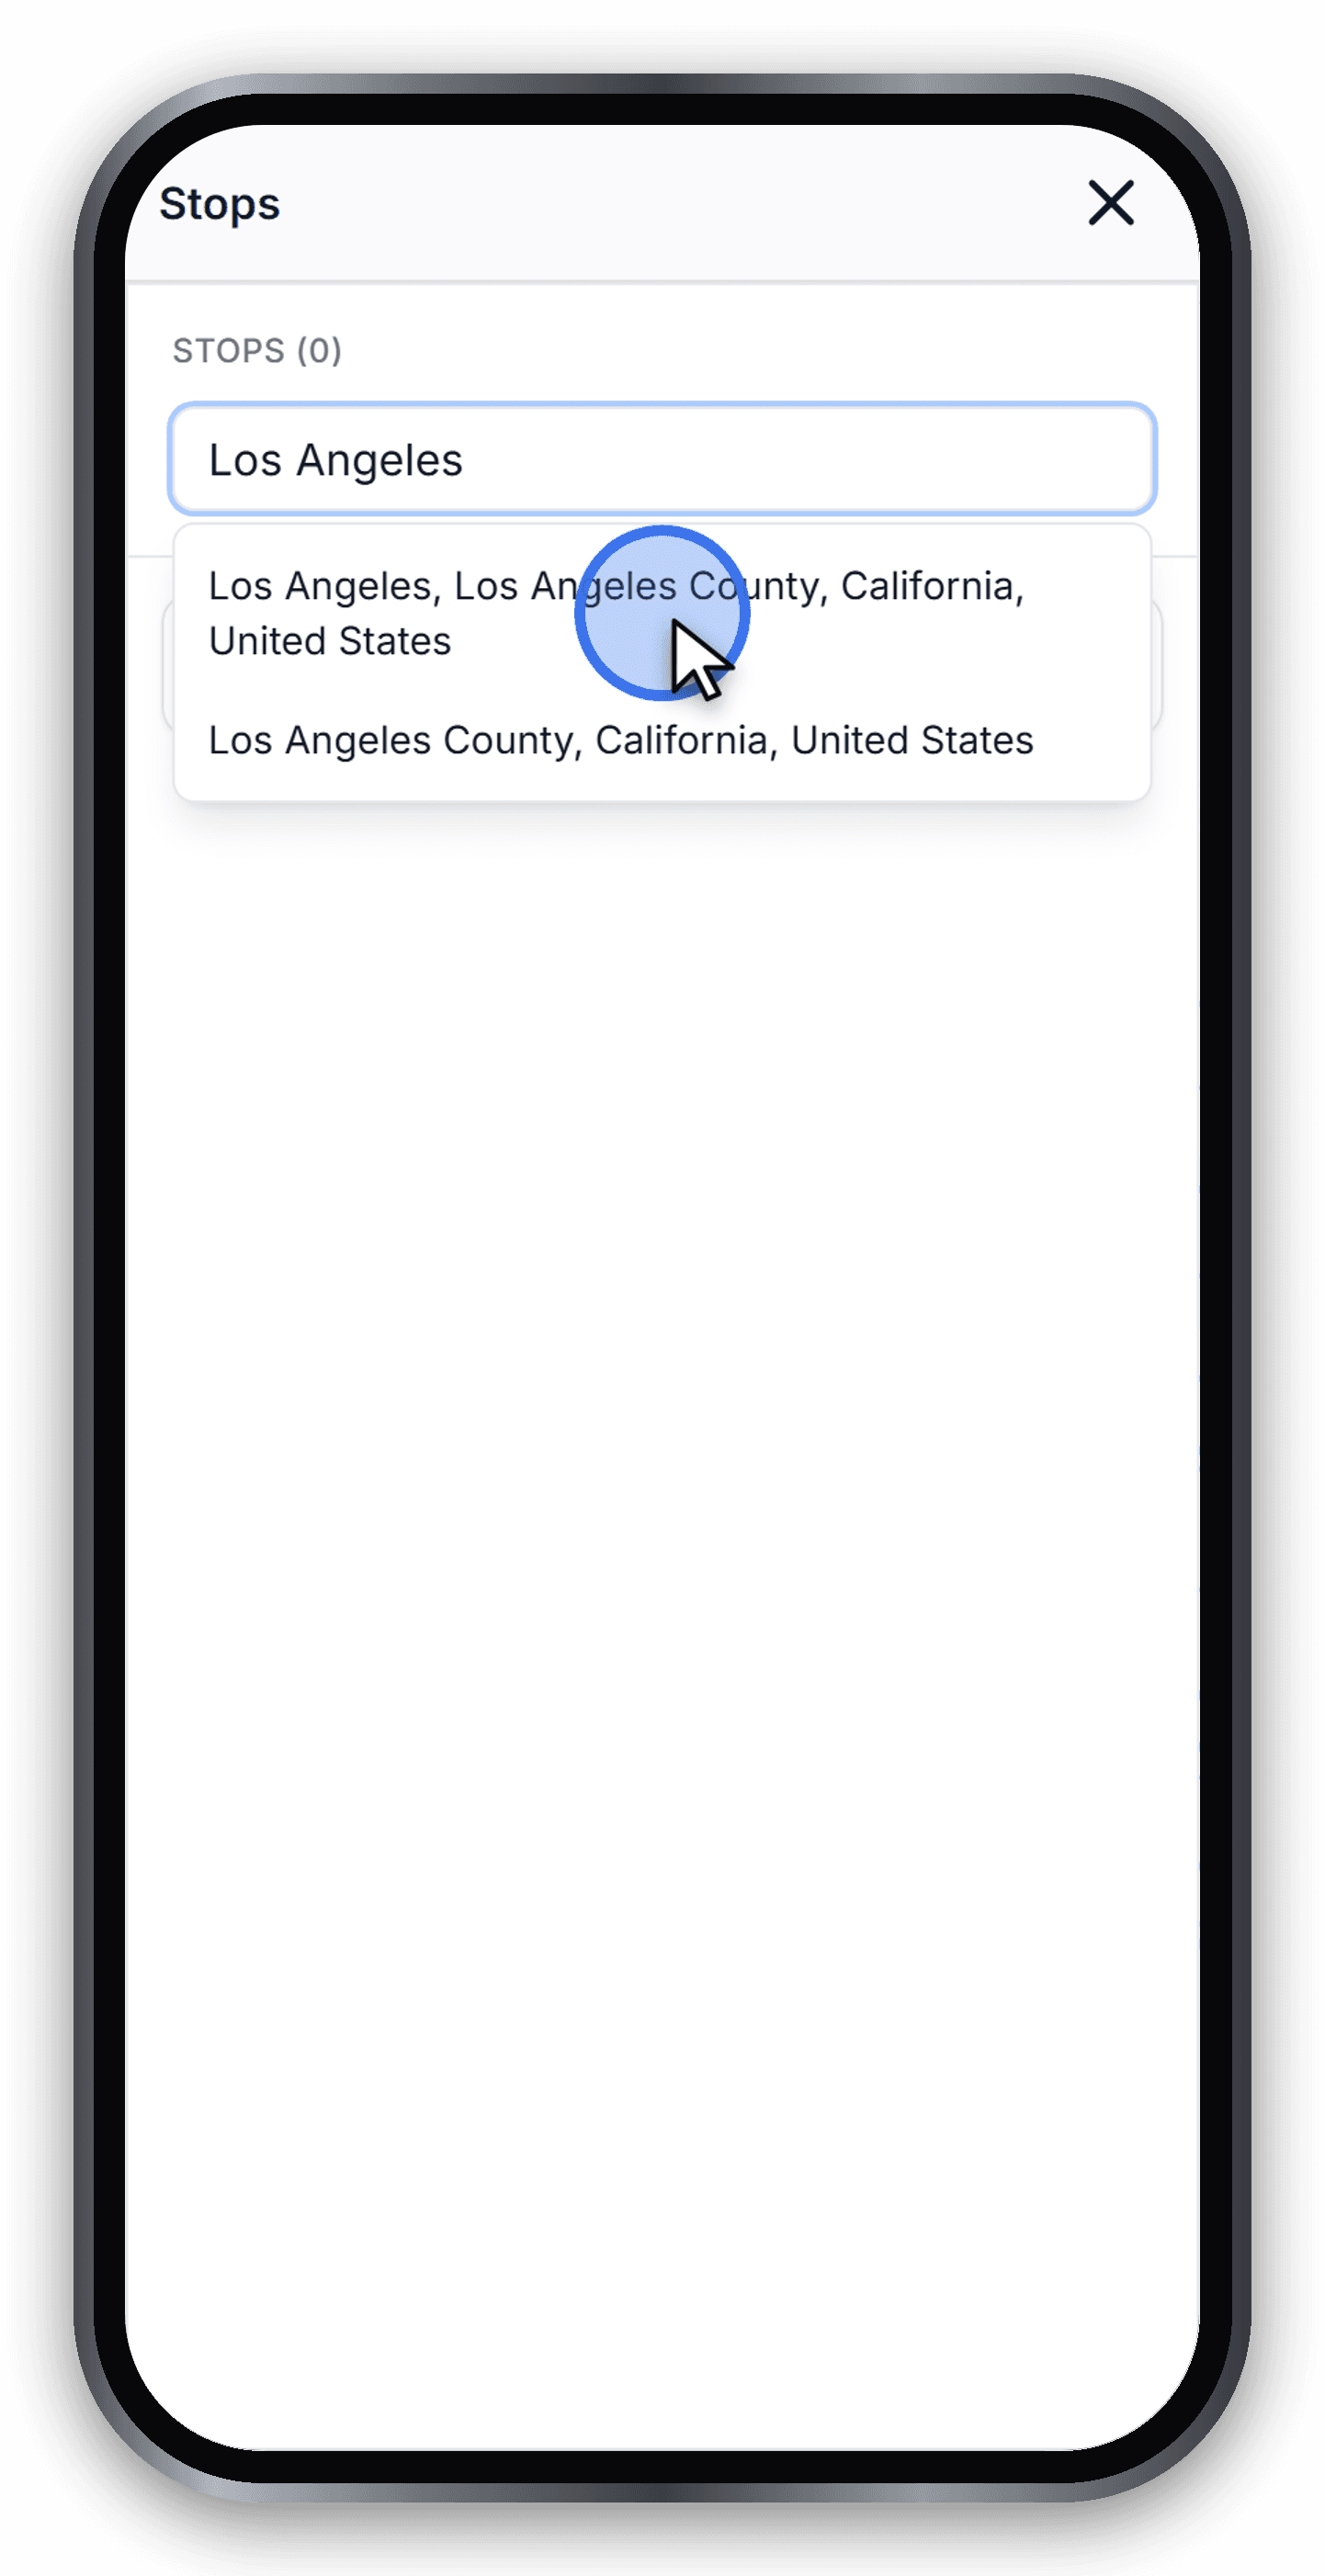
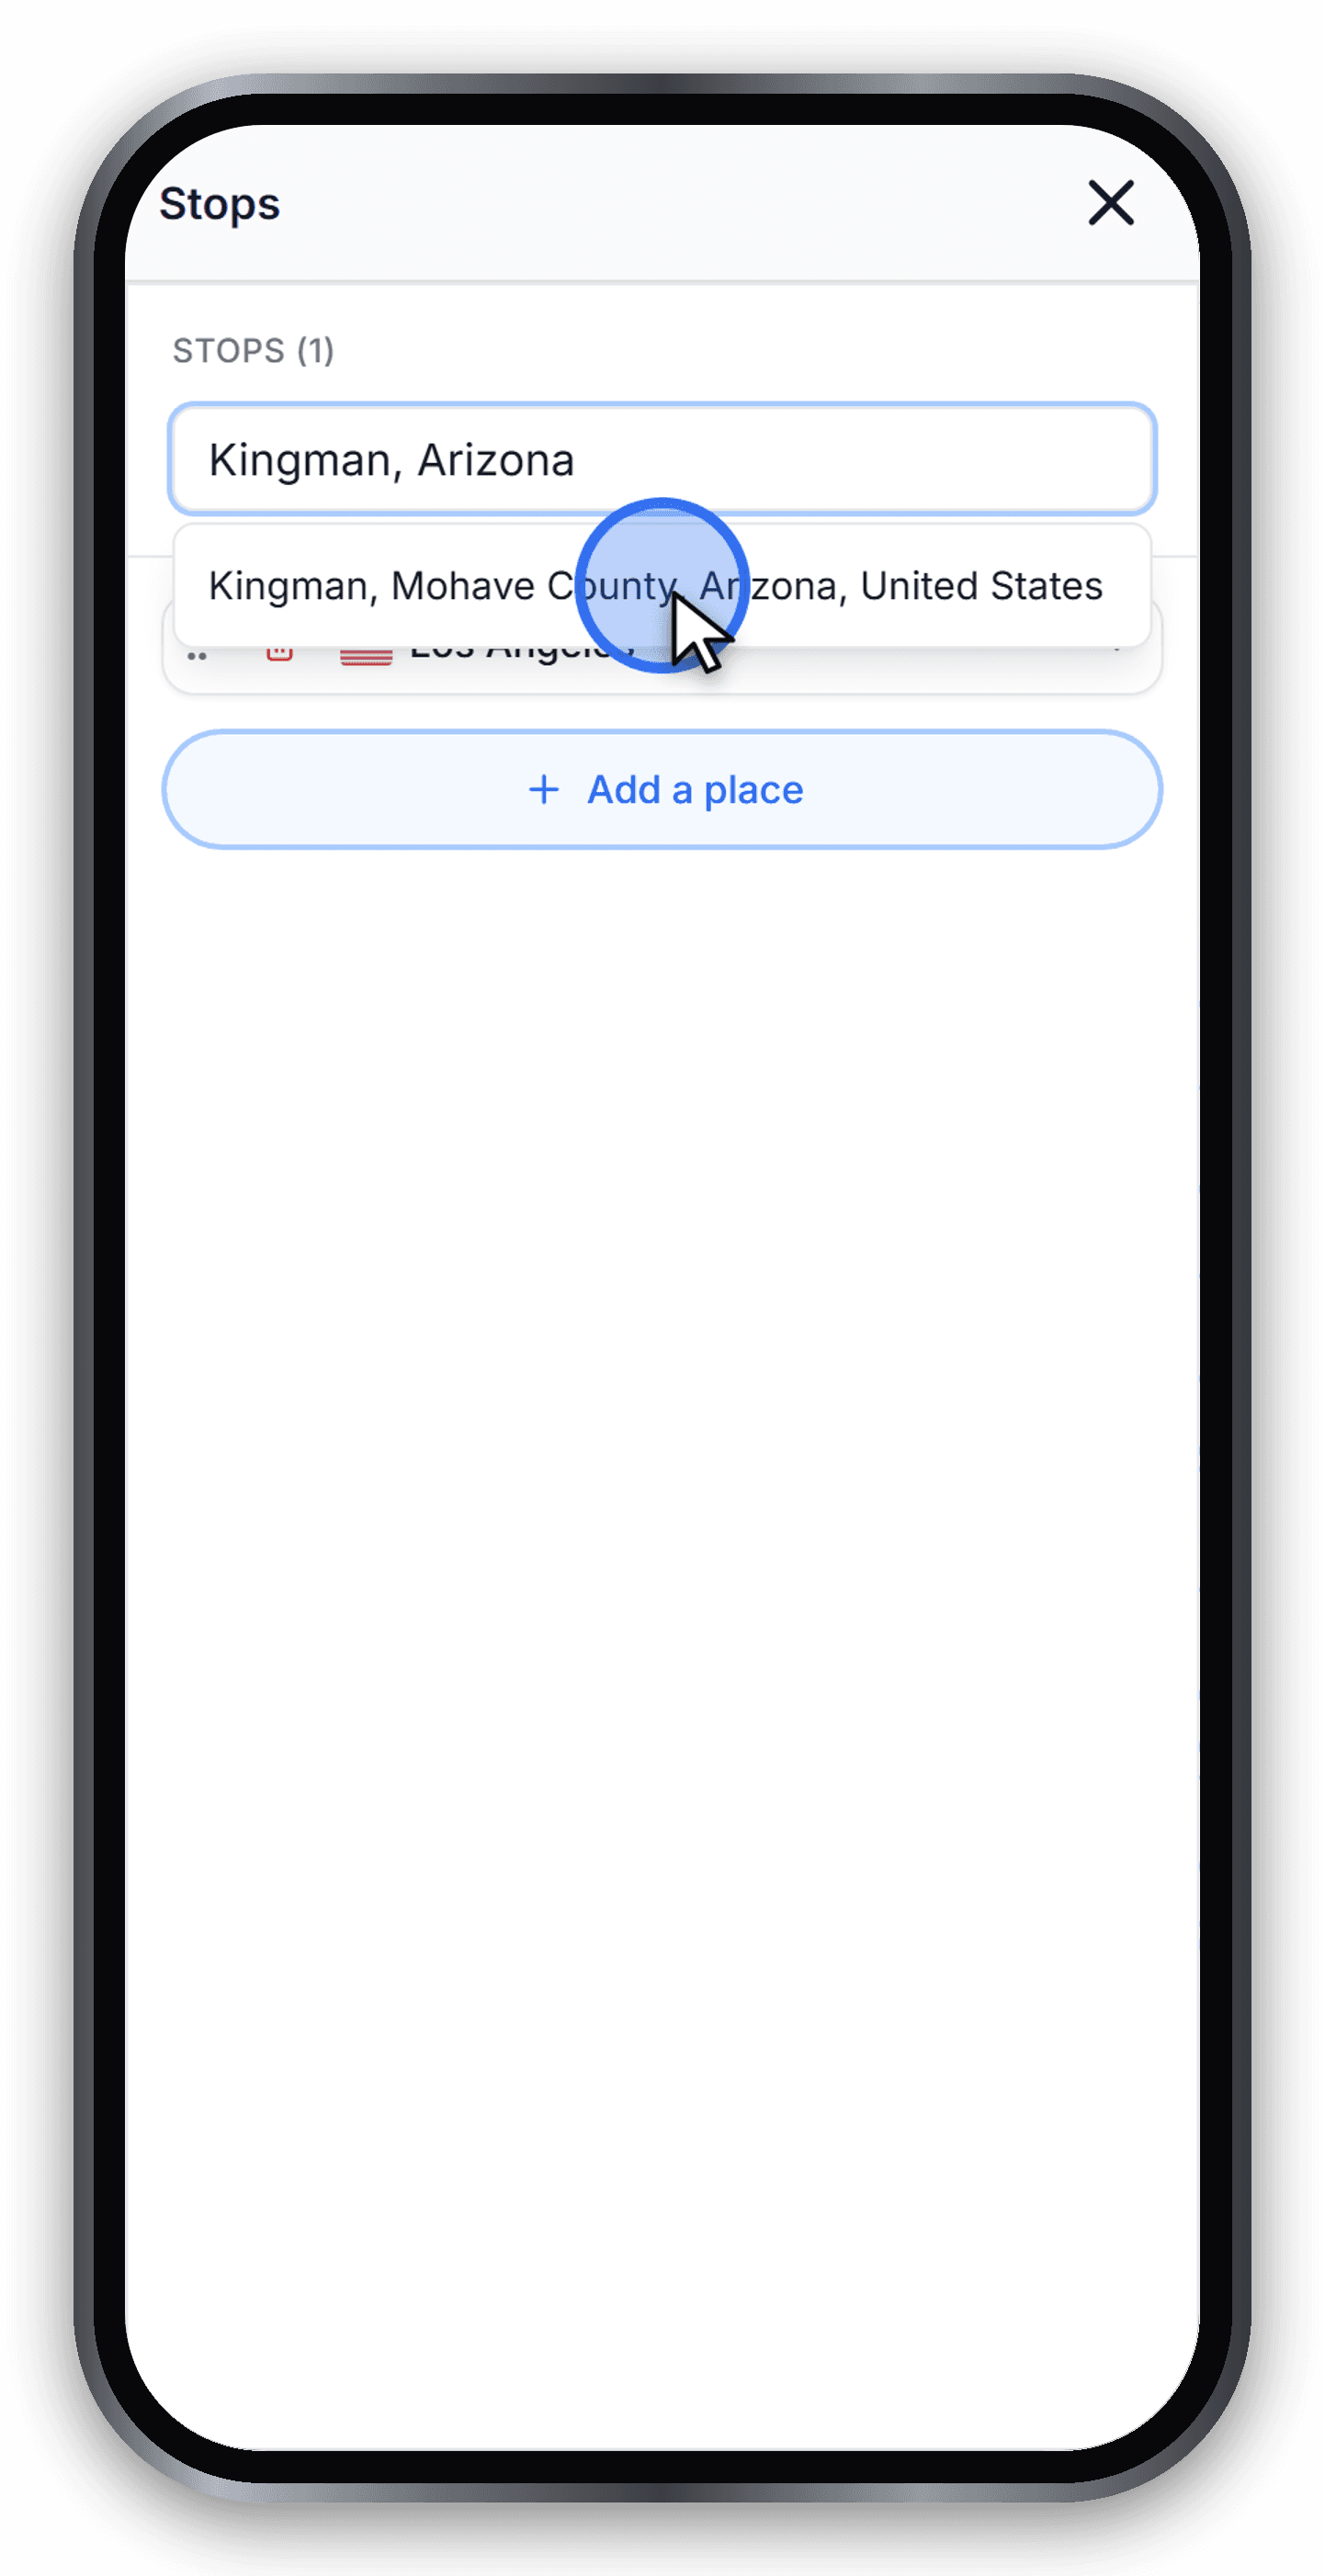
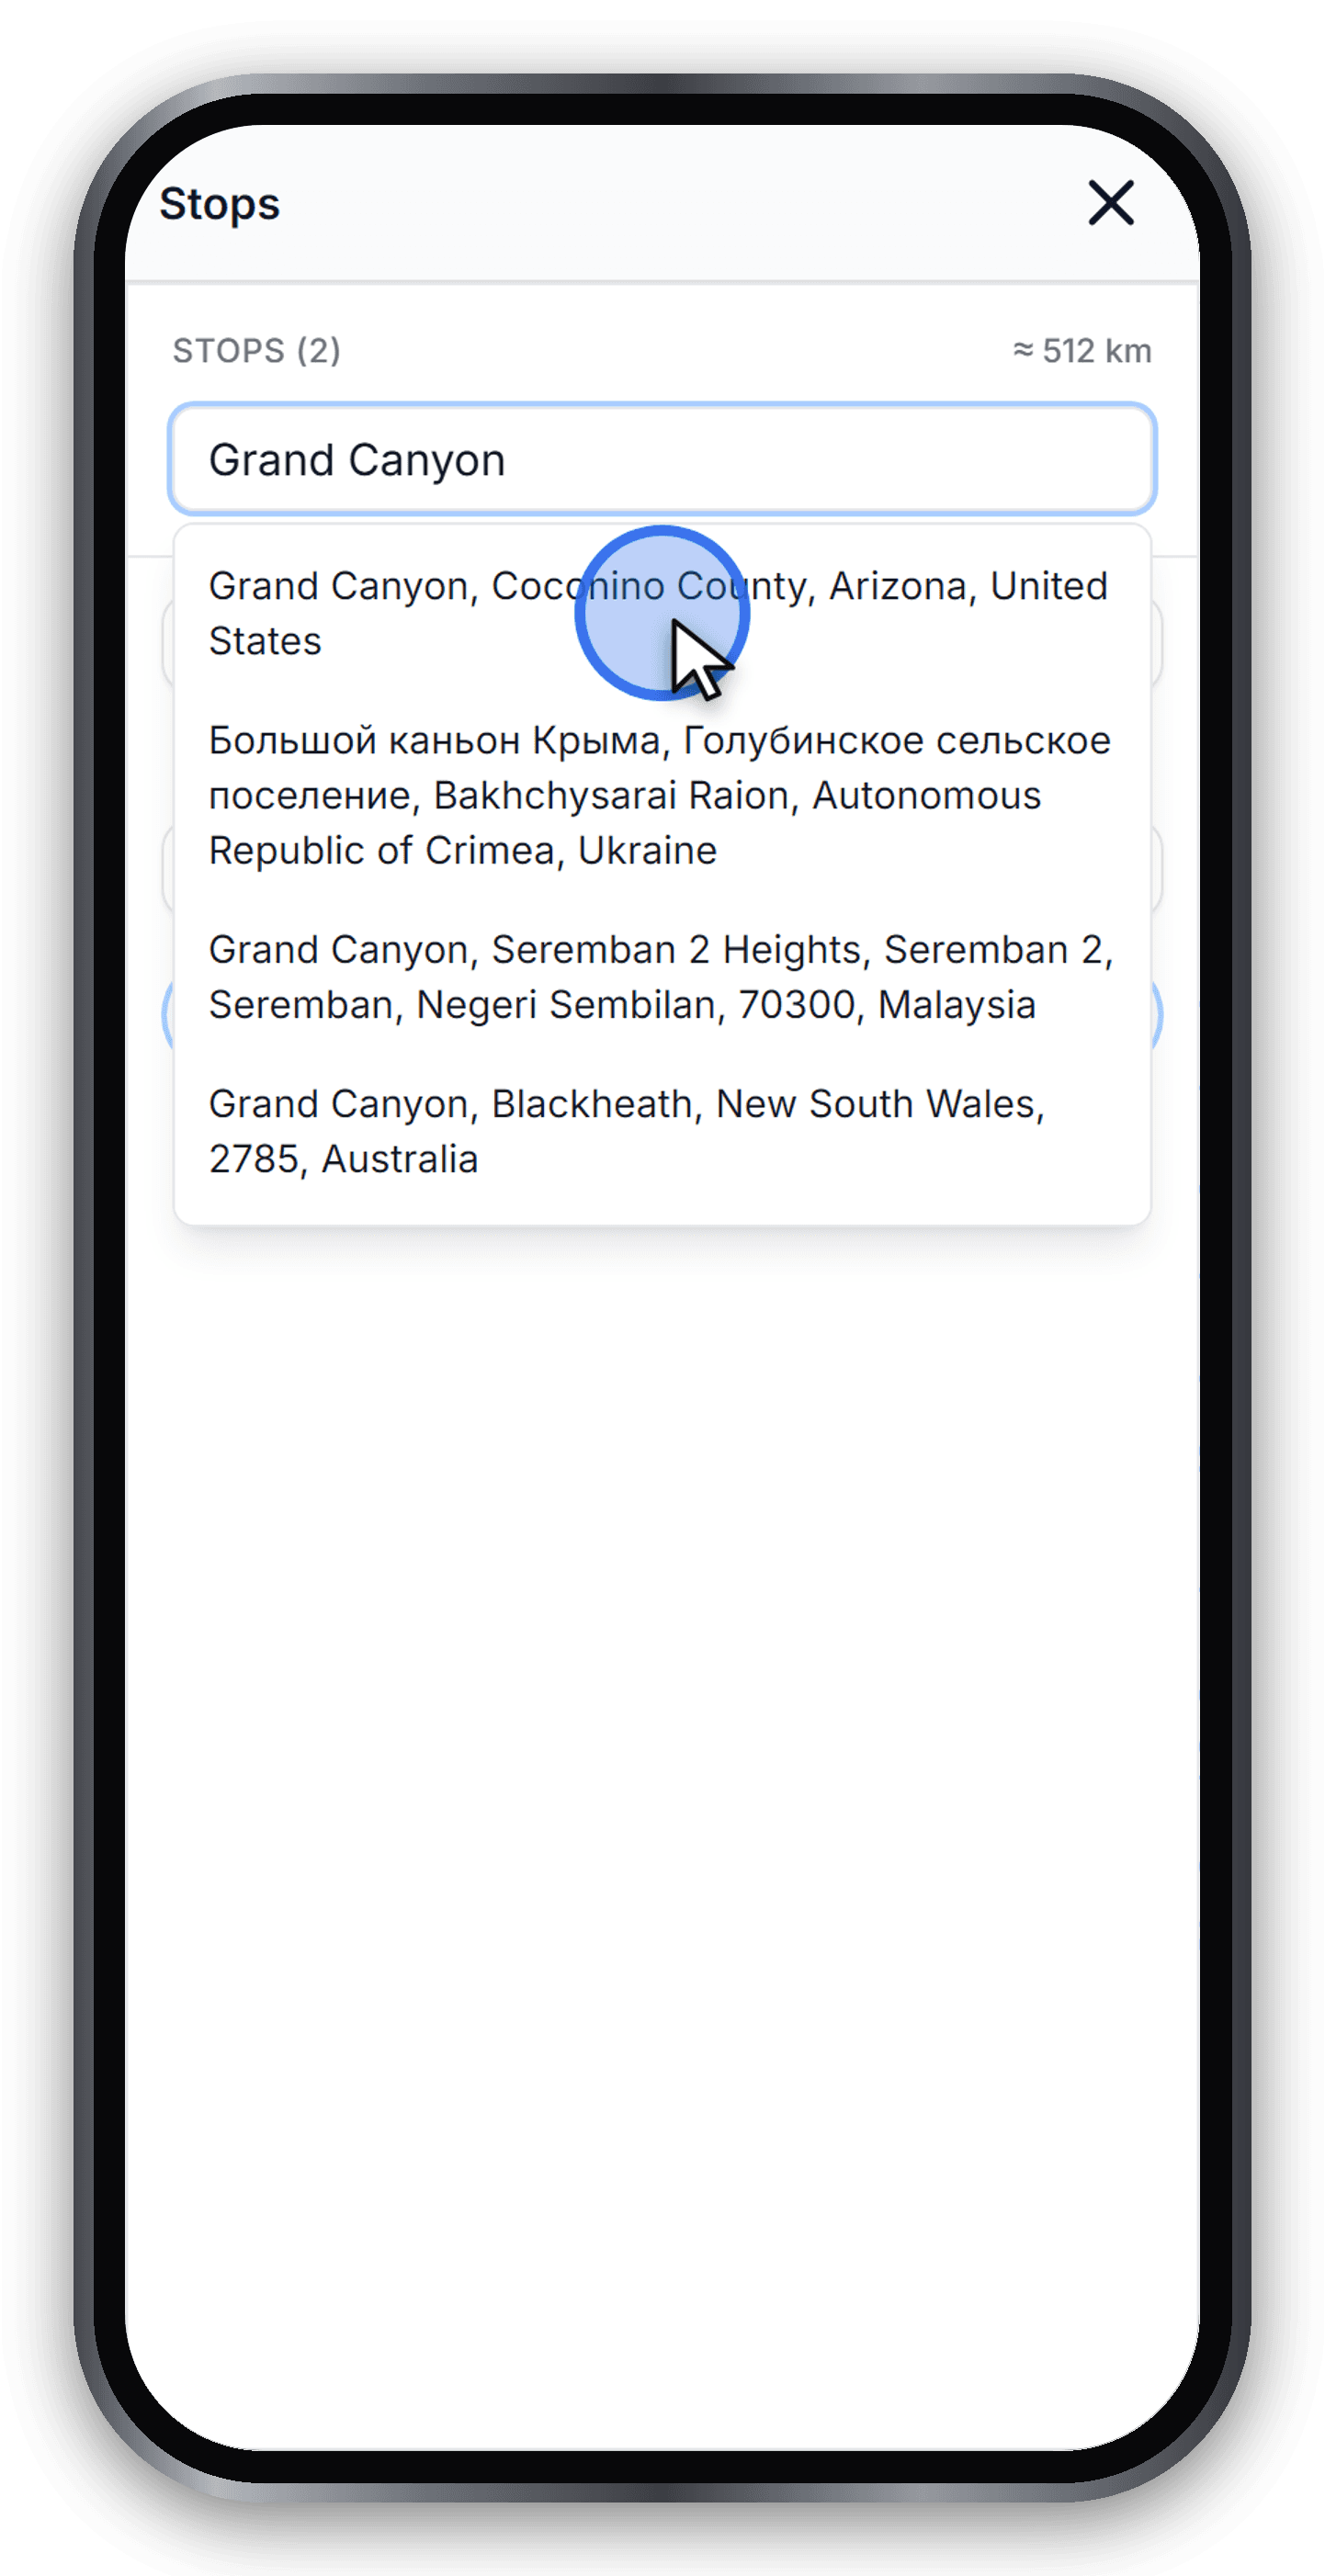
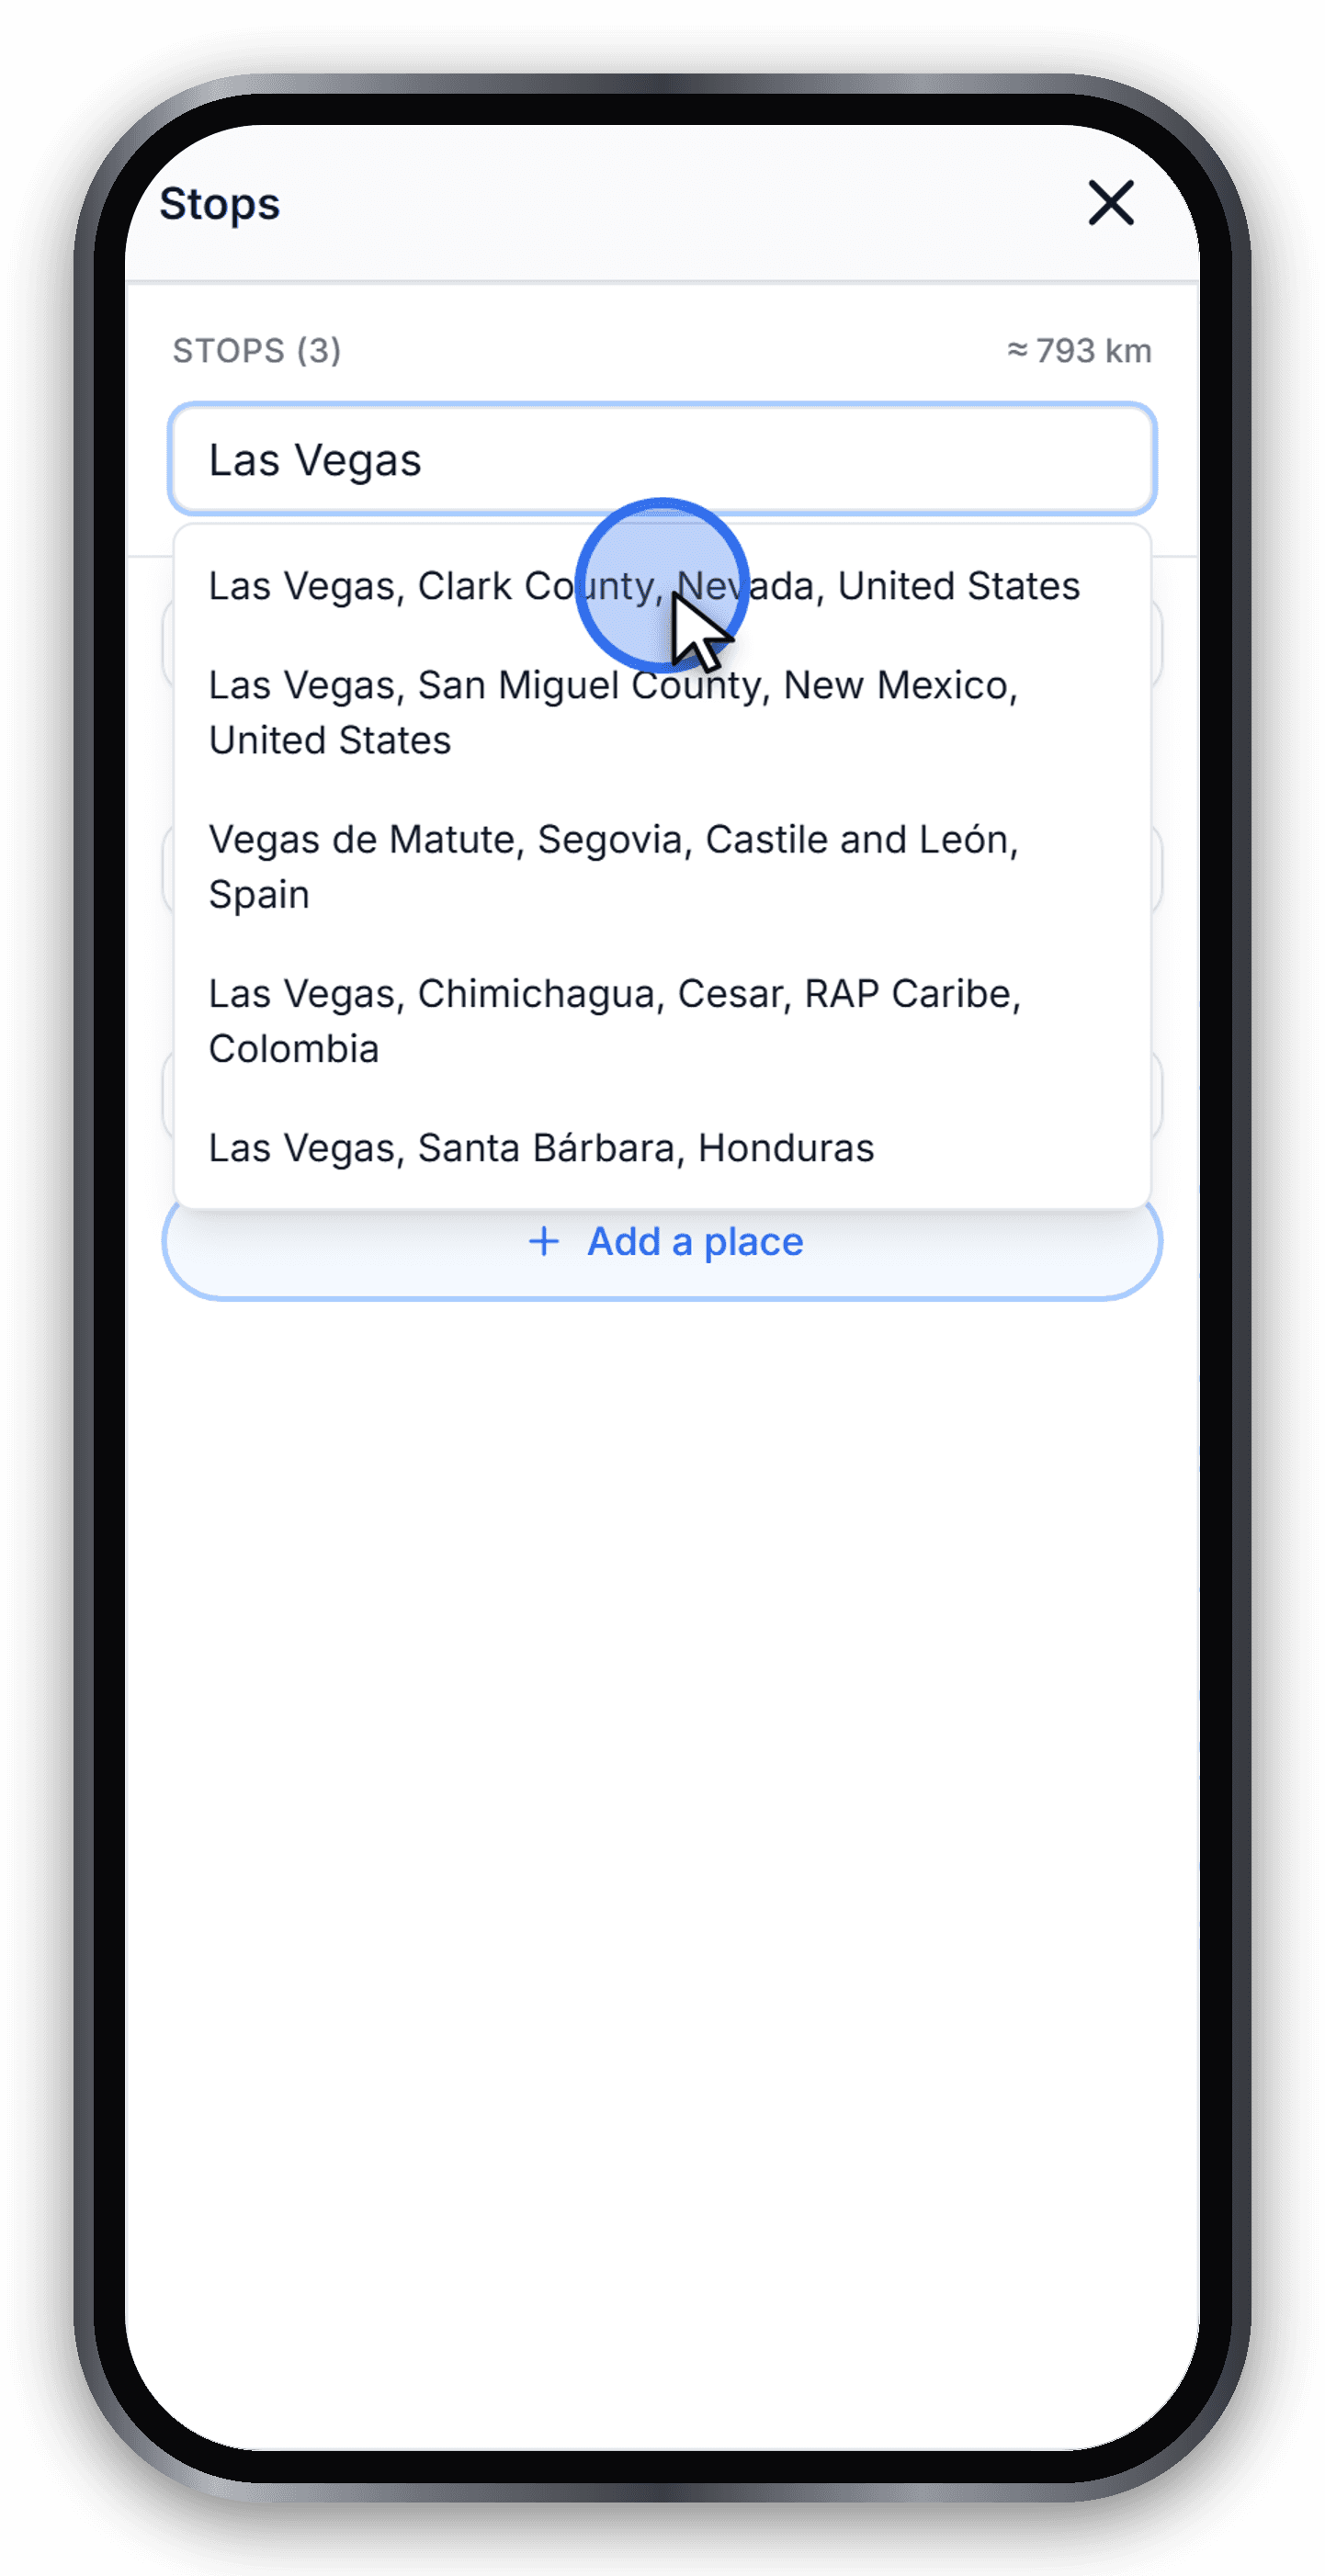
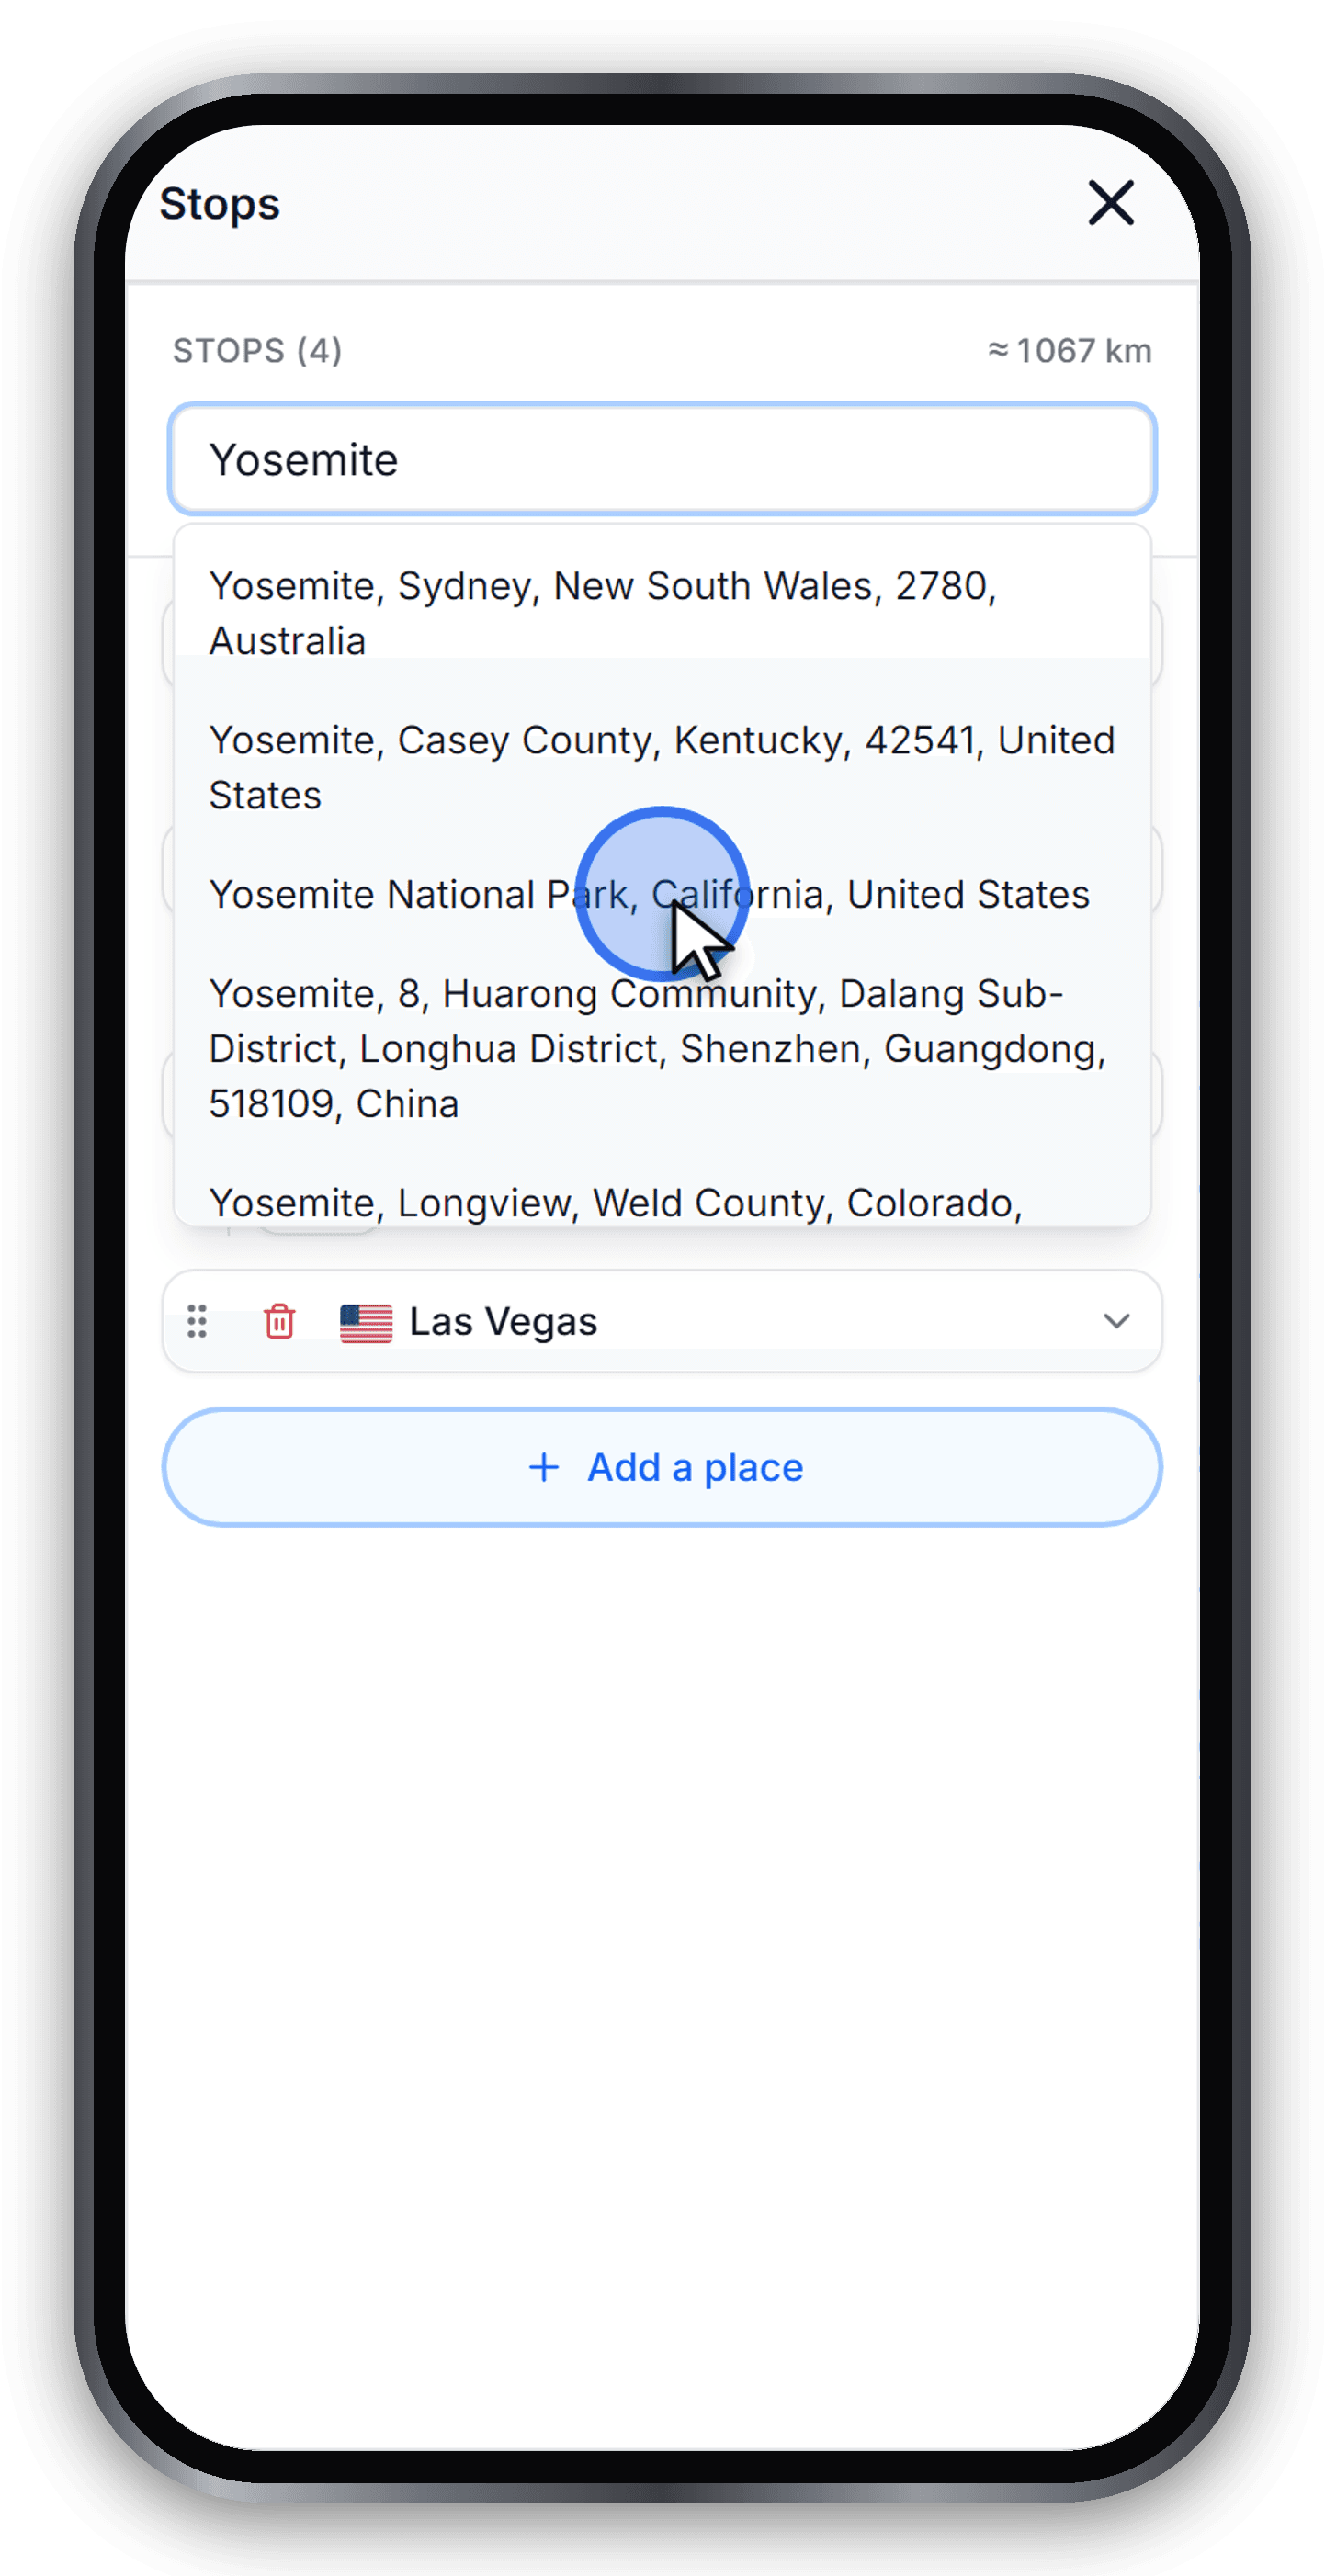
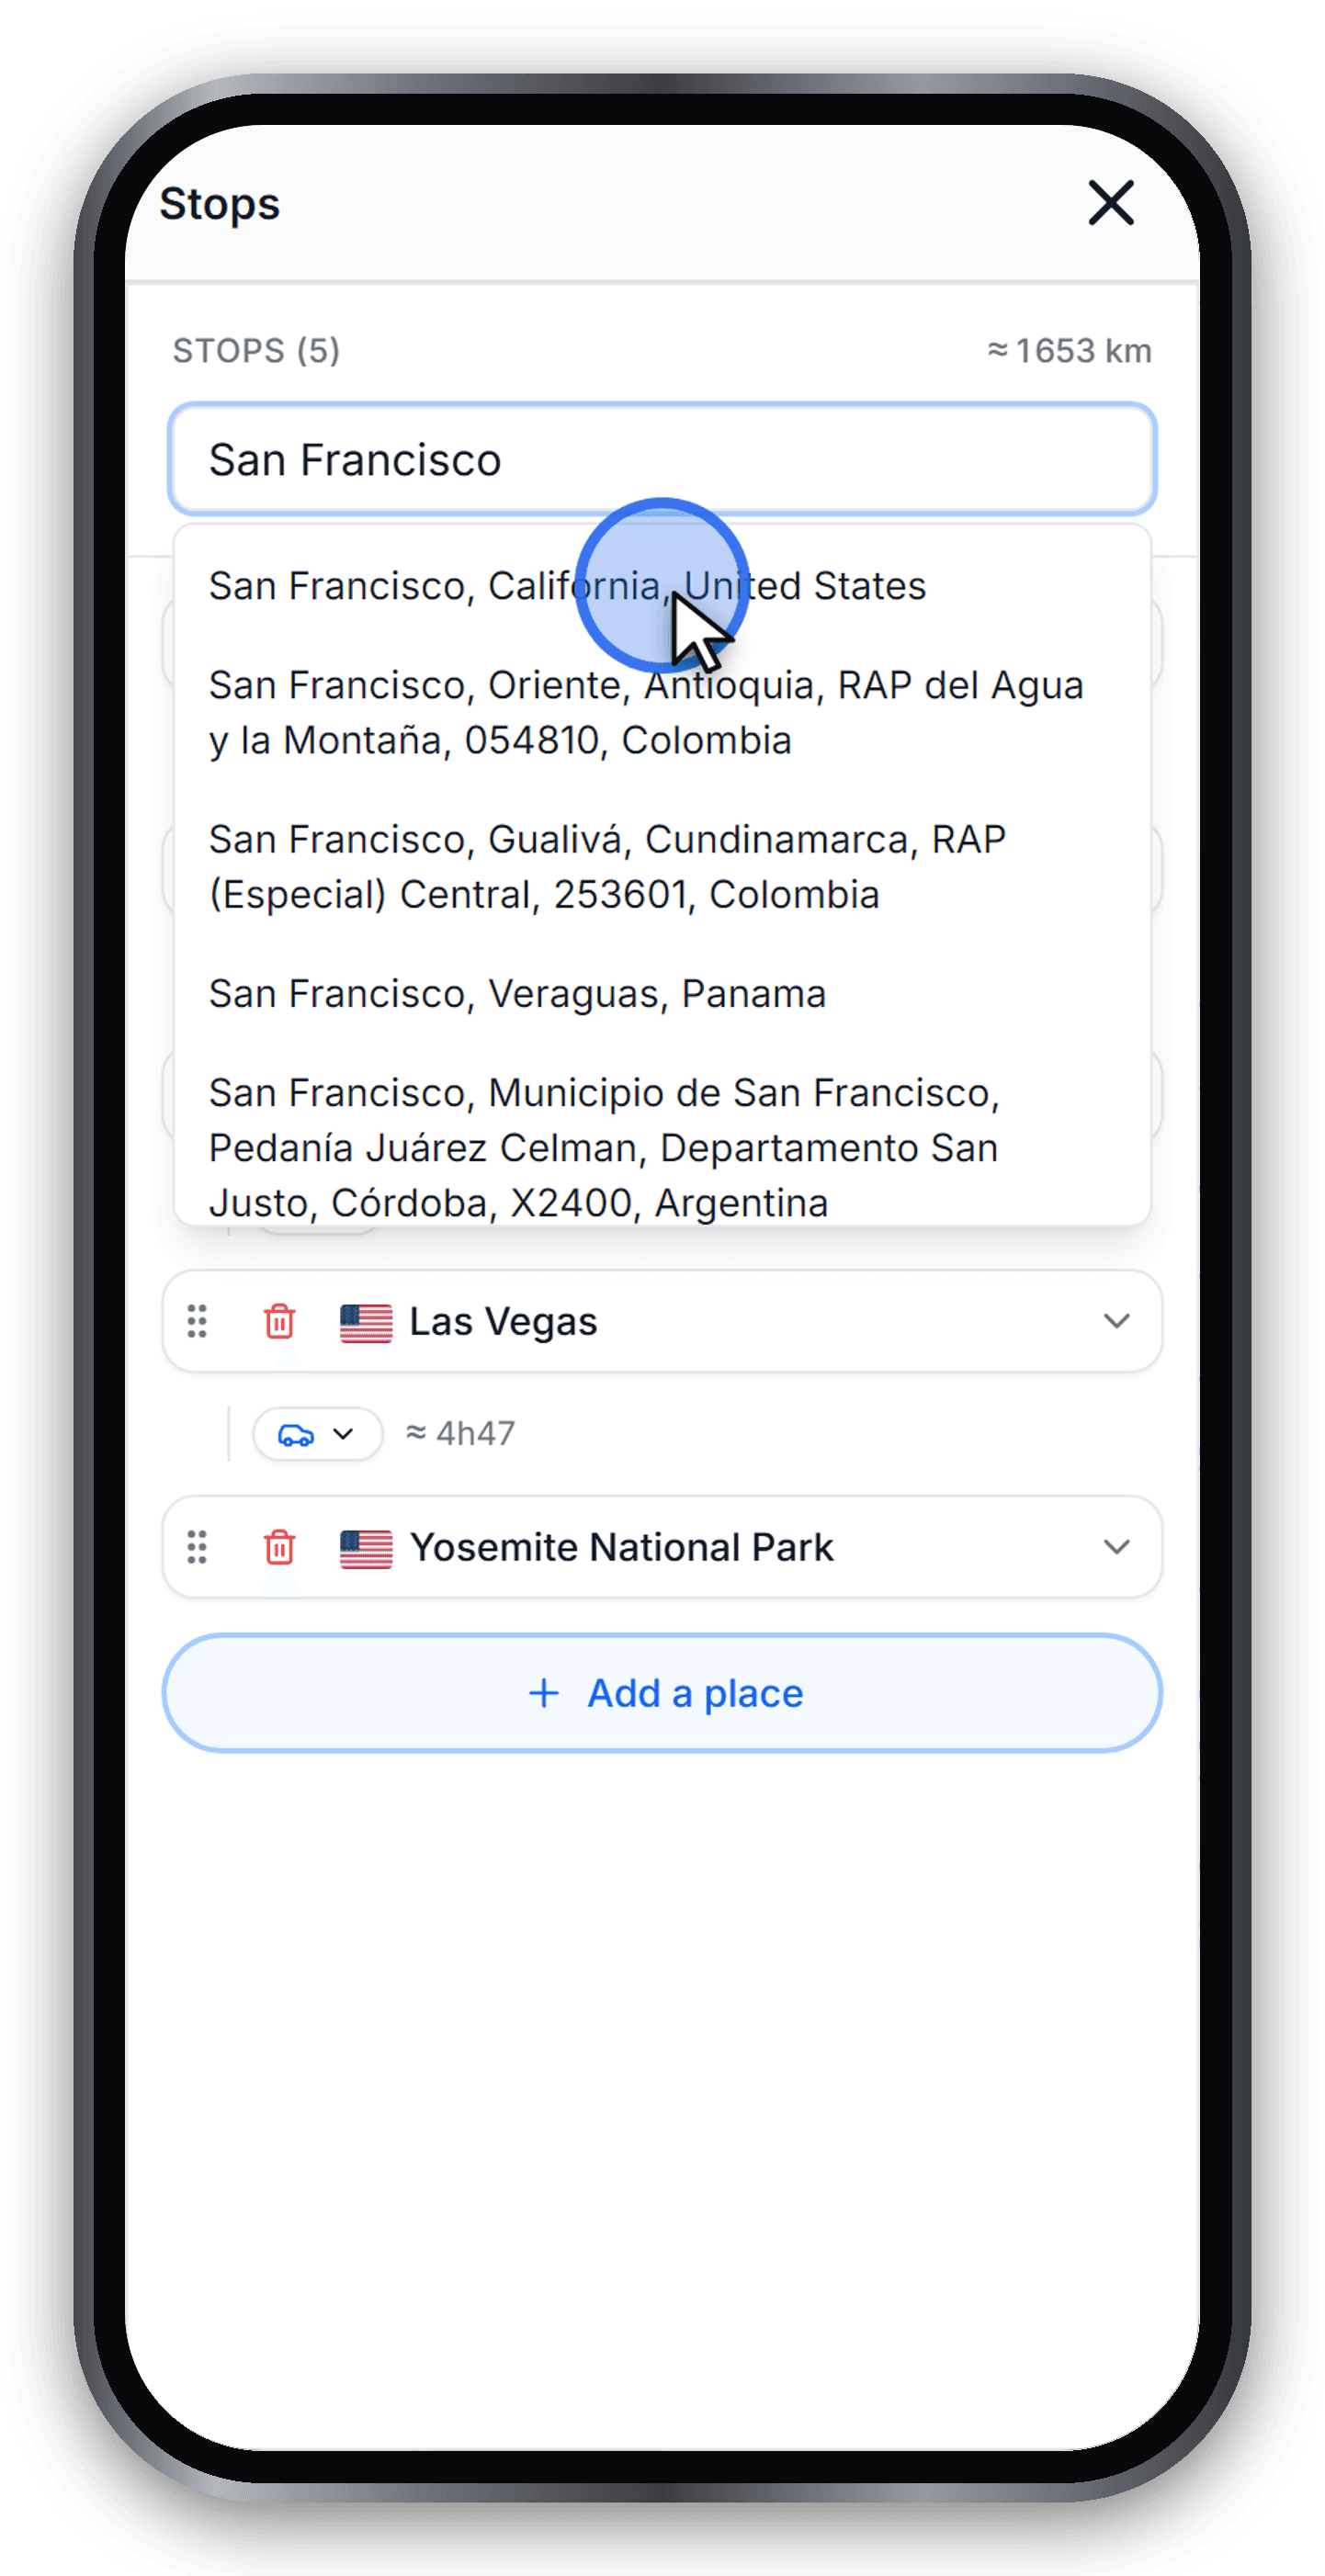
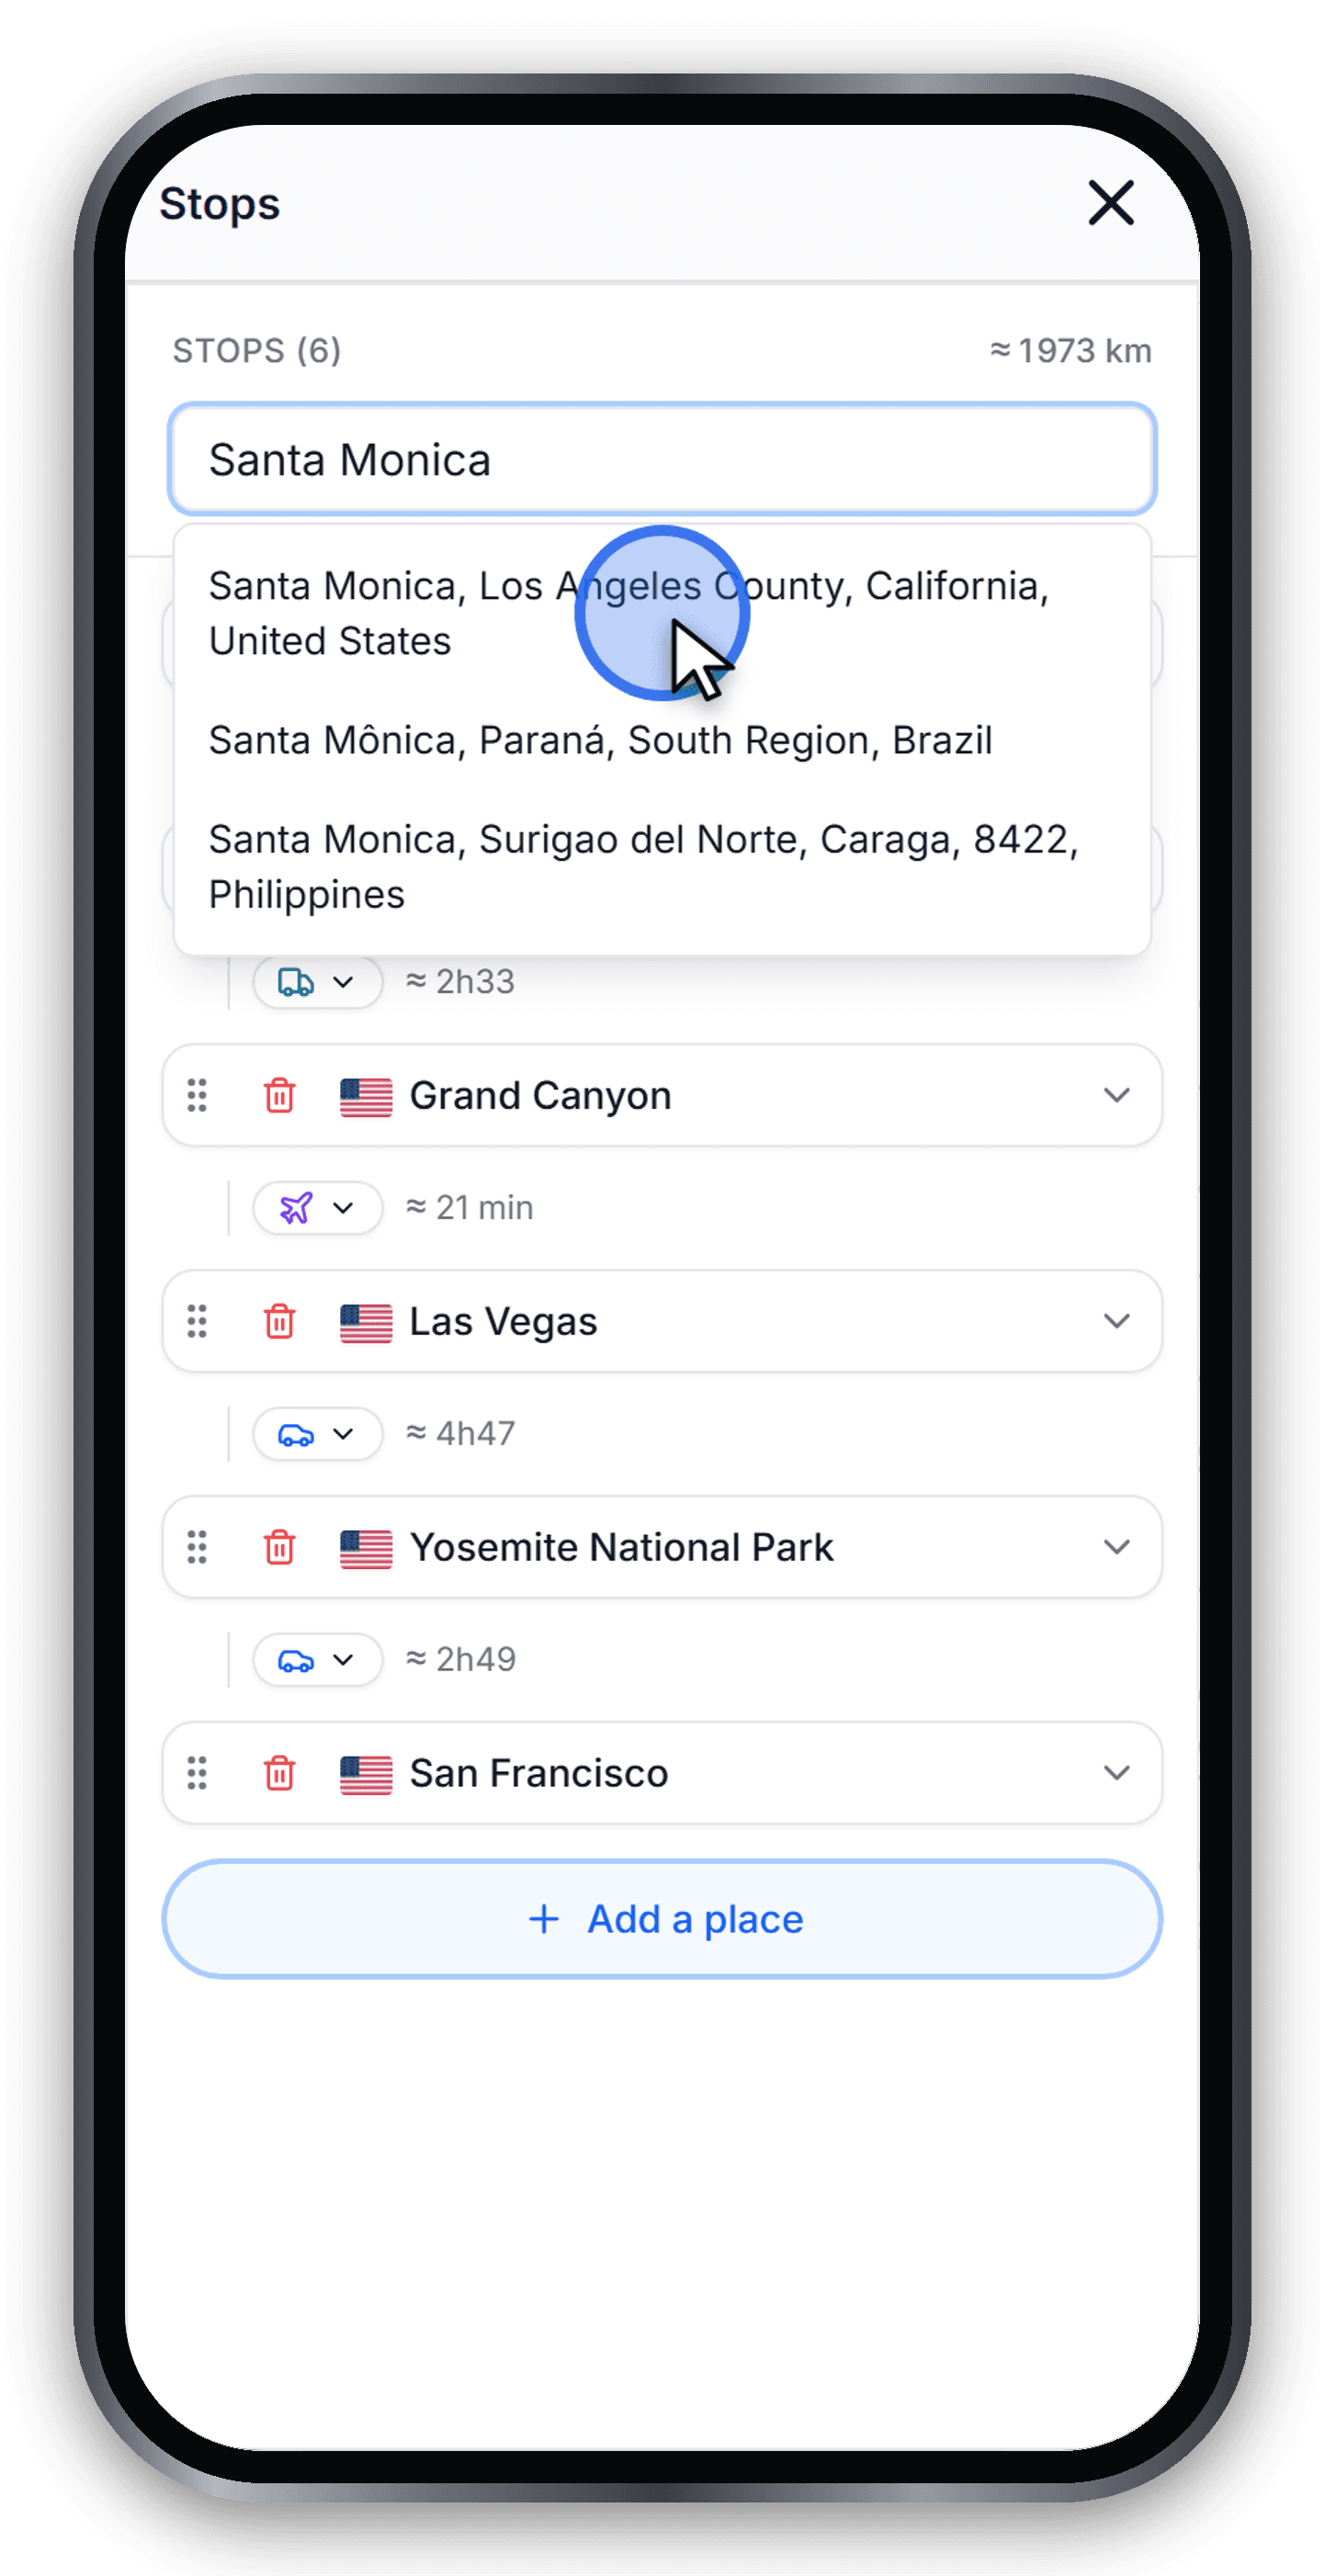
Search for each place and press Enter to add it as a stop. You need at least two stops to draw a route. In this guide we add seven stops in order: Los Angeles, Kingman, the Grand Canyon, Las Vegas, Yosemite, San Francisco and Santa Monica.
Choose a search suggestion to add it. On desktop, activate Pick on map before clicking the map; on mobile, use the search in the Stops drawer.
Control and access: Add a place
Step 6 - Choose a vehicle for each leg
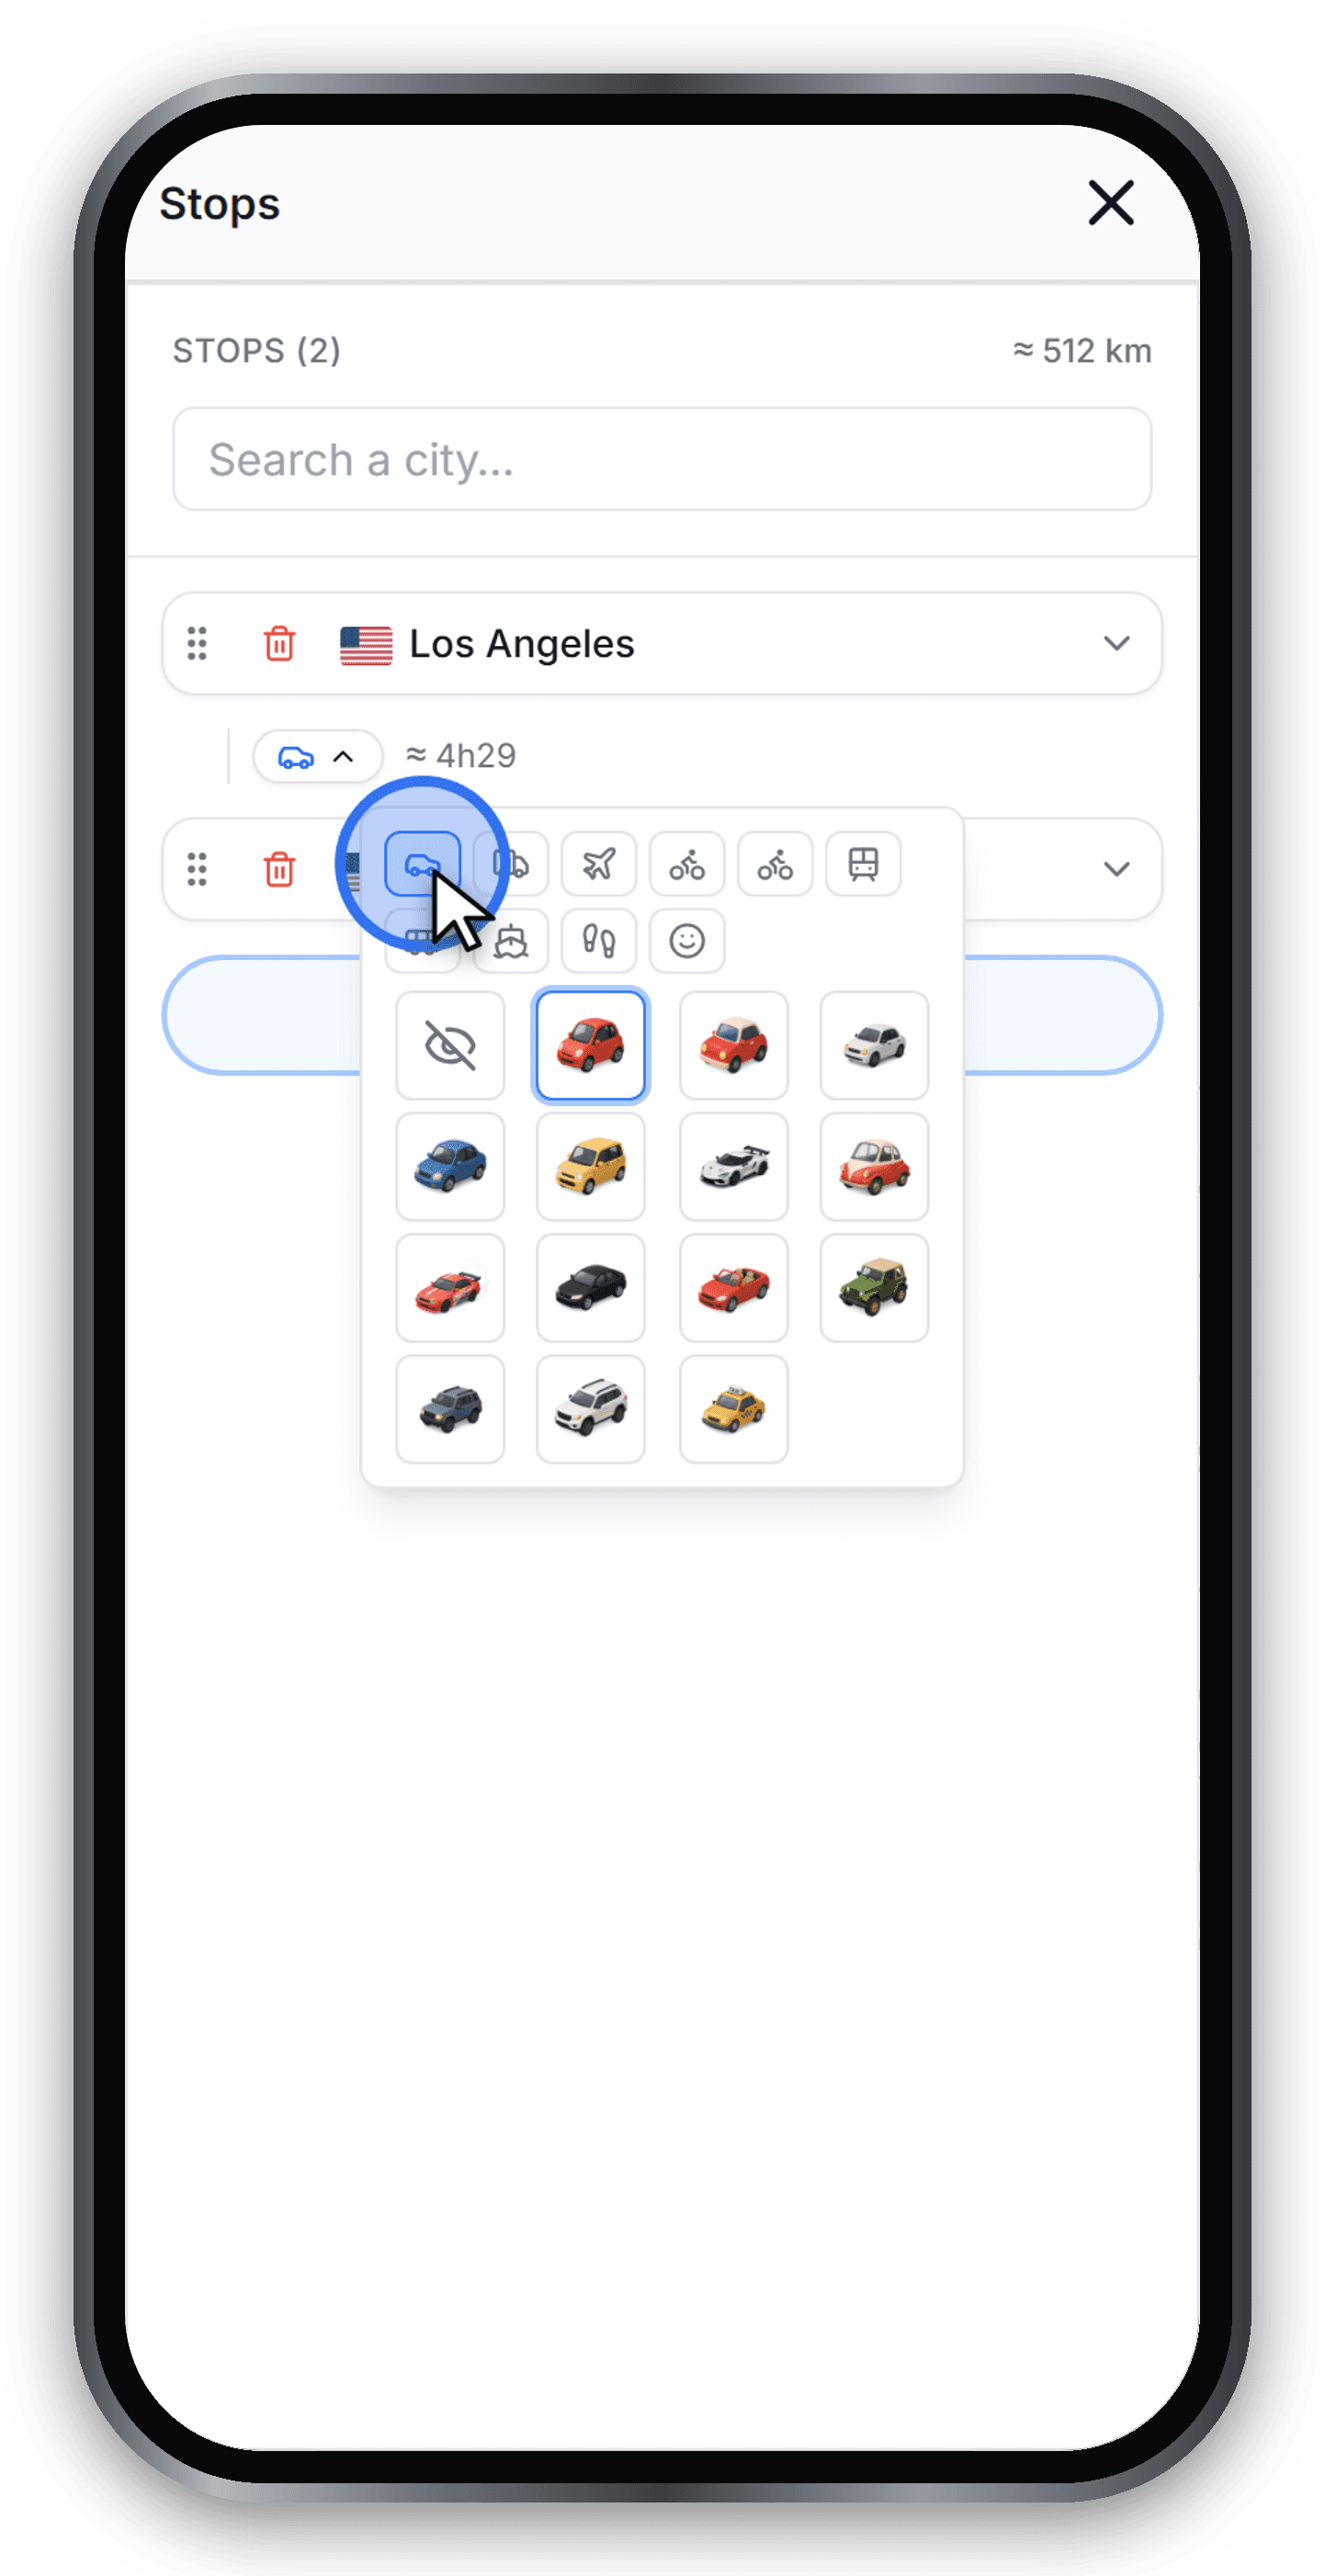
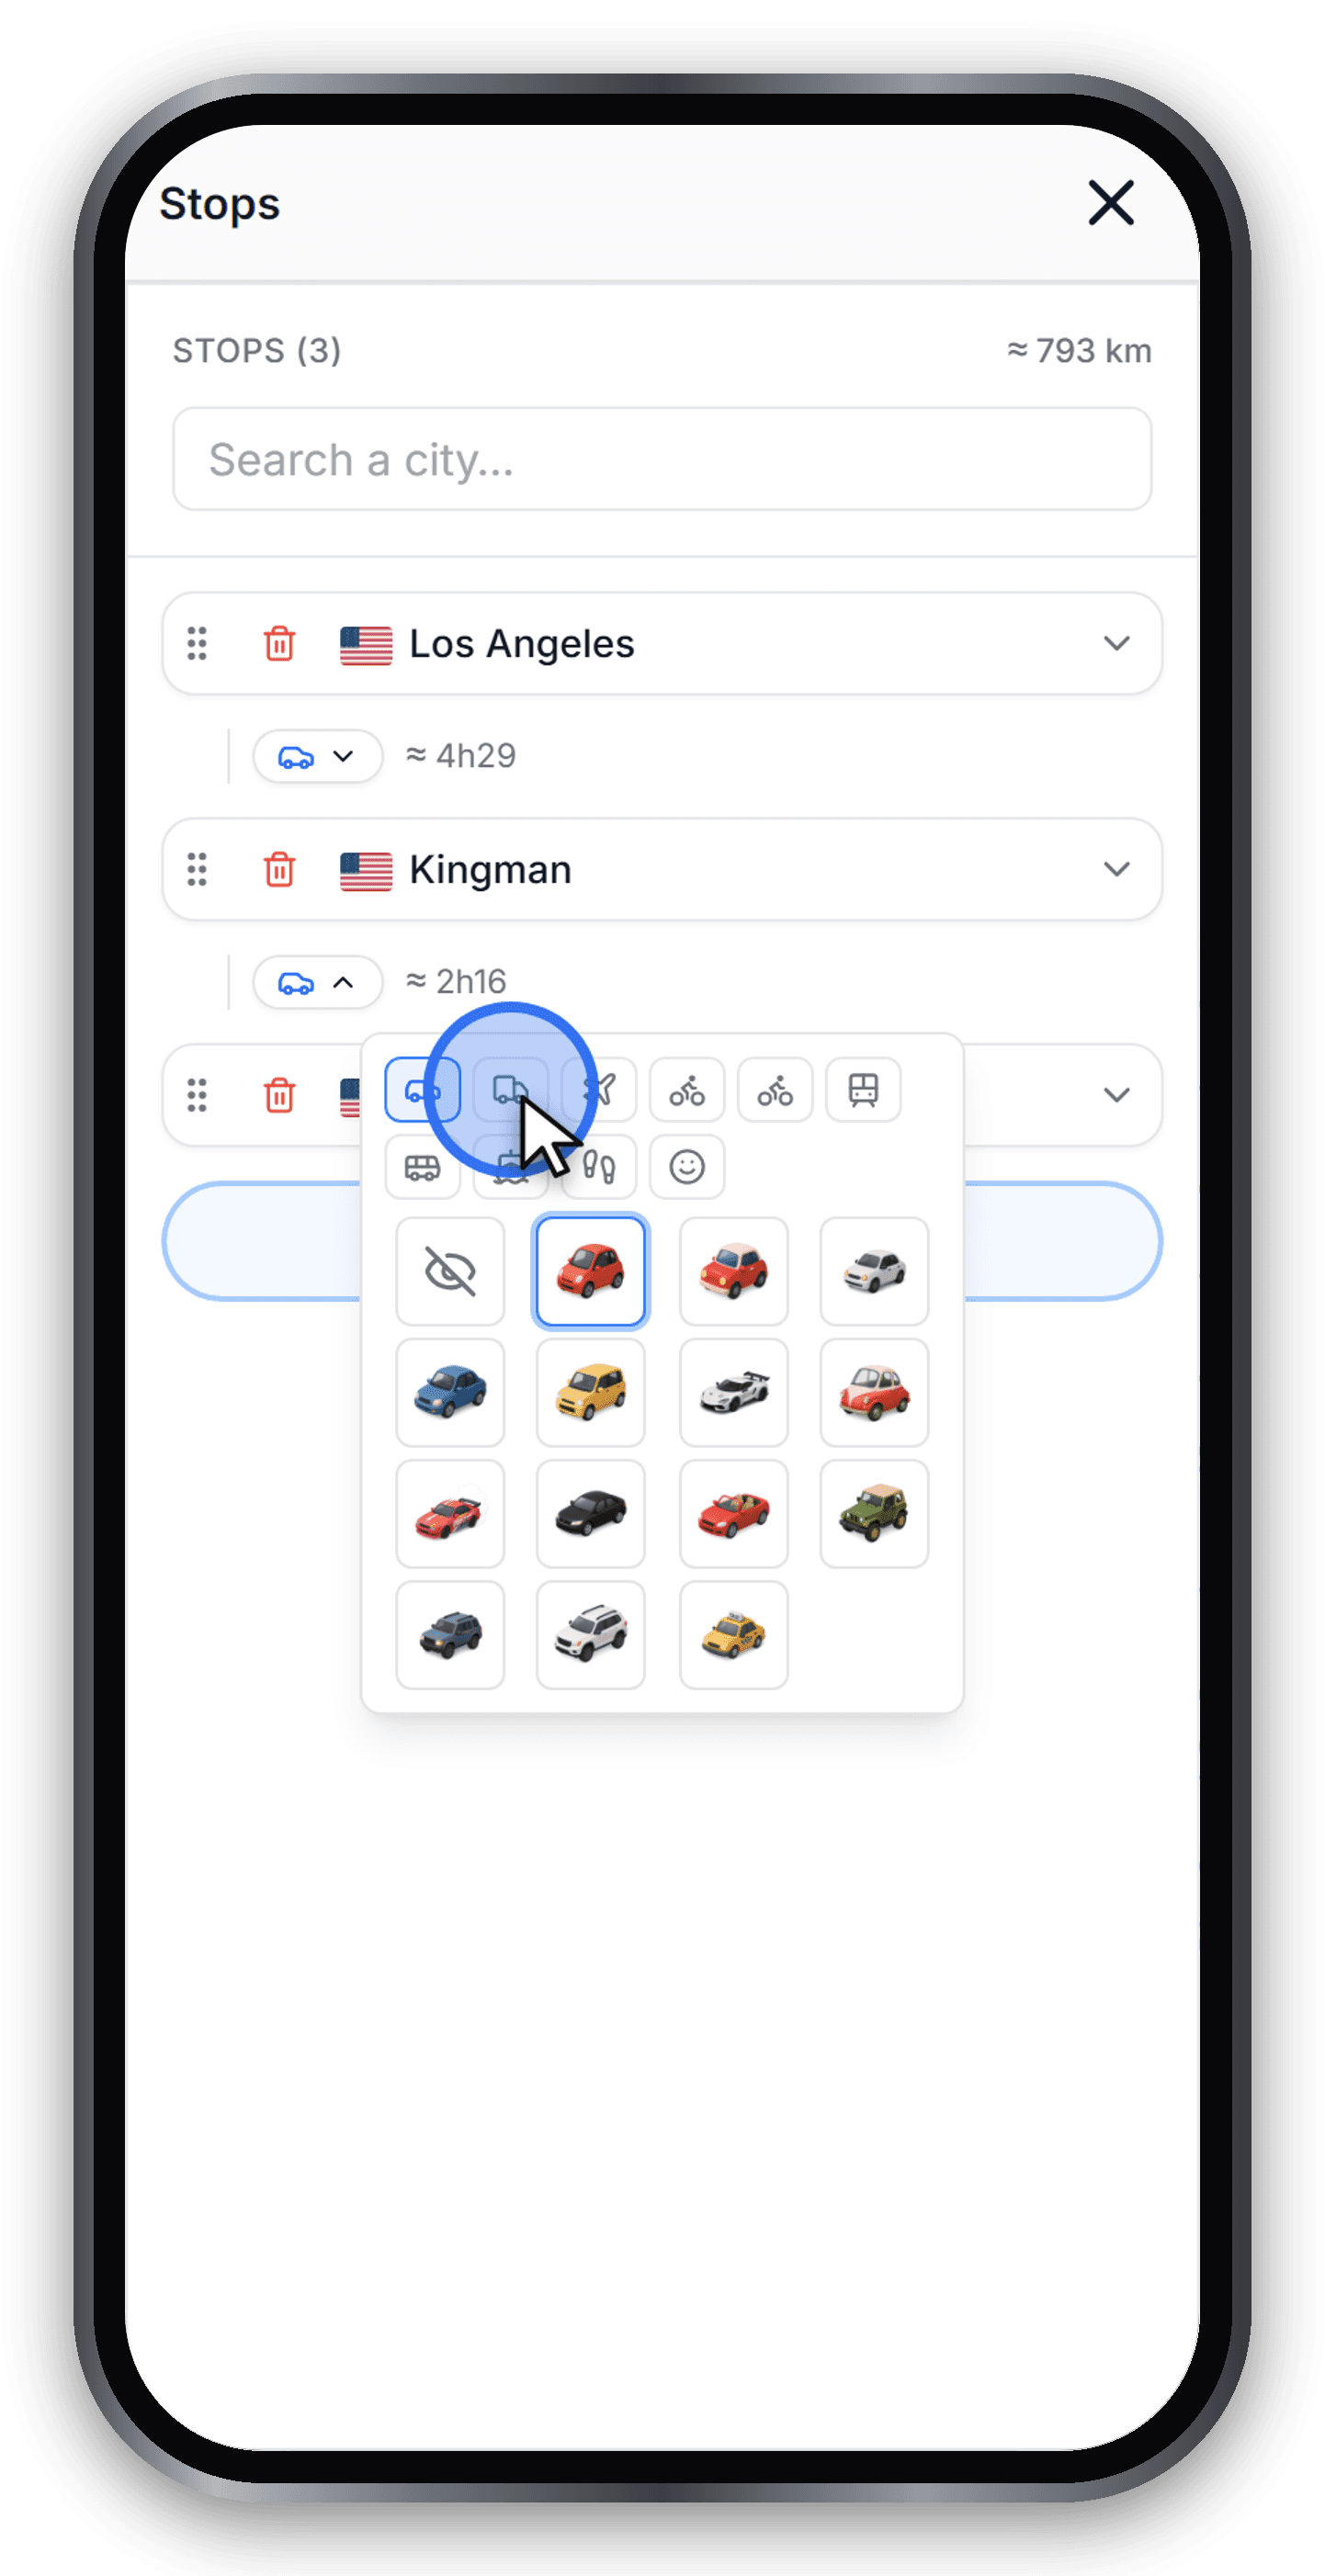
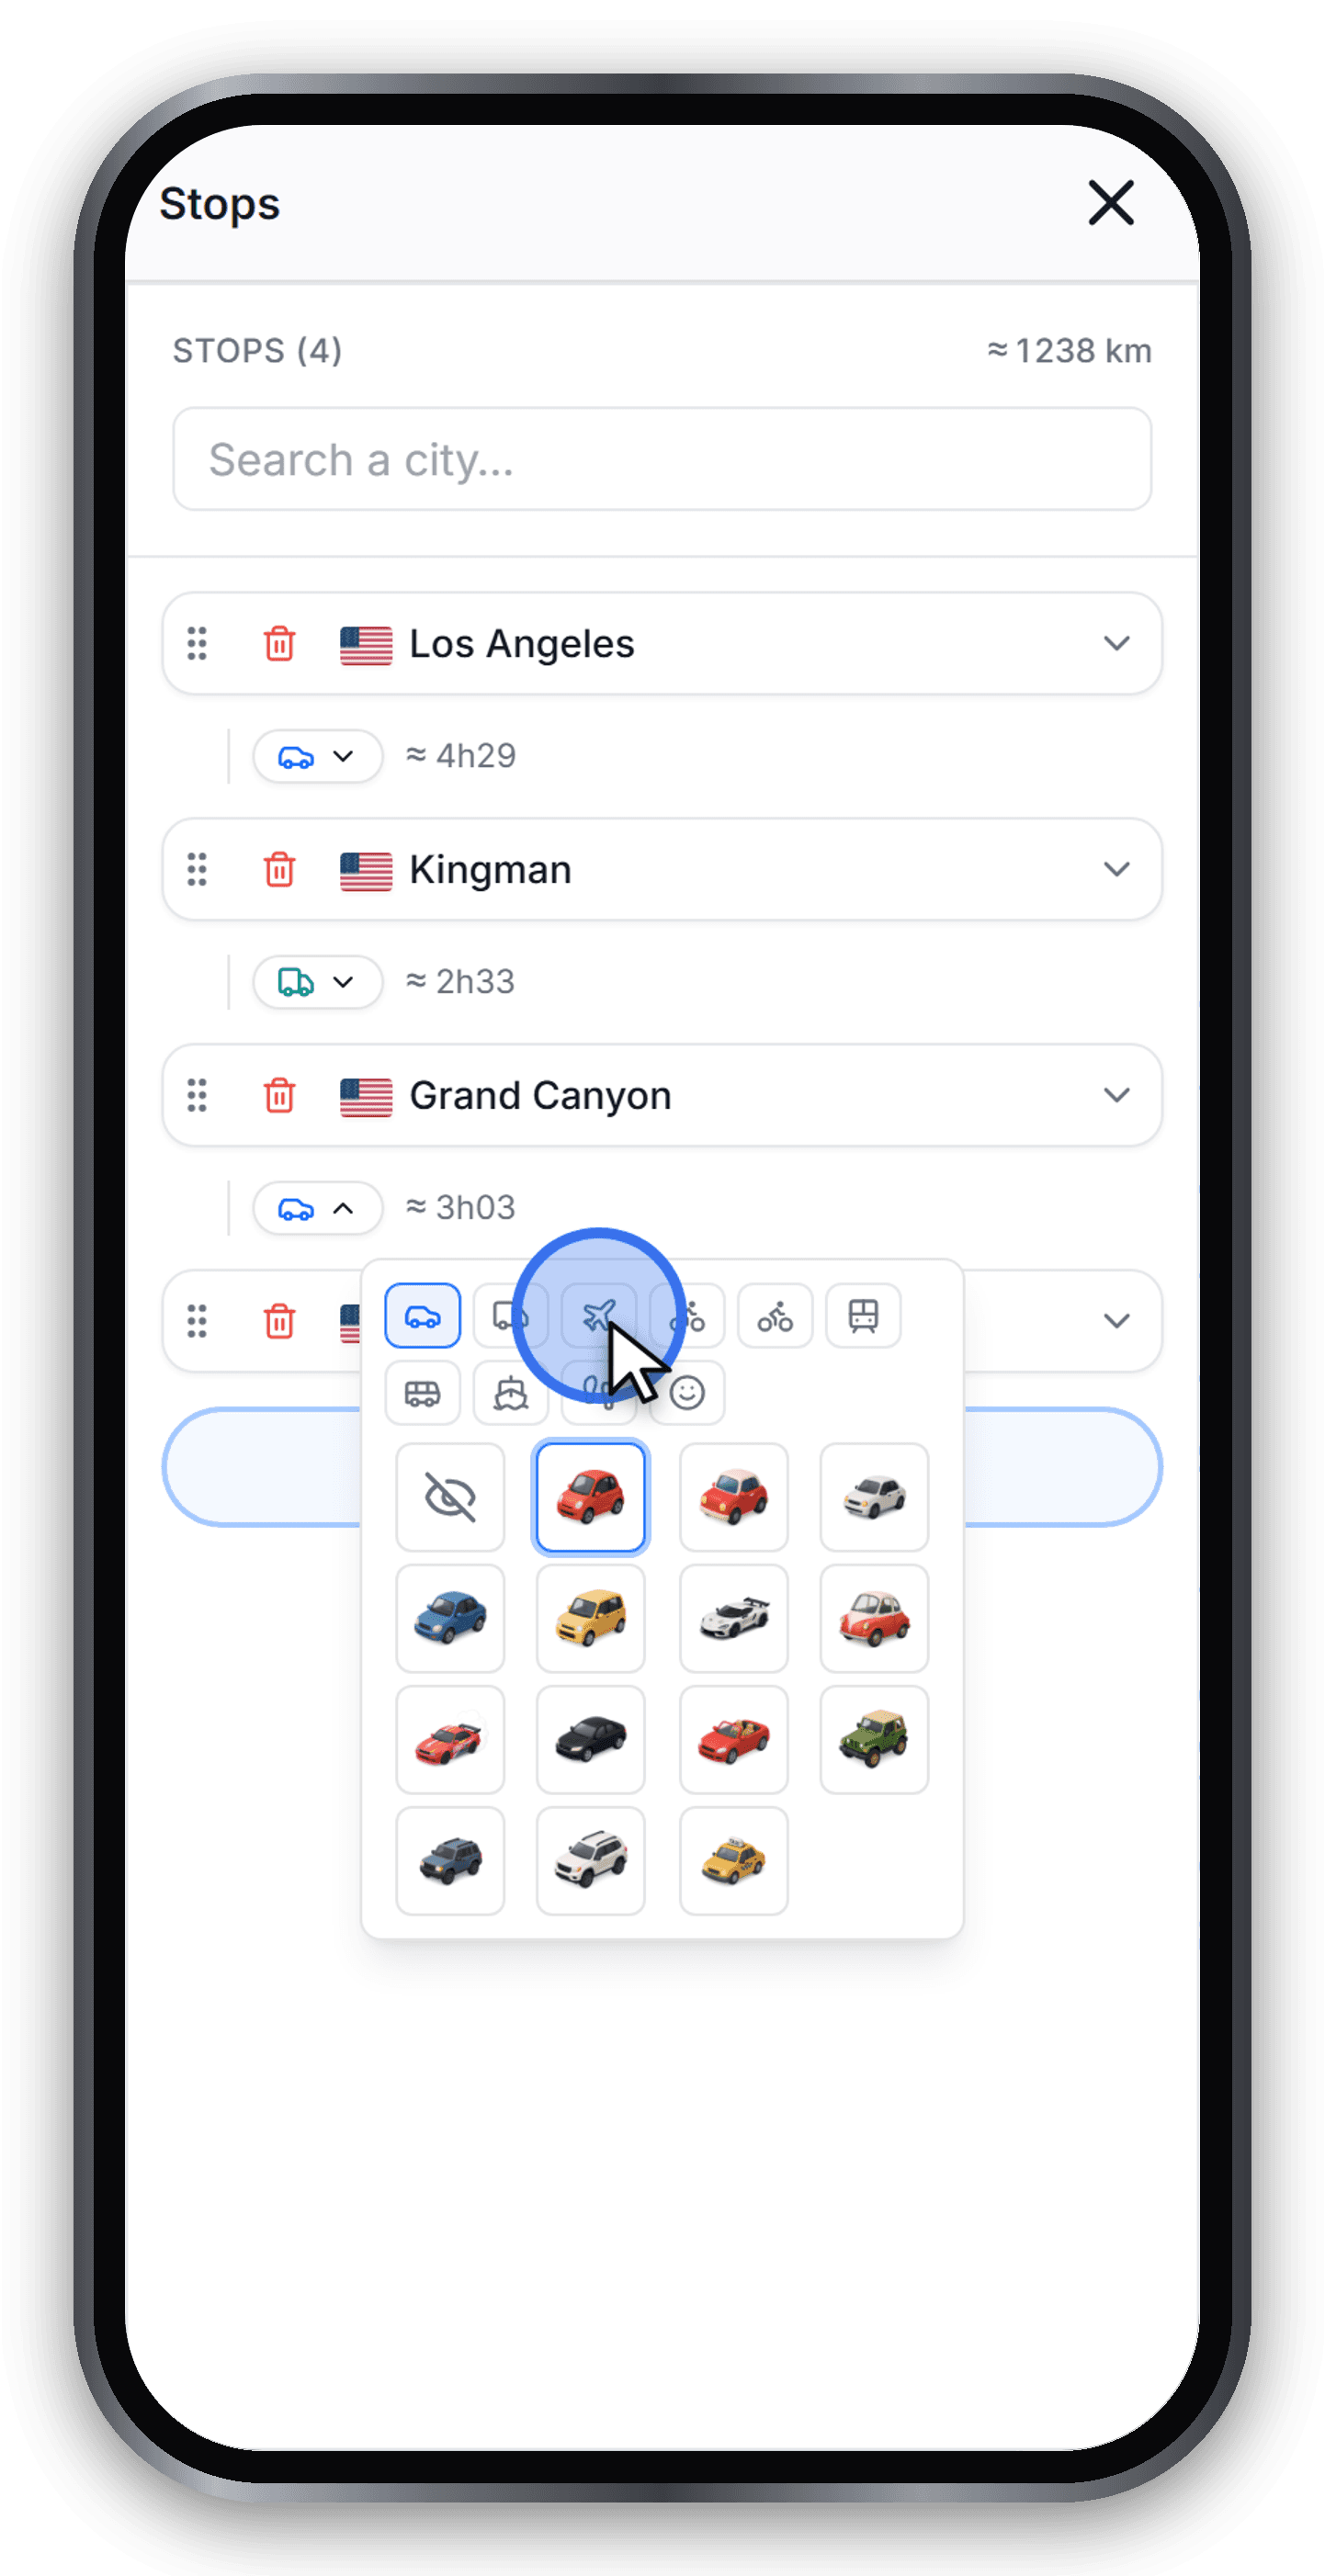
Each leg between two stops can have its own vehicle. Tap a segment to open the vehicle picker, then choose how you travelled. Here we drive a car out of Los Angeles, switch to a van toward the Grand Canyon, then hop on a plane to Las Vegas.
With routing enabled, ground vehicles use the available road network; air travel uses an arc. These are illustrative routes, not navigation instructions or confirmed schedules.
Control and access: Transport mode
Step 7 - Pick a map style
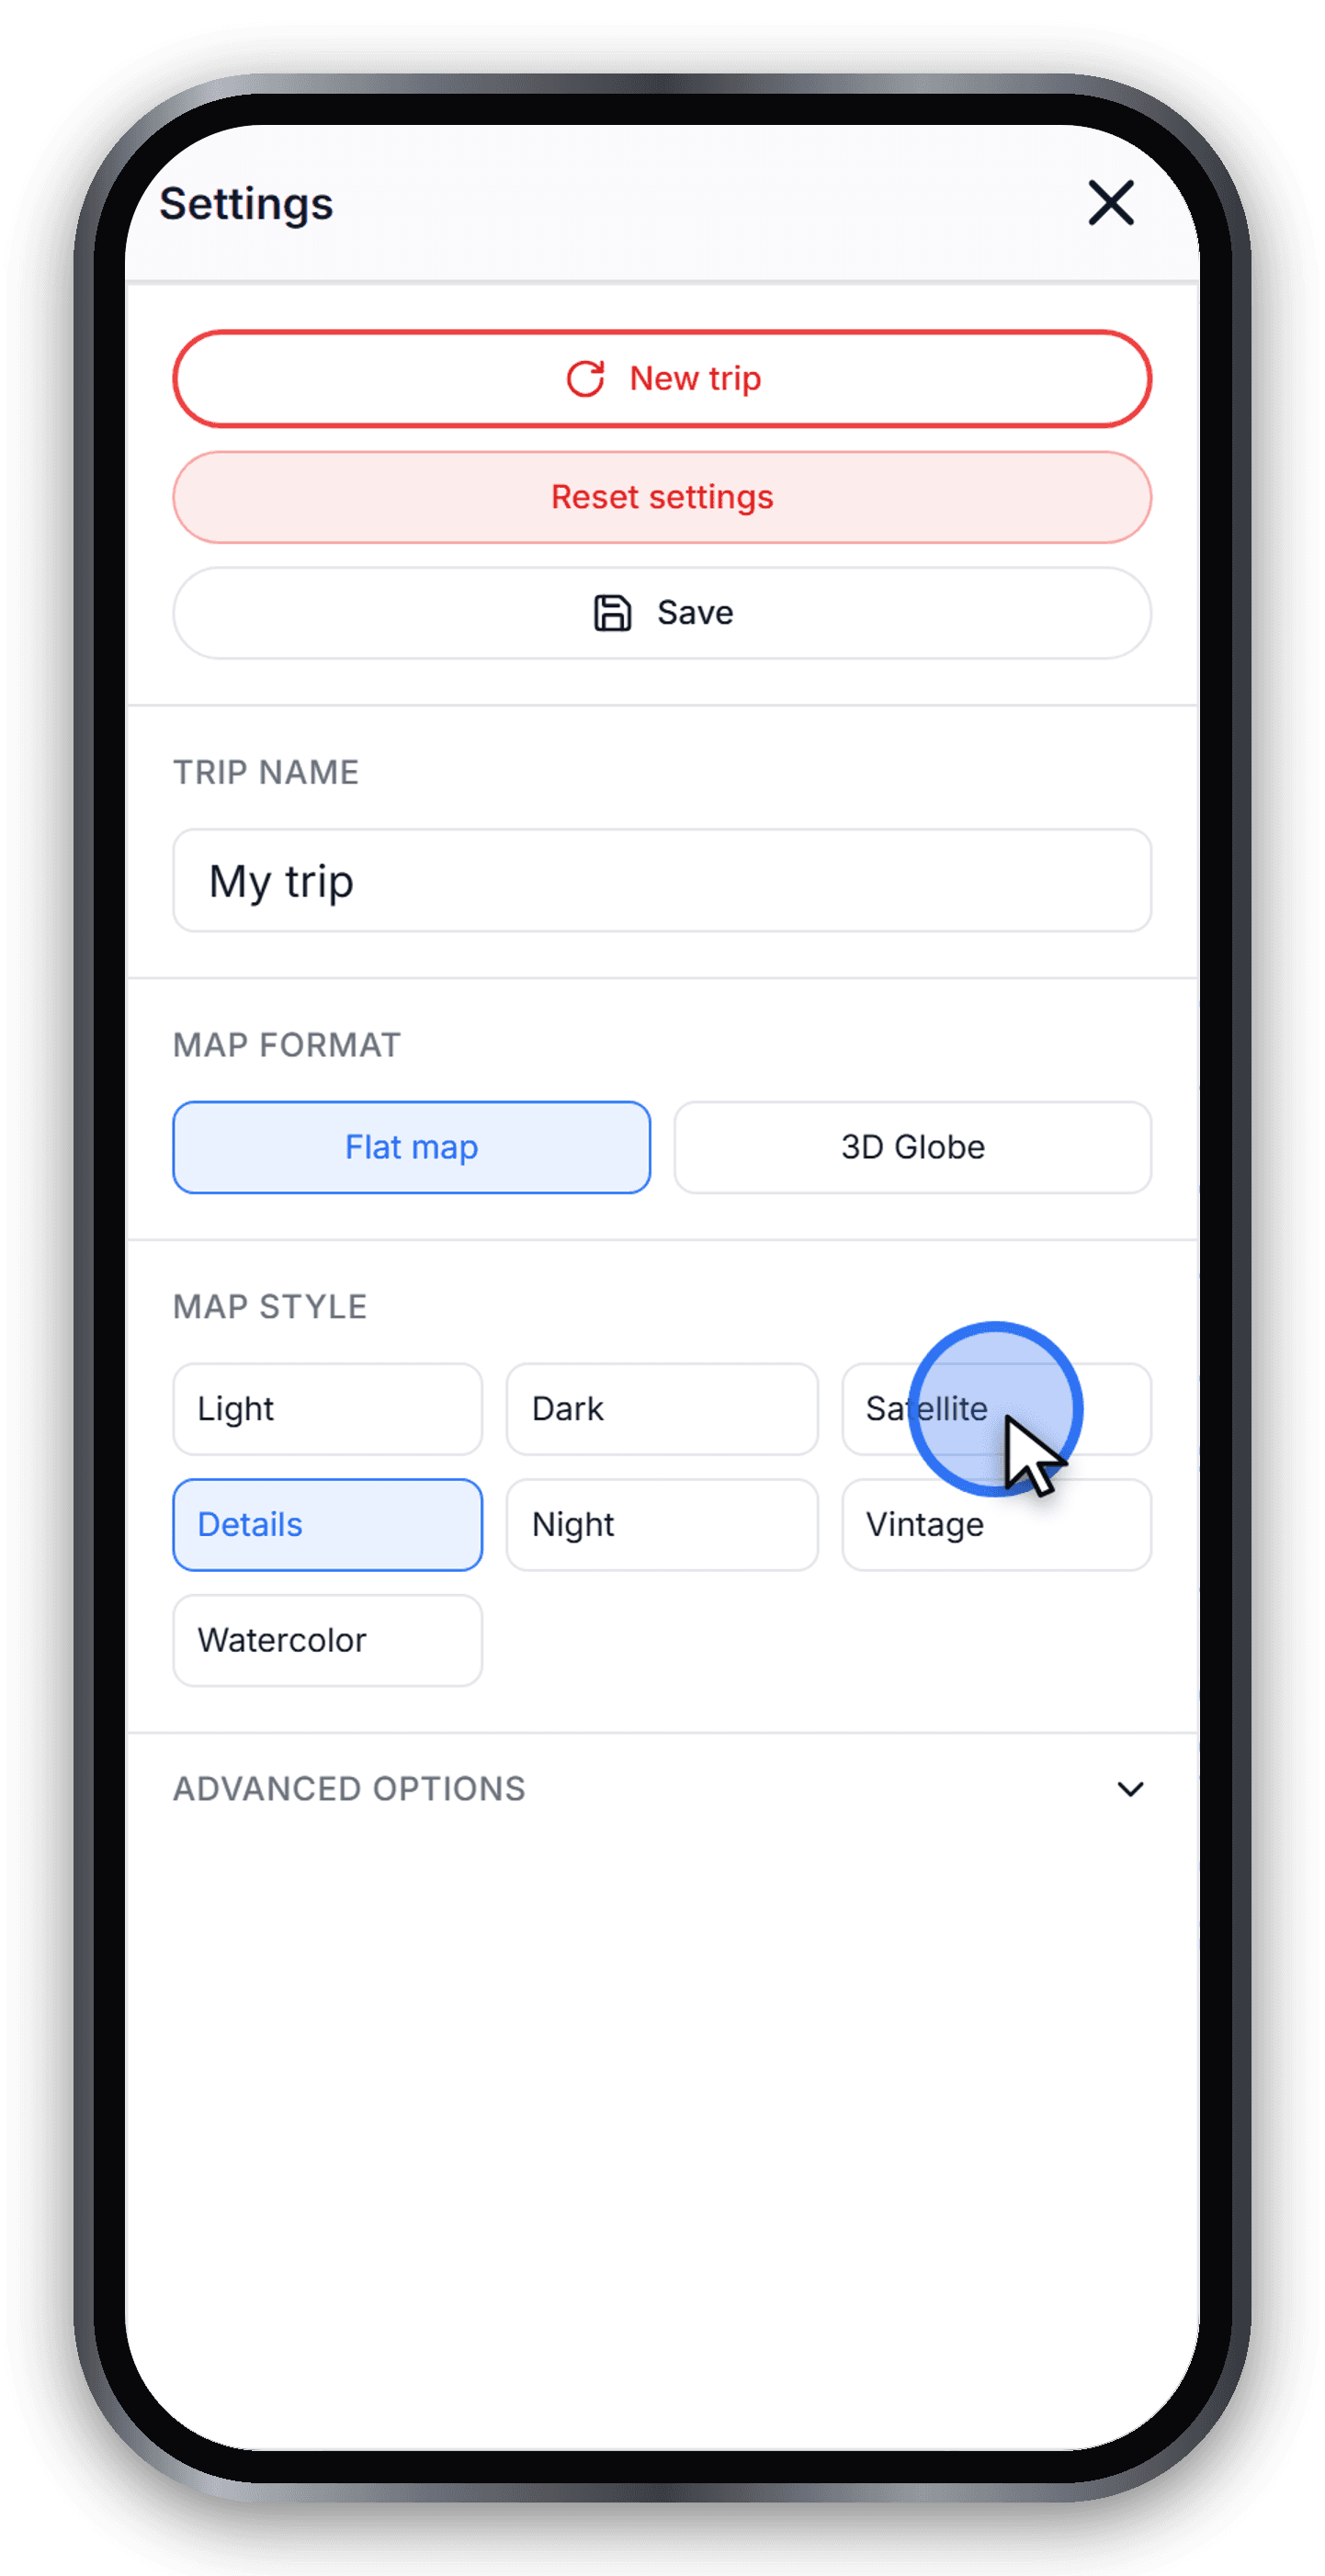
Reopen the Settings panel and choose a map style that matches the mood of your trip. Light suits city breaks and Vintage feels nostalgic, but for an outdoor road trip the Satellite style gives the most cinematic look.
Step 8 - Recenter the map
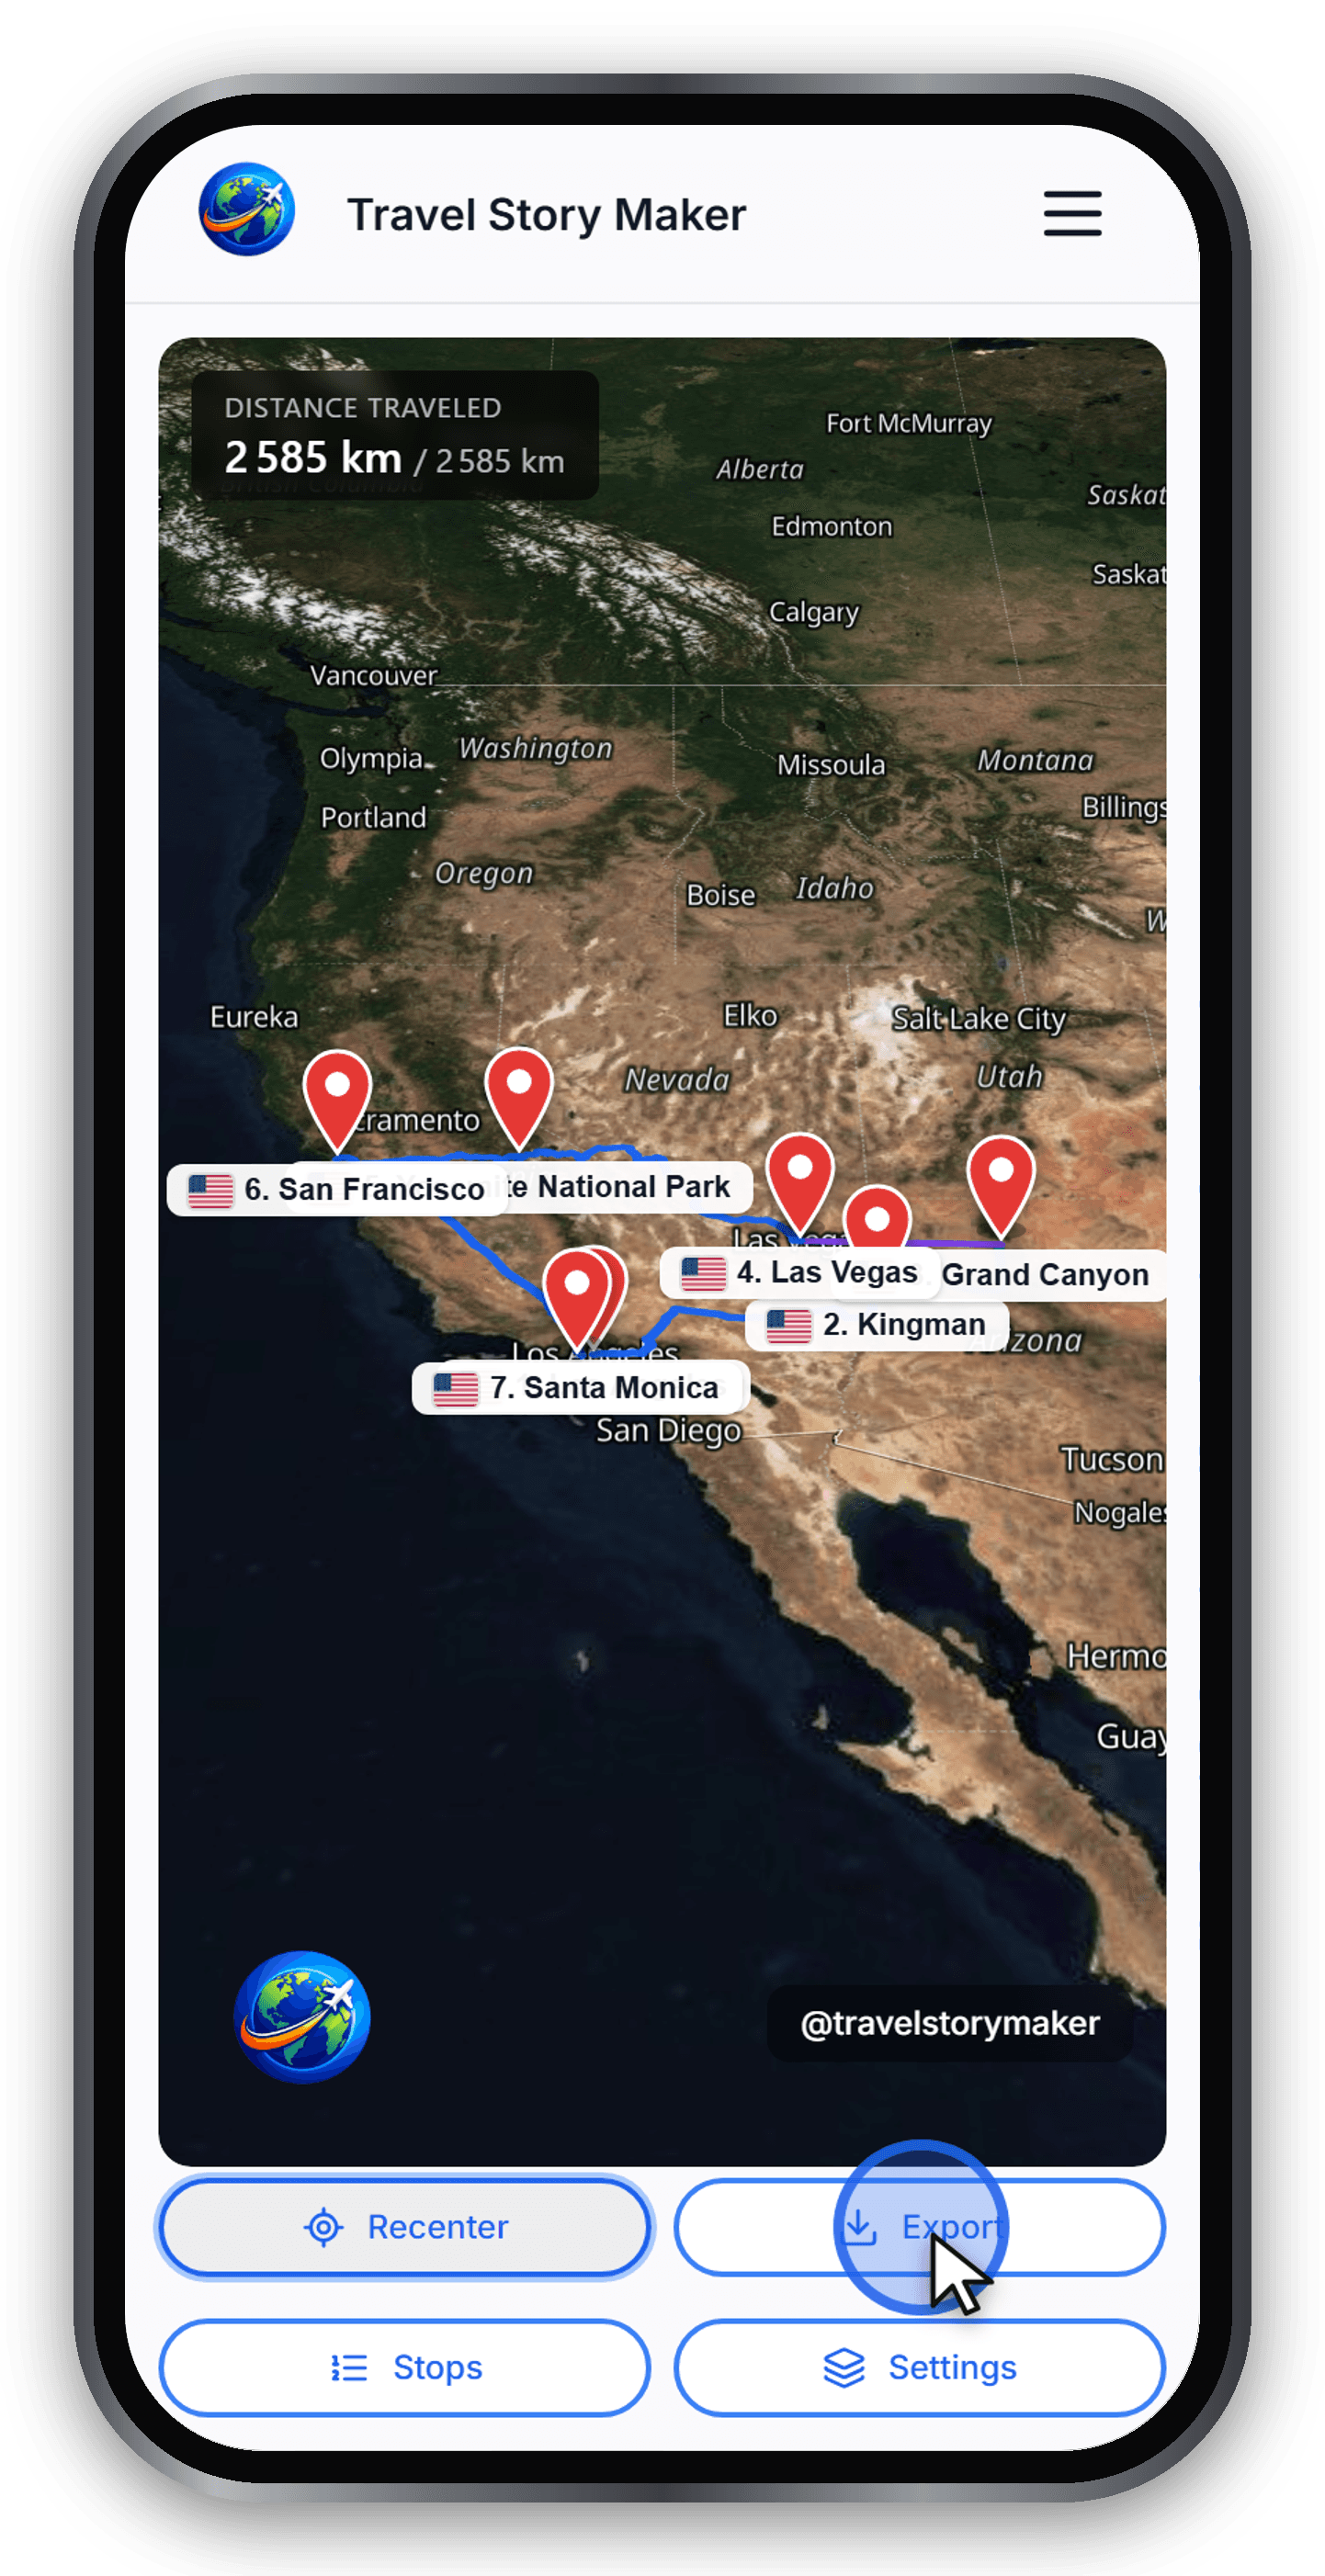
Use Recenter to frame all your stops at once. The editor keeps this view until you start or restart the preview, or scrub the timeline. Your selected camera preset then resumes; exports still use that preset.
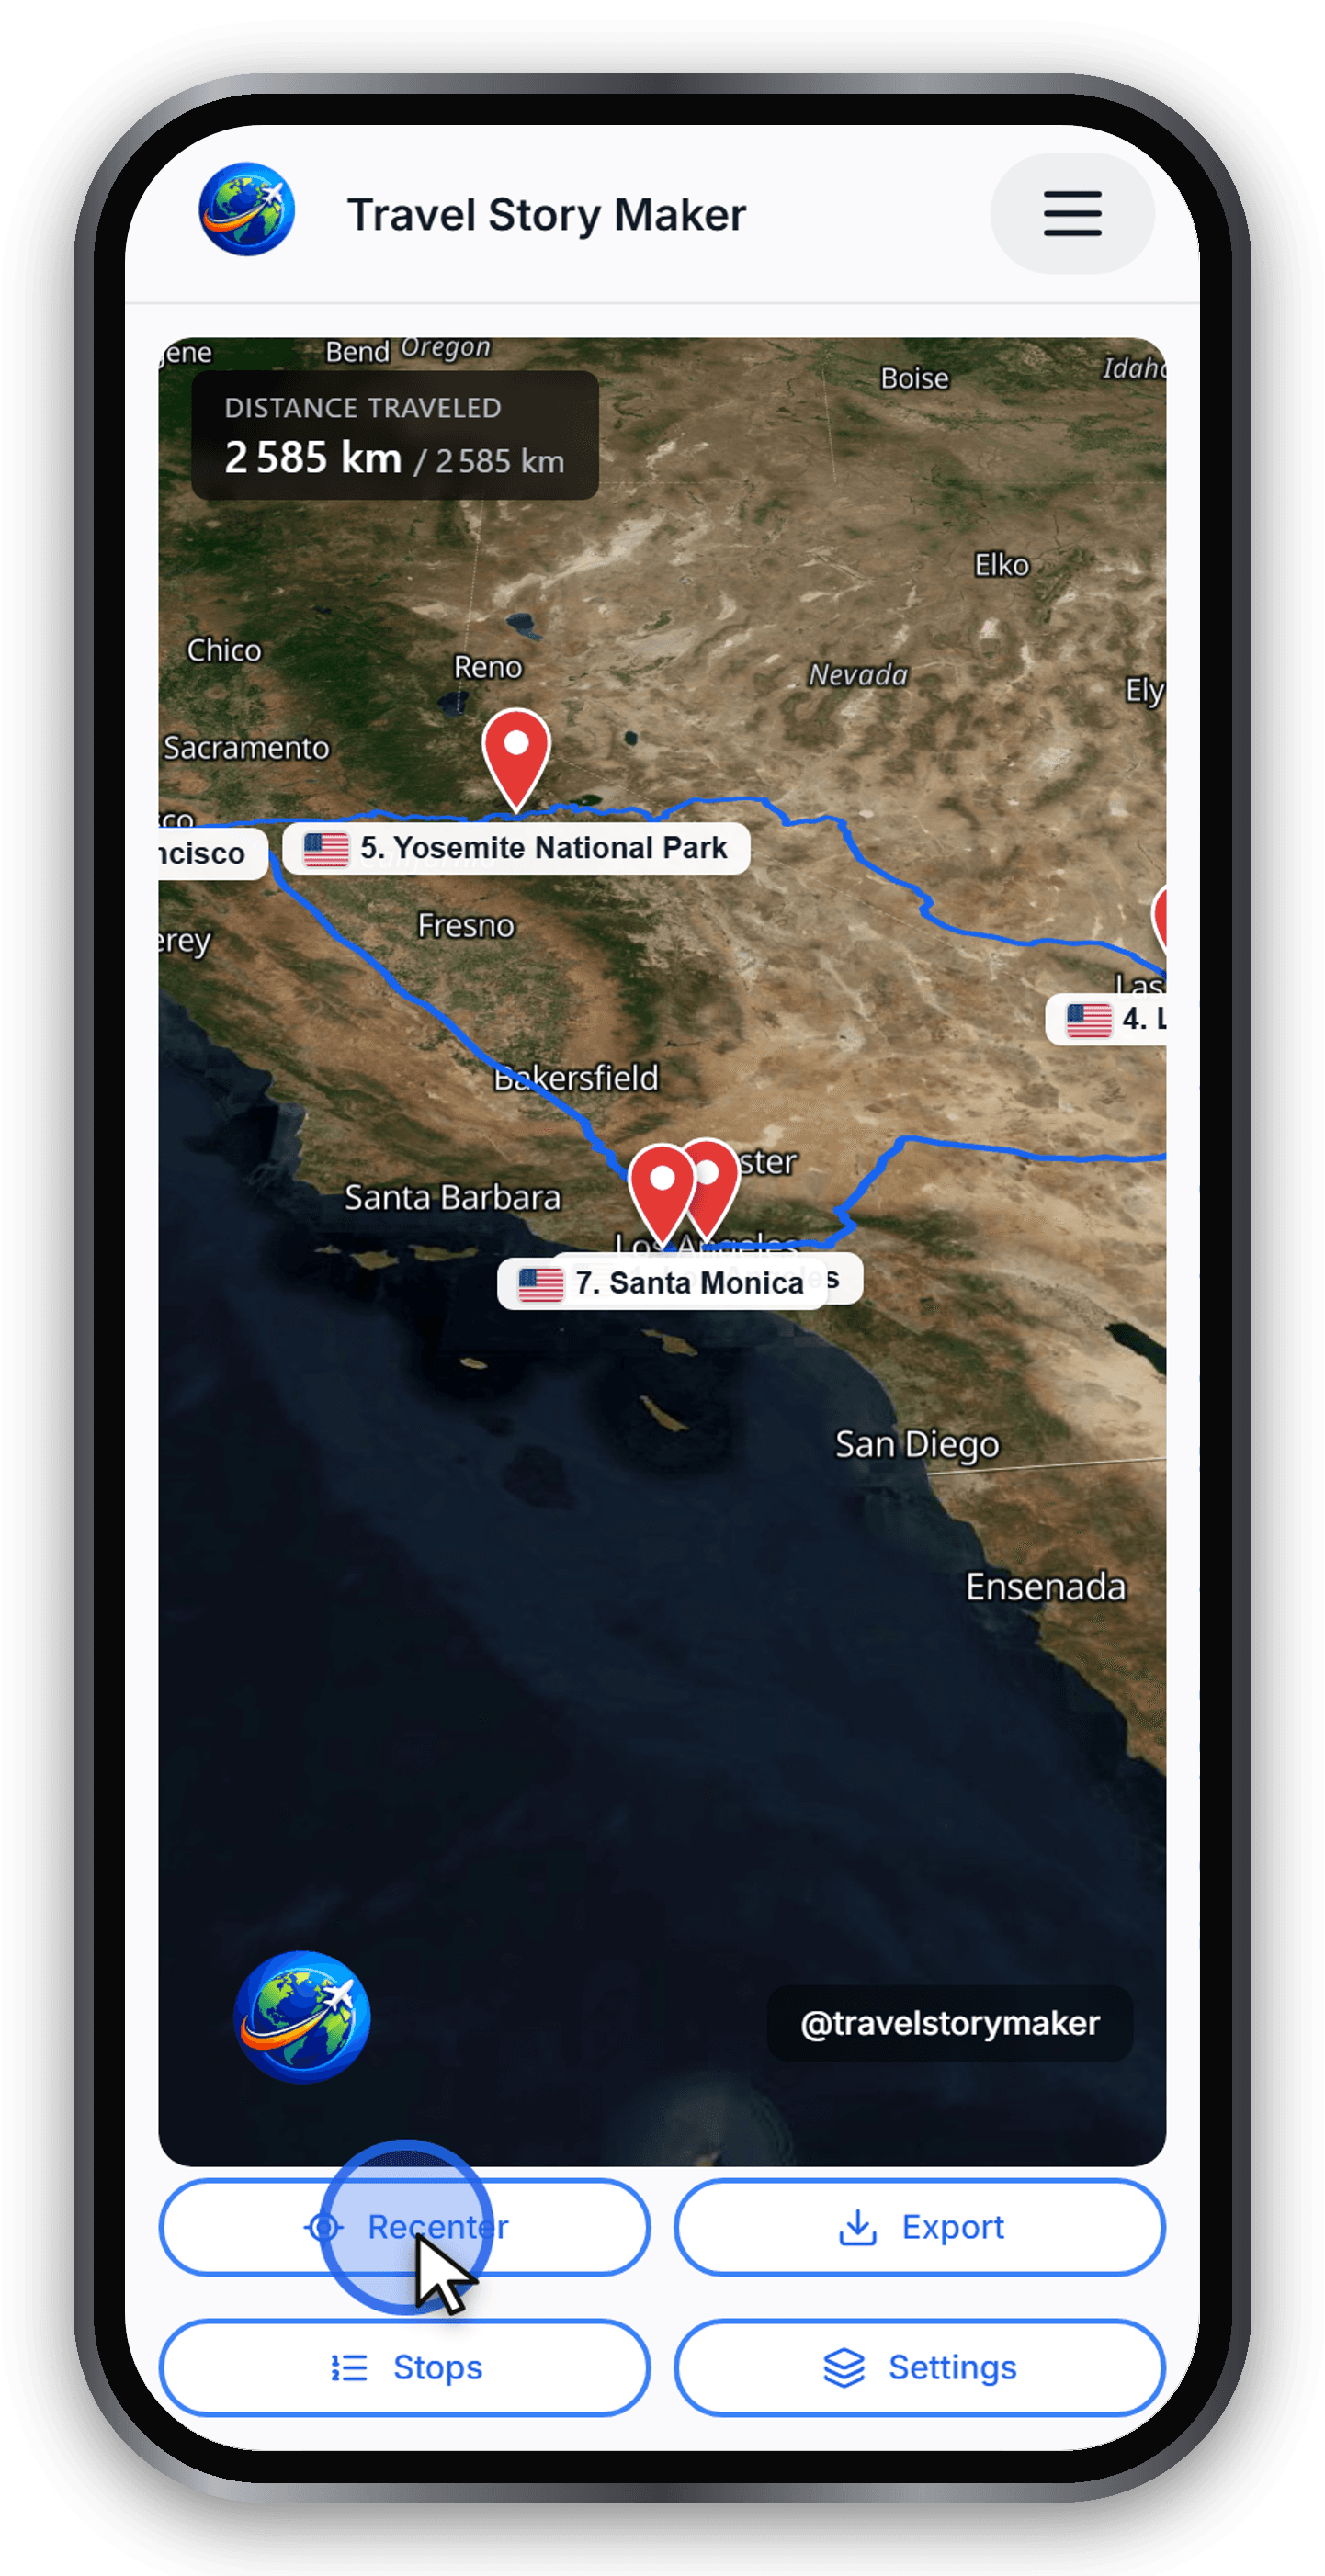
Step 9 - Go to the export page
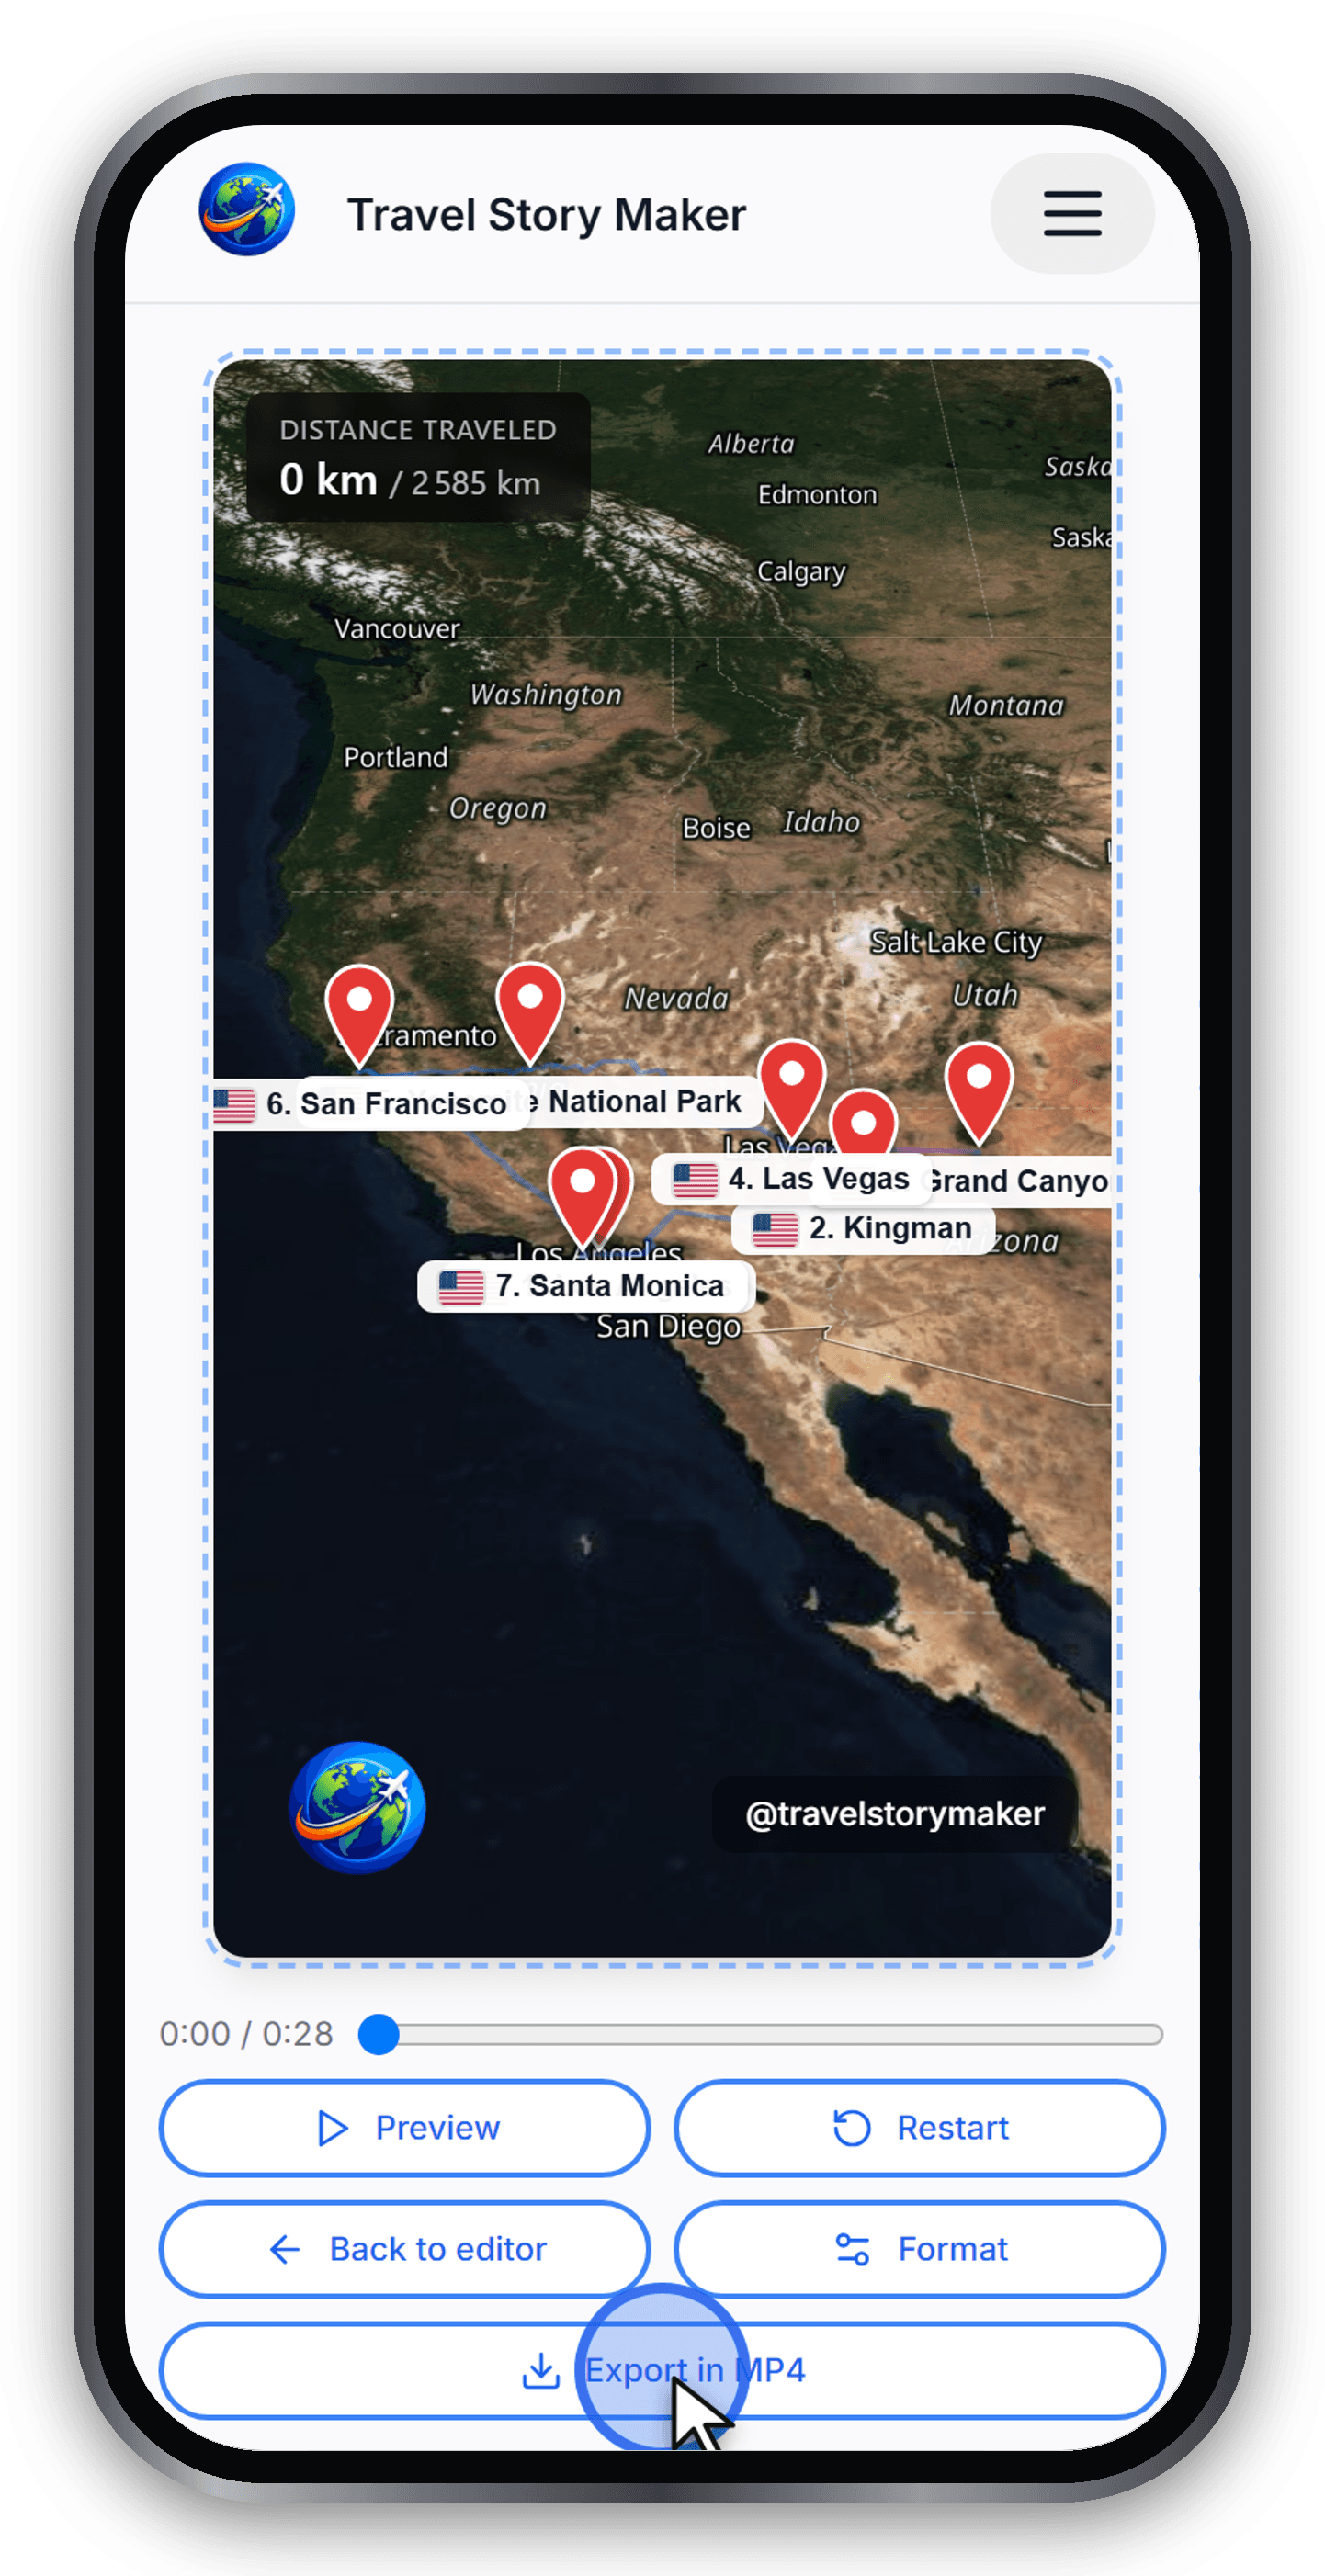
When you are happy with the preview, open the Export page. This is where you choose the format and resolution and render the final video file.
Control and access: Export the video
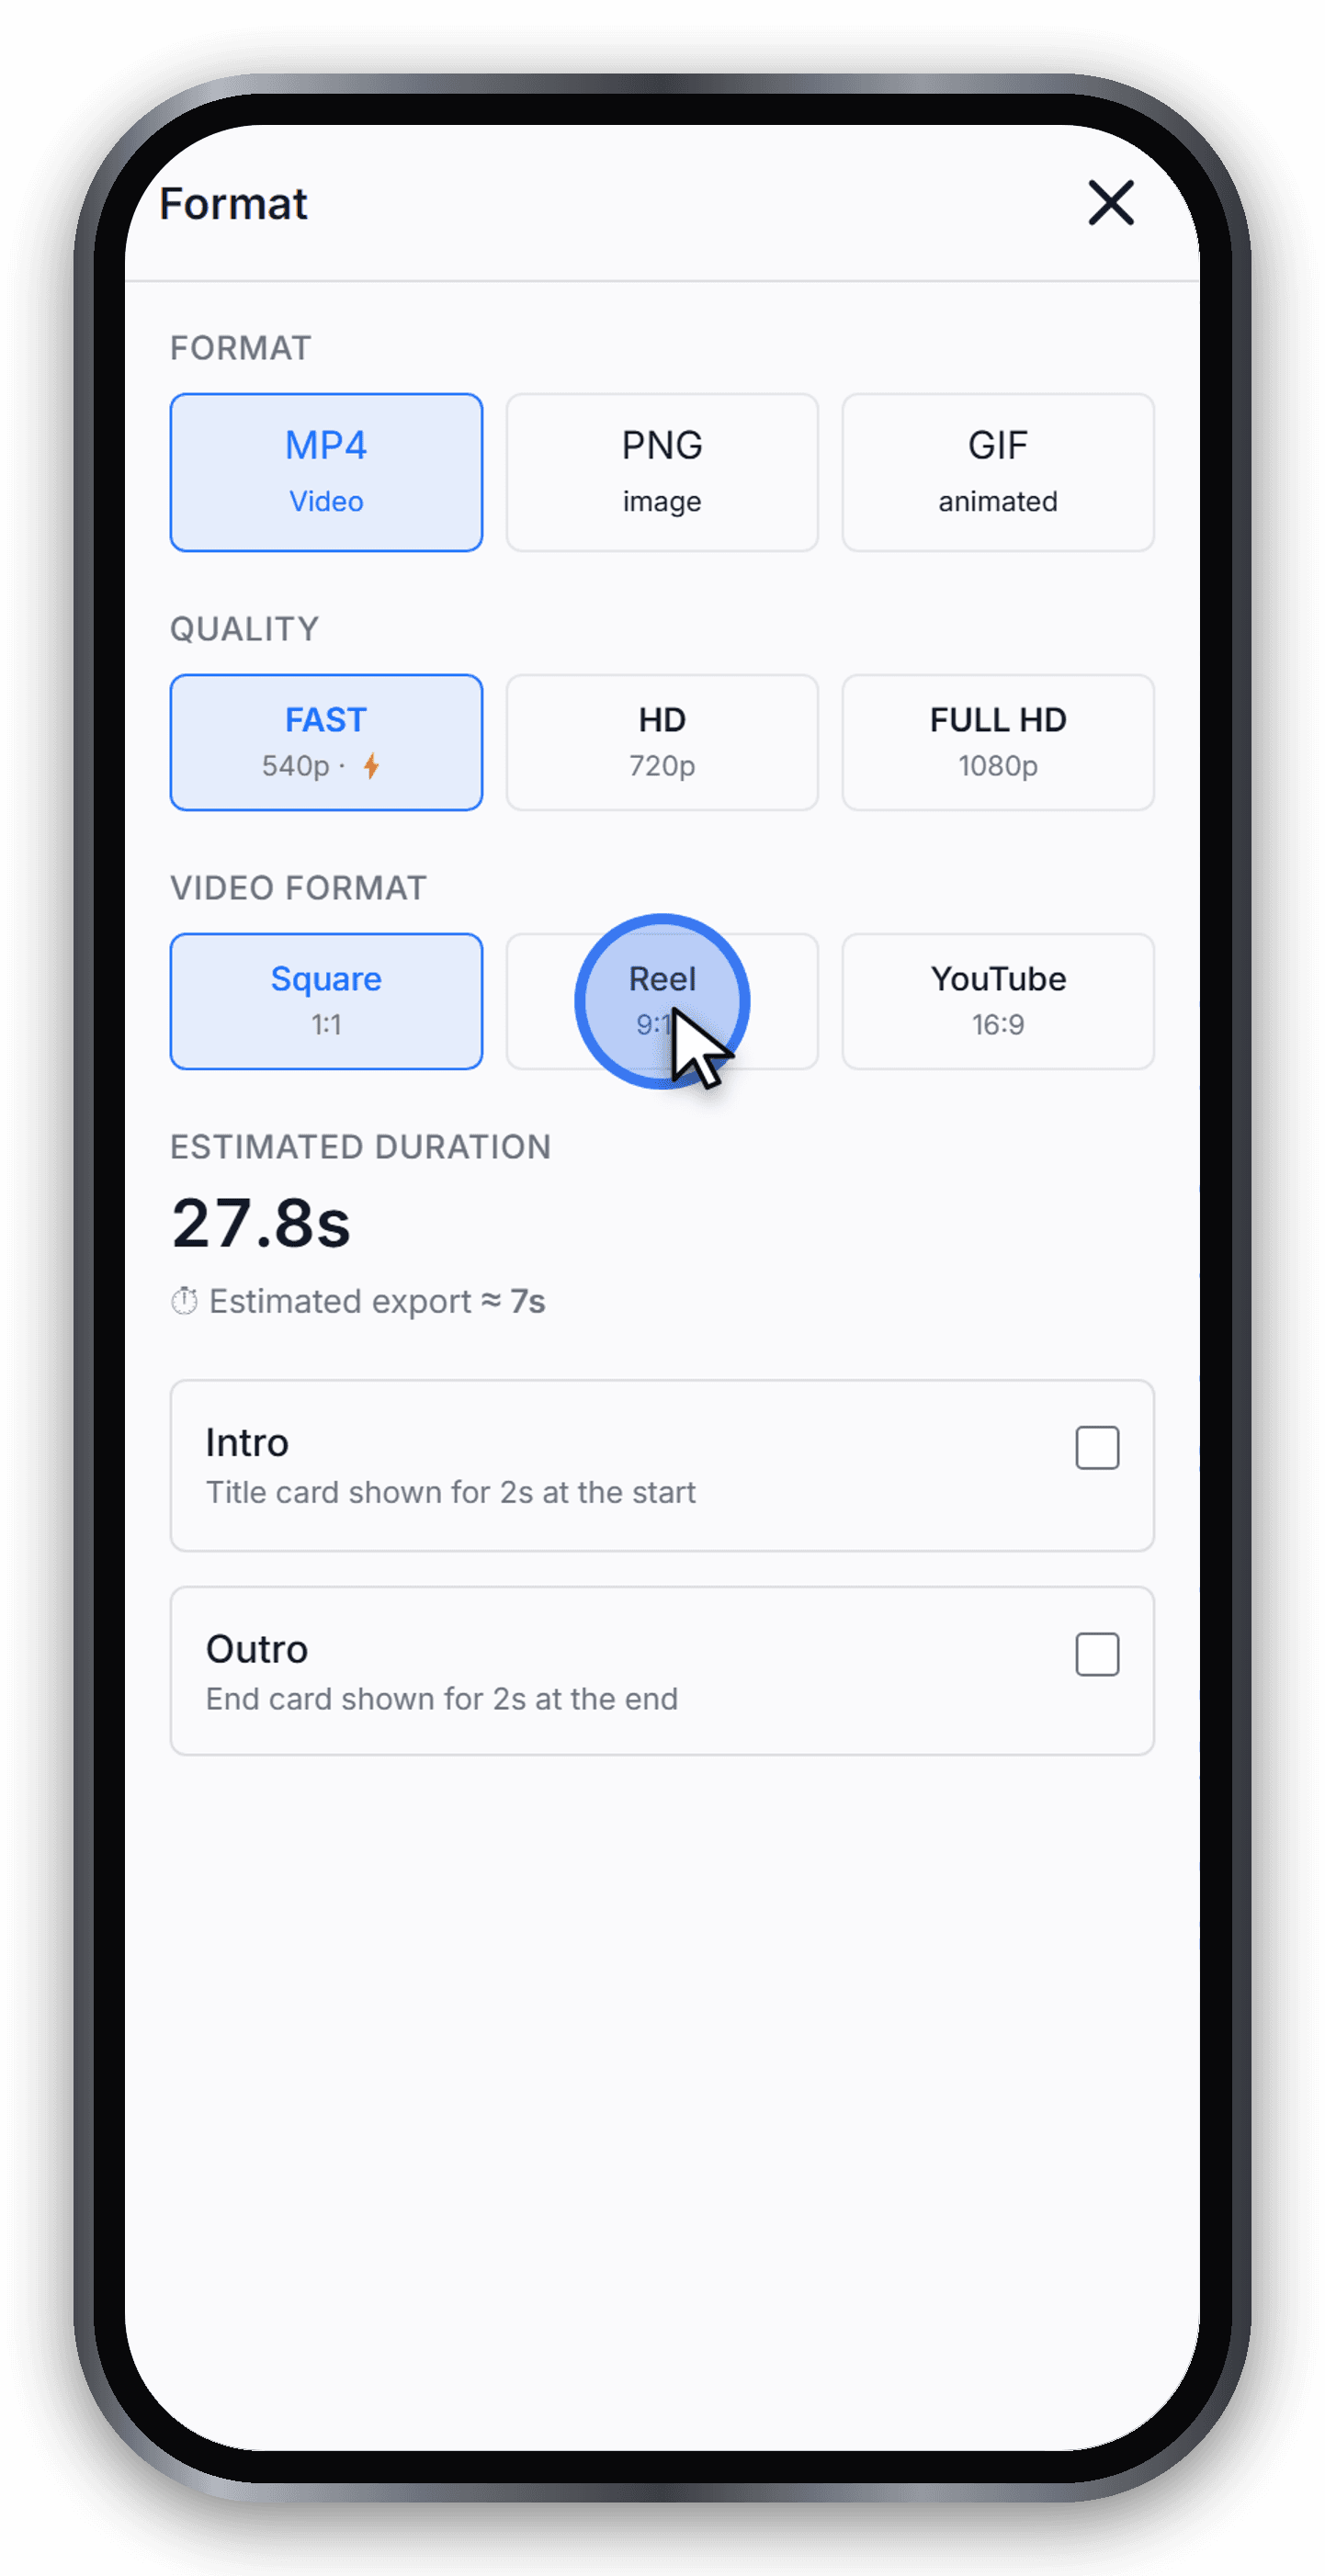
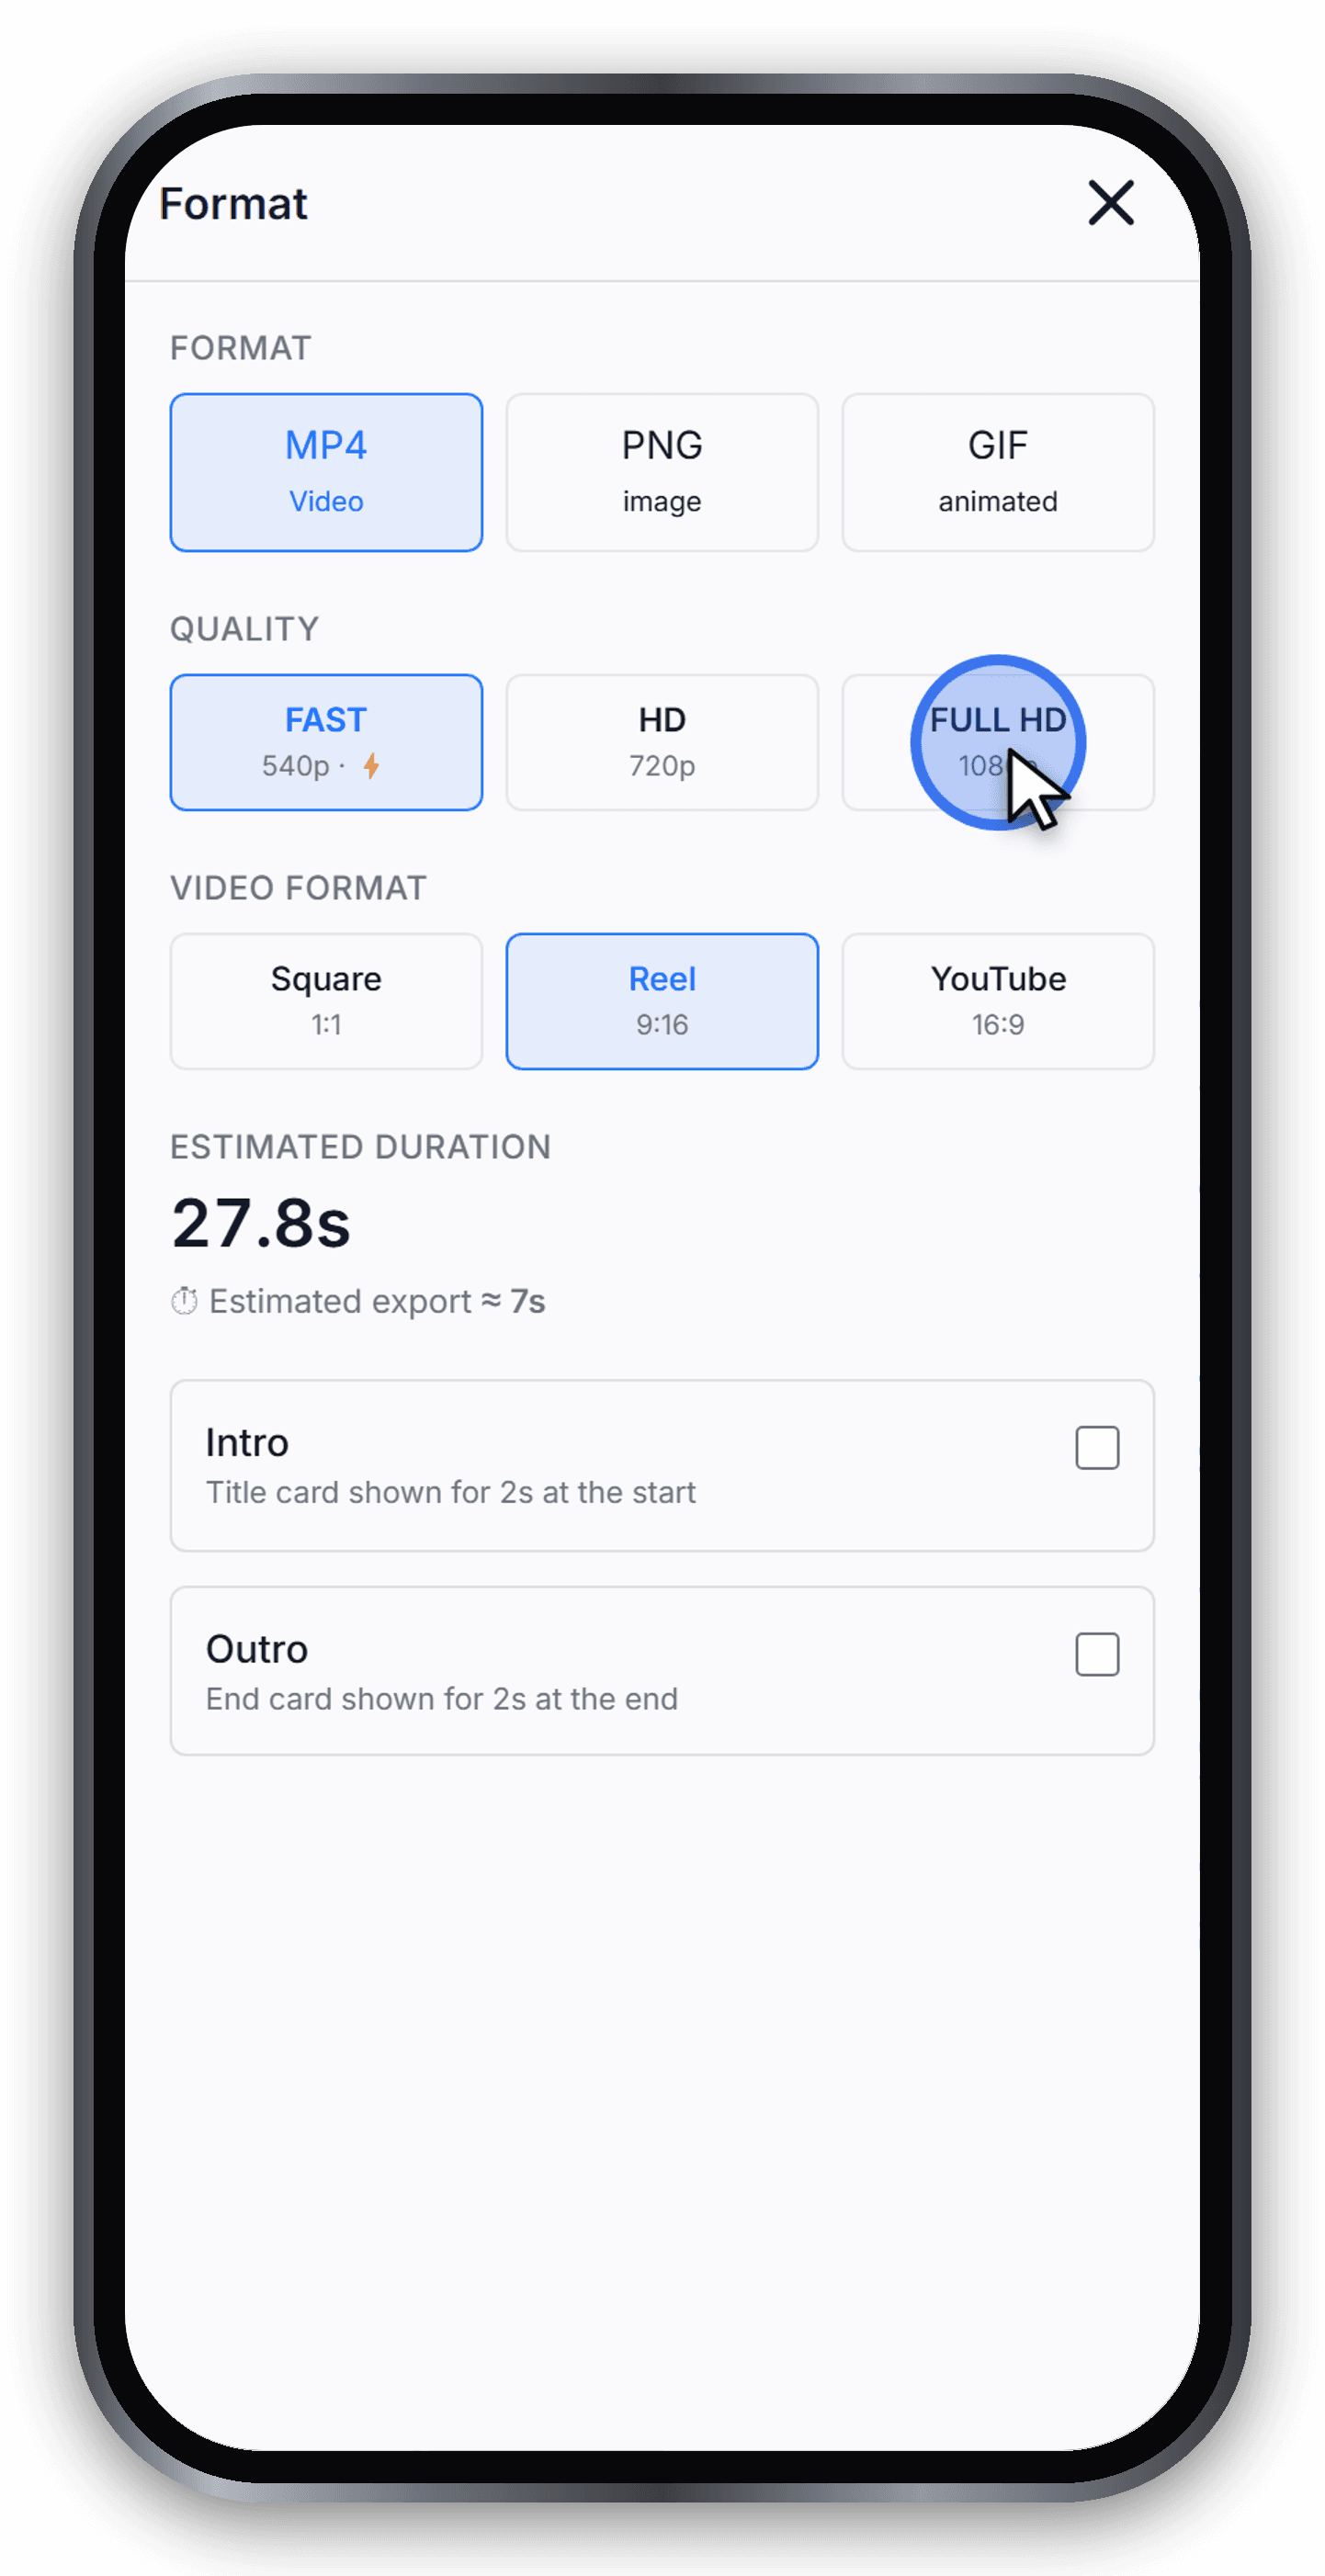
Step 10 - Choose format and resolution
Choose Reel / Story, YouTube or Square on the export page. Each preset selects compatible options available to your profile. Advanced settings contains other formats, frame rates and framing controls; check the actual pixel dimensions before exporting.
Control and access: File format
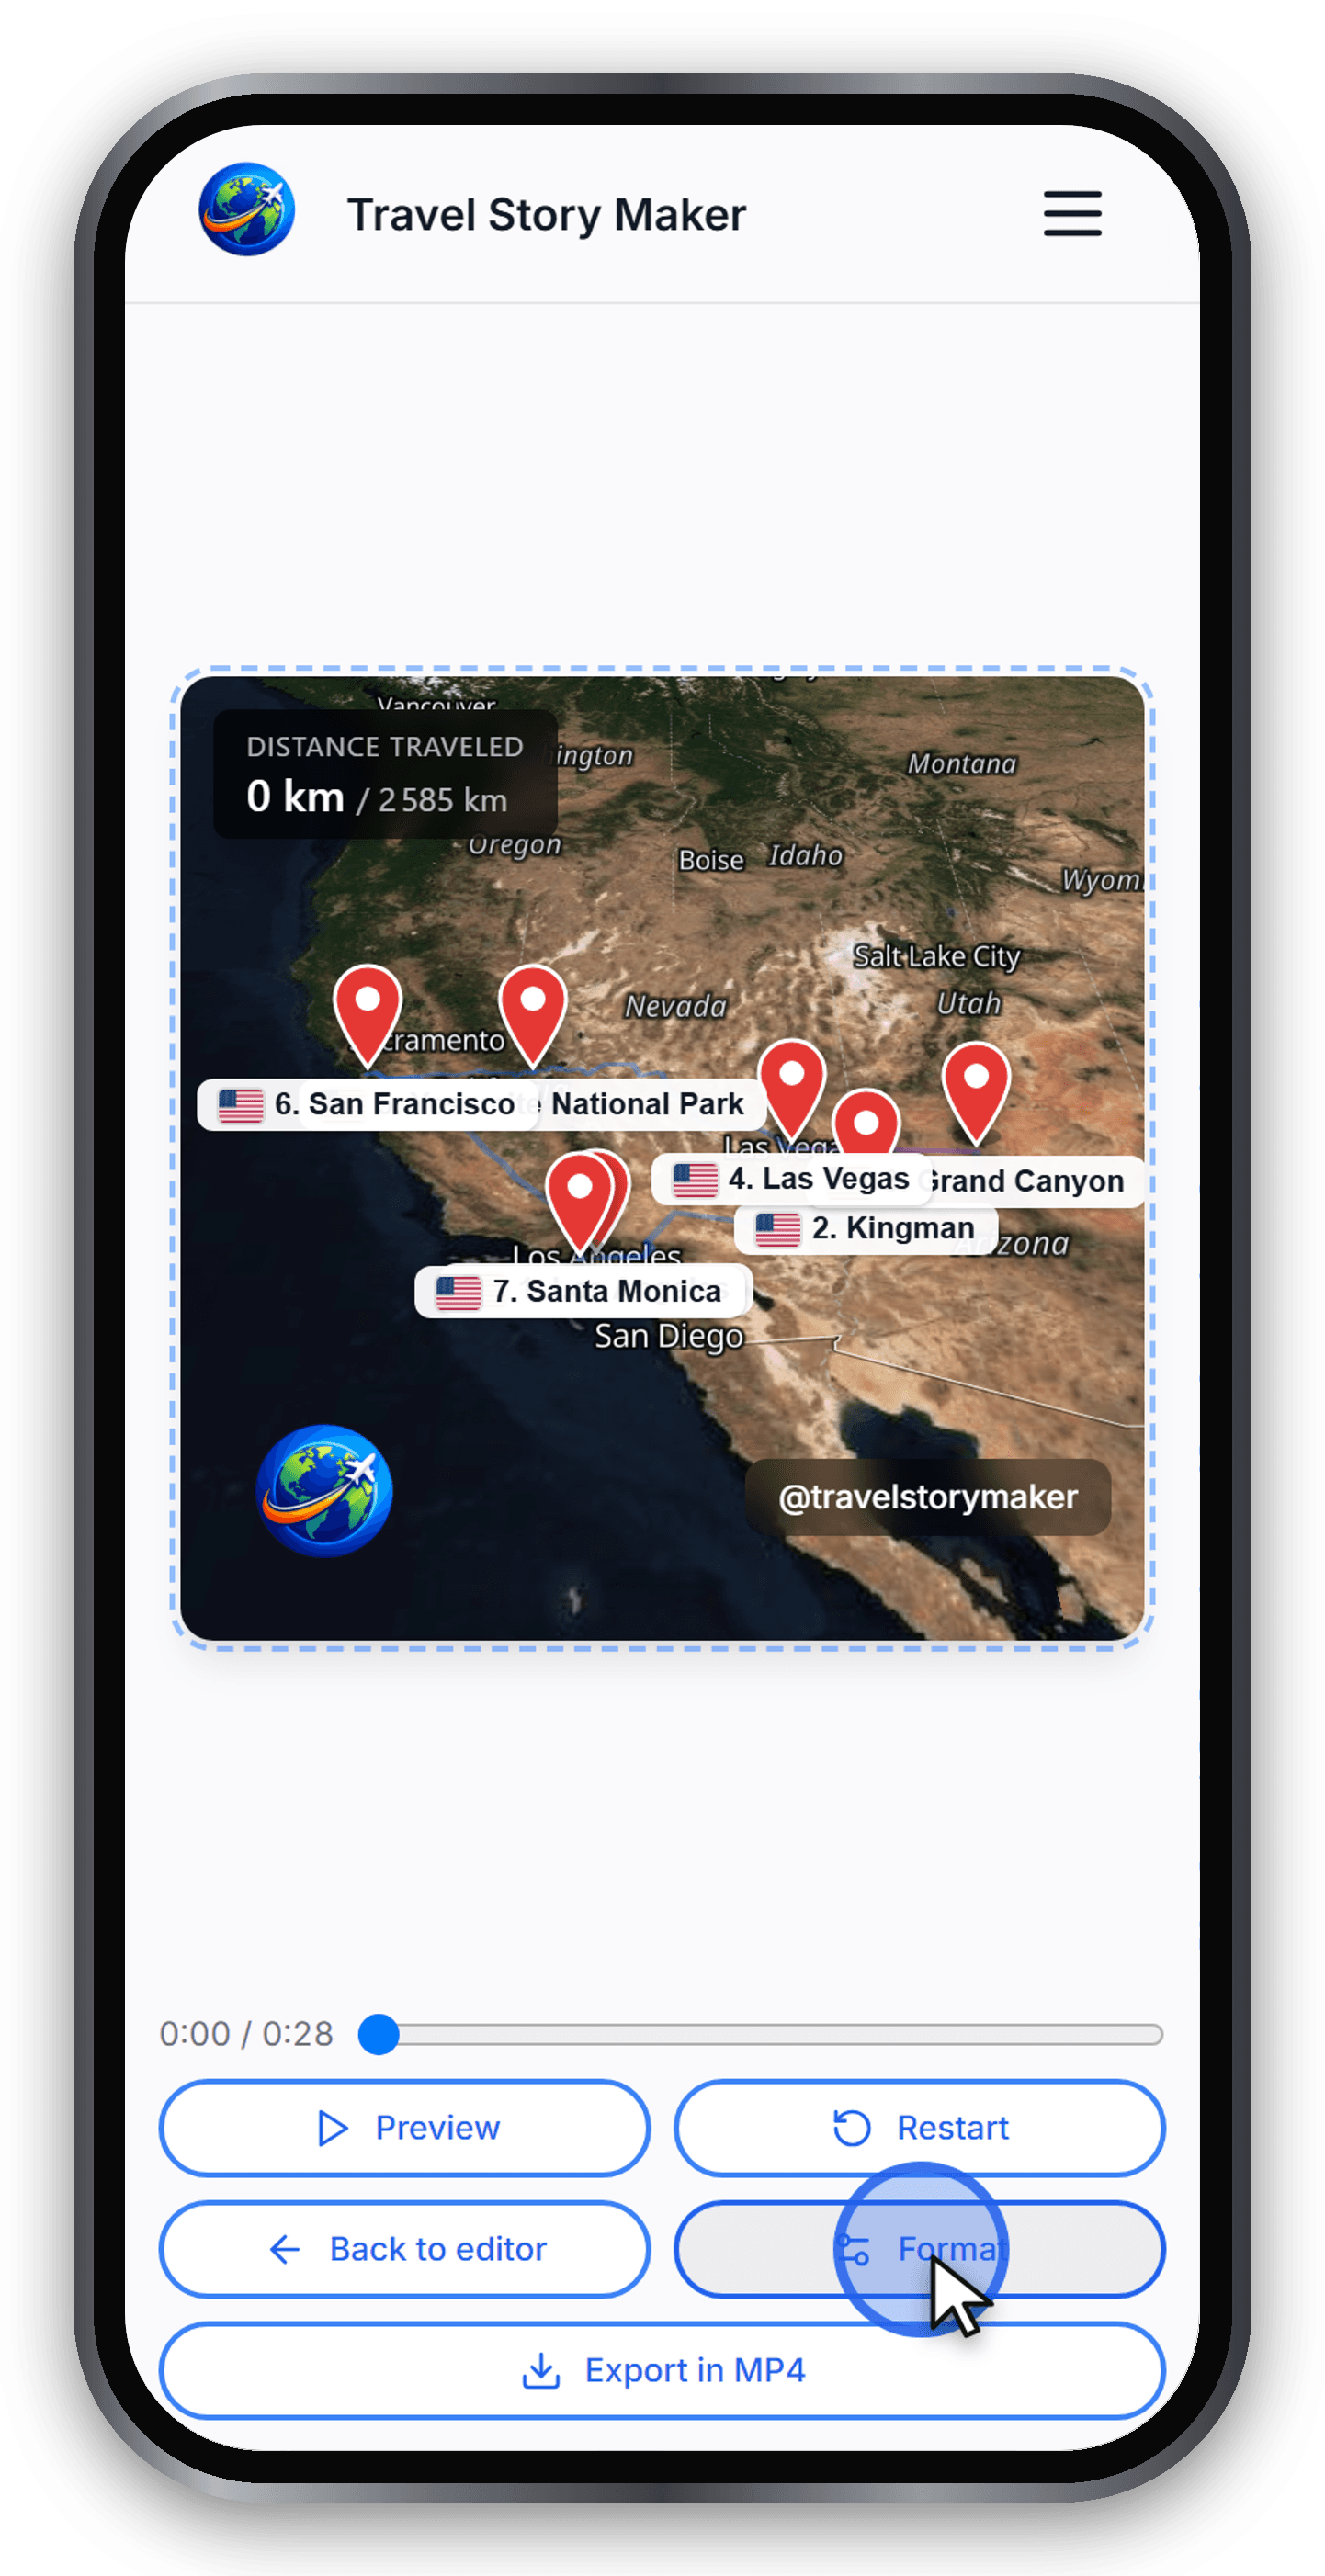
Step 11 - Export your video
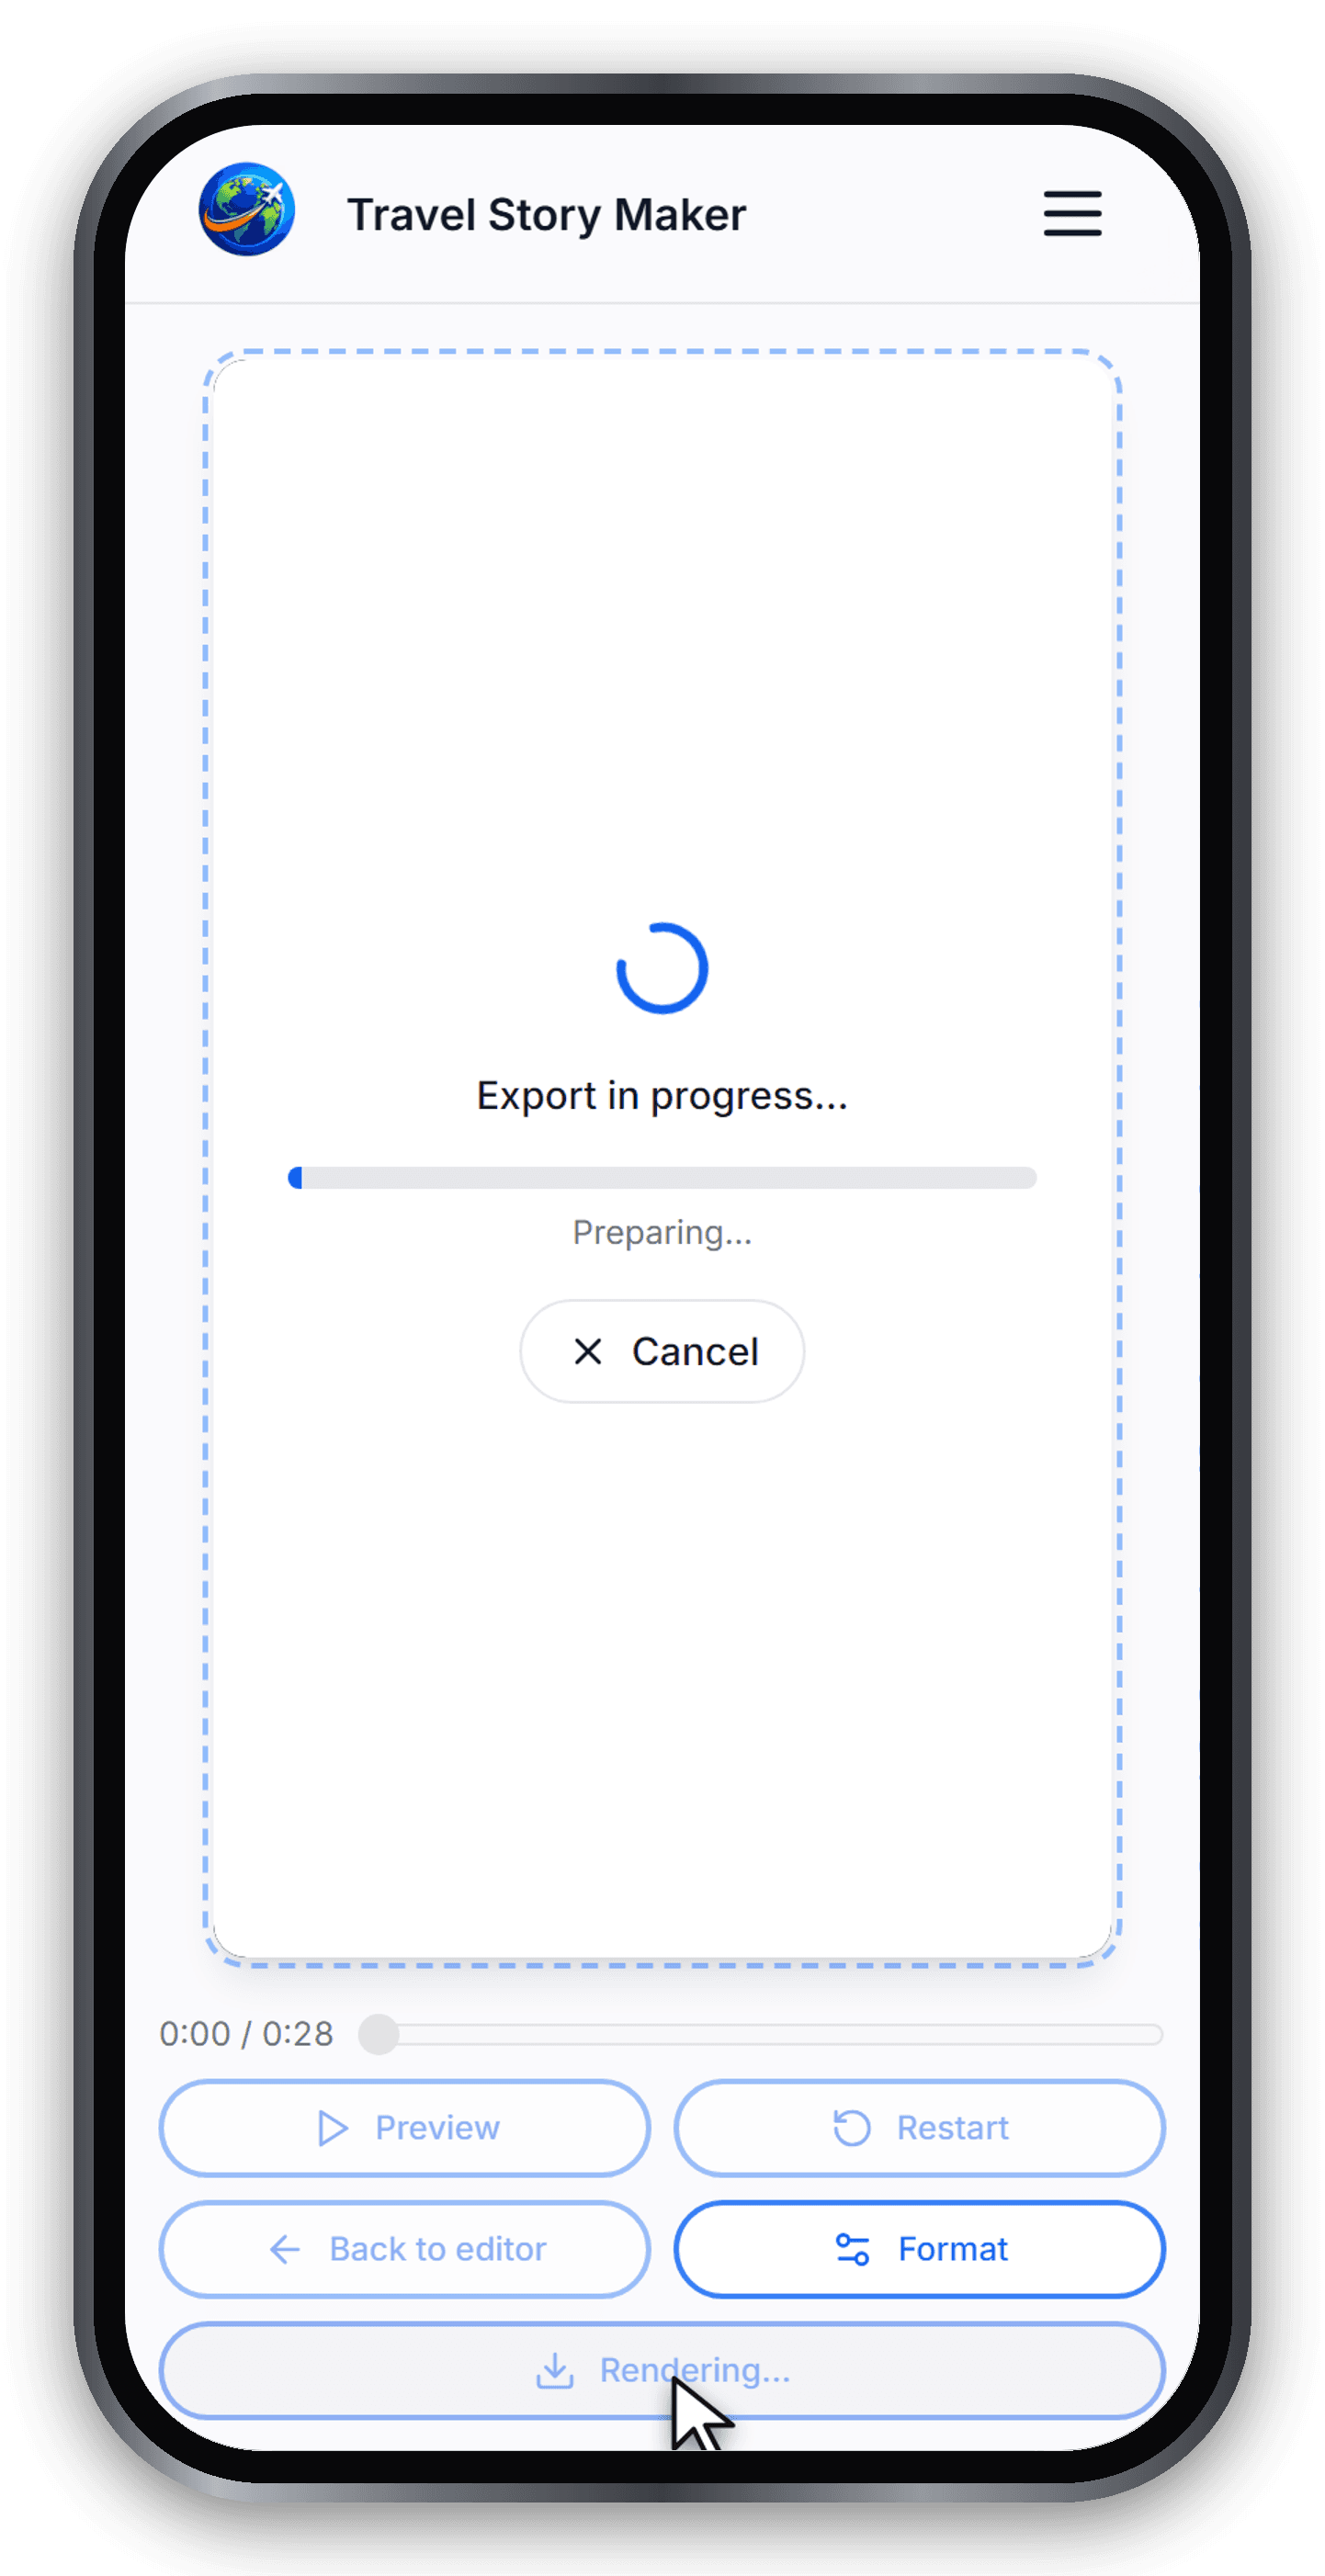
Start export and keep the tab open. Rendering is local; saving or sharing uploads a project copy, and map providers receive the requests needed for the map and route. The completed-file panel shows the actual format and offers another download. See privacy and photo processing.
Control and access: Start the export
Going further
You now have a complete travel video from start to finish. Each part of the workflow has a dedicated tutorial - follow them to master every step:
Ready to try?
Open the editor and build your first animated travel map in minutes.
Open the editor