
How to customize icons and markers
Markers are the visual signature of your animated travel map. Alongside the moving vehicle, Travel Story Maker lets you change the destination icon used for every stop - so two trips with the same route can still look completely different.
Screenshots illustrate an earlier interface. The instructions and linked help topics below describe the current controls.
On this page
Vehicle icons vs destination markers
The vehicle guide covers moving vehicles. This guide covers markers placed on destinations.
Open the Destination Icon picker
Open Settings → Labels and find Destination markers. On mobile, open the Settings drawer first. The help topic below uses the current control name.
Control and access: Destination pins
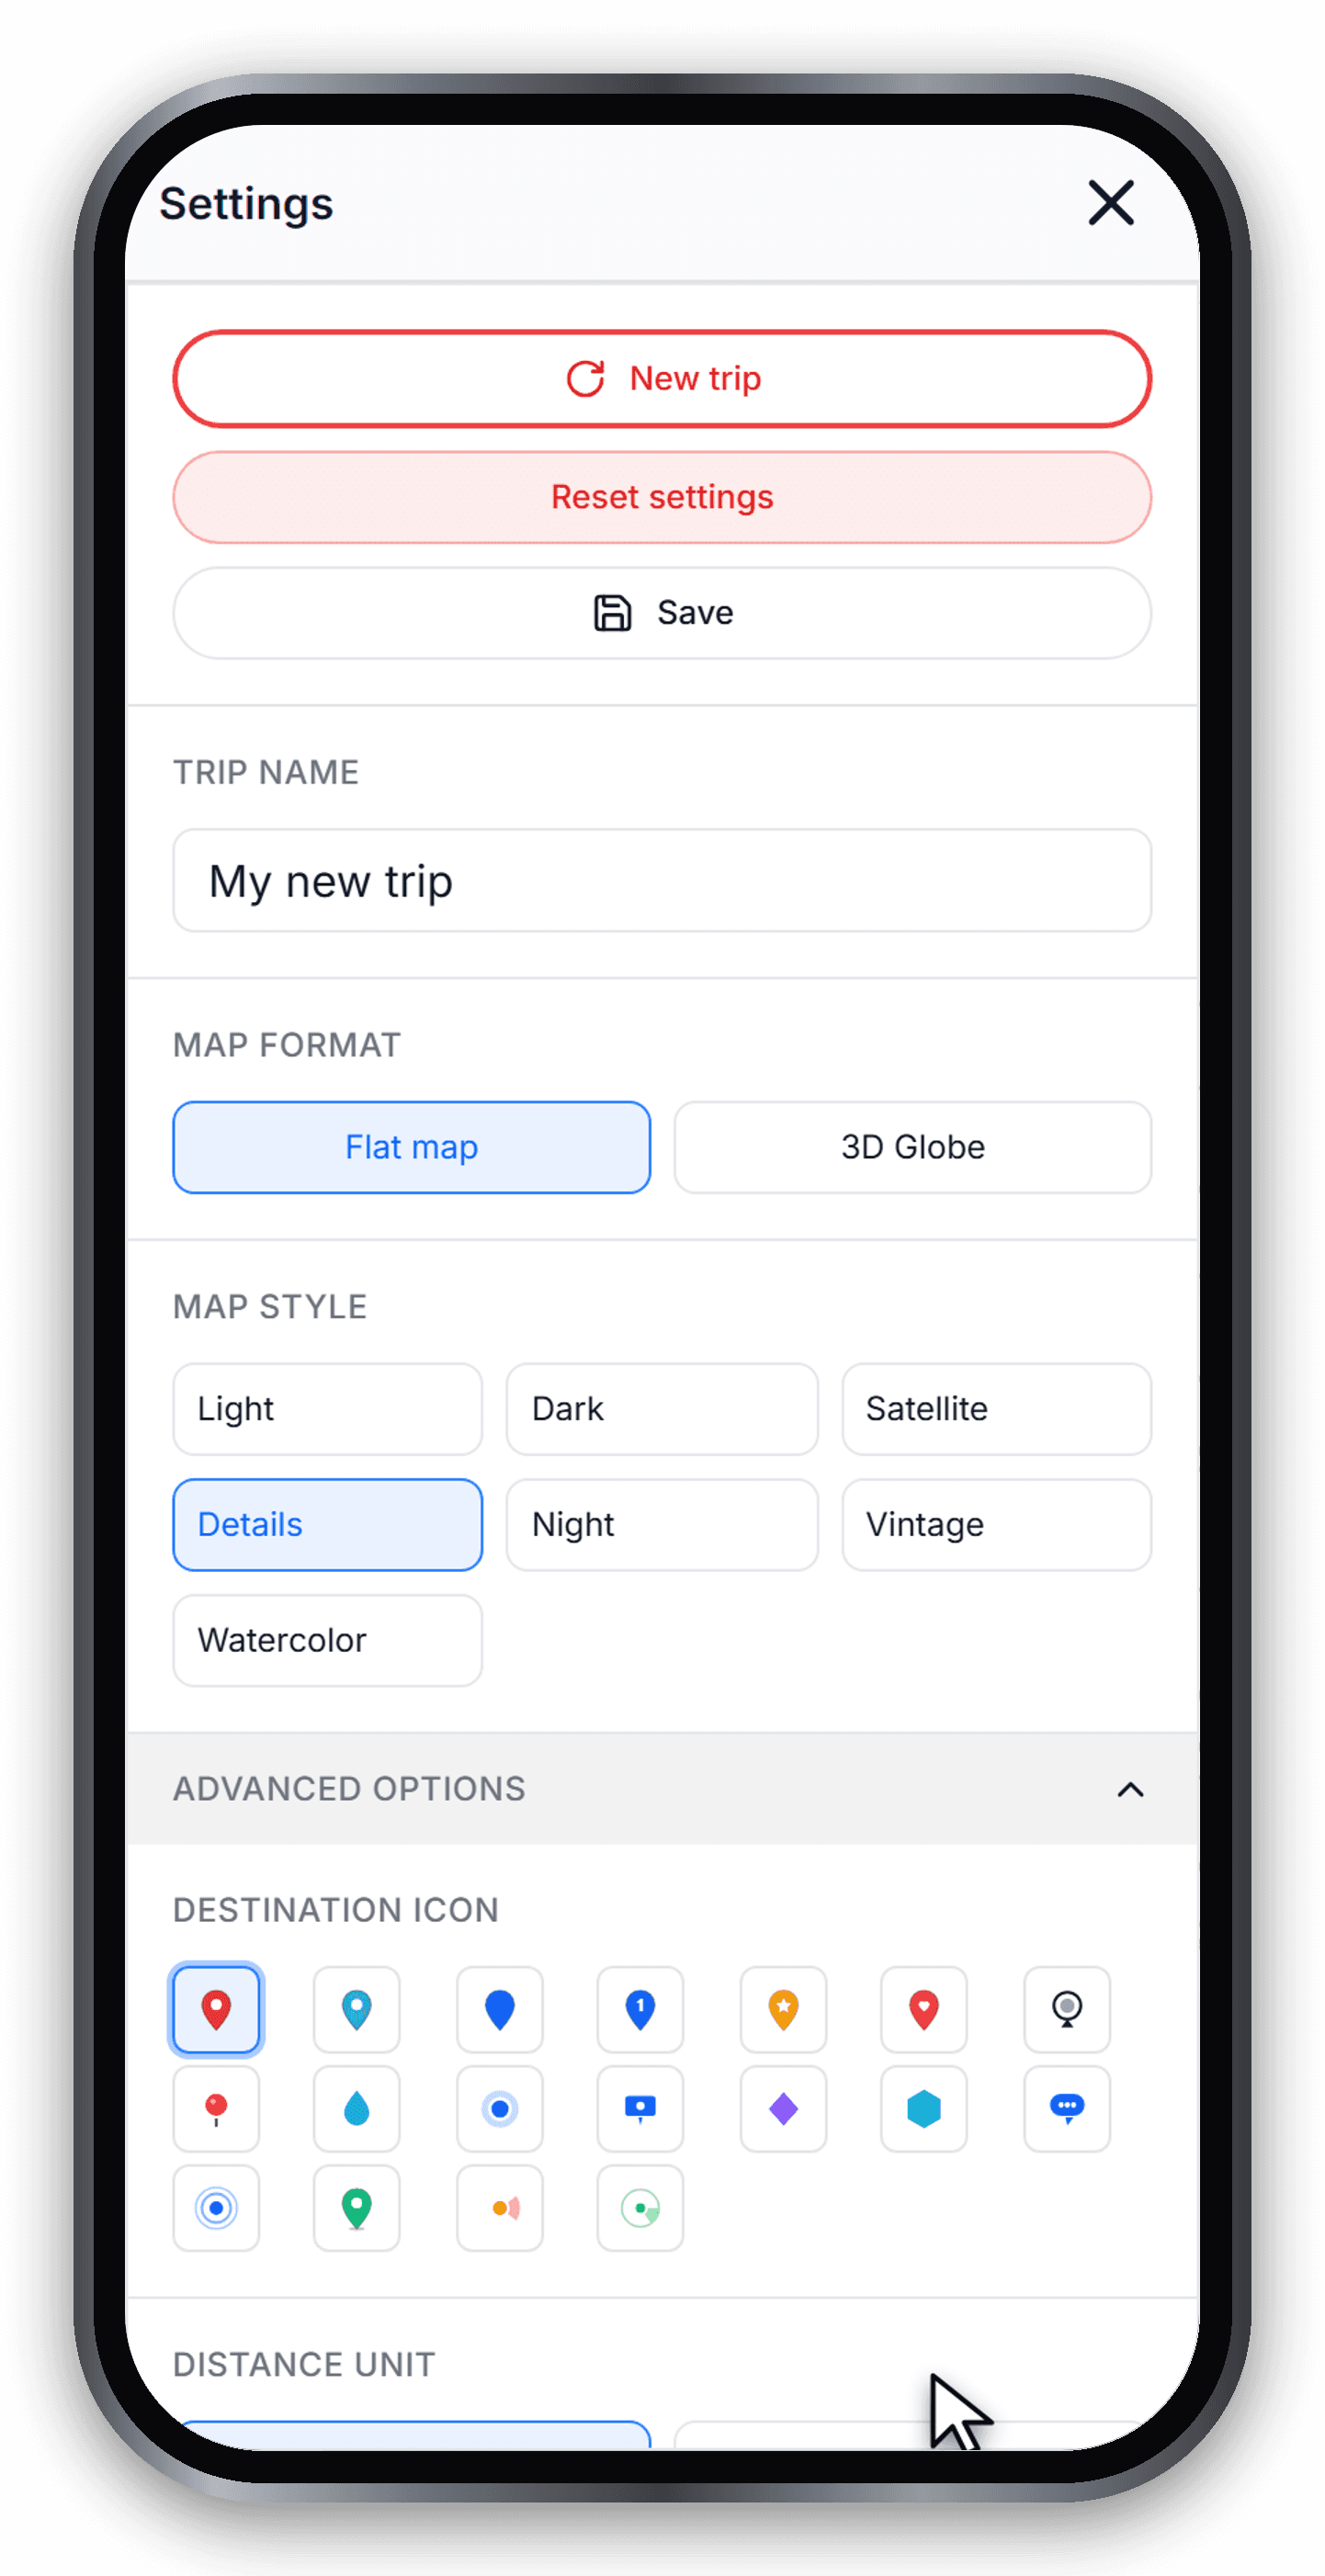
Pick from 18 marker styles
Tap any icon in the grid and every stop on the map switches to it instantly - classic pins, colored pins, dots, rings, flags and more. The default is the red pin.
Control and access: Destination pins
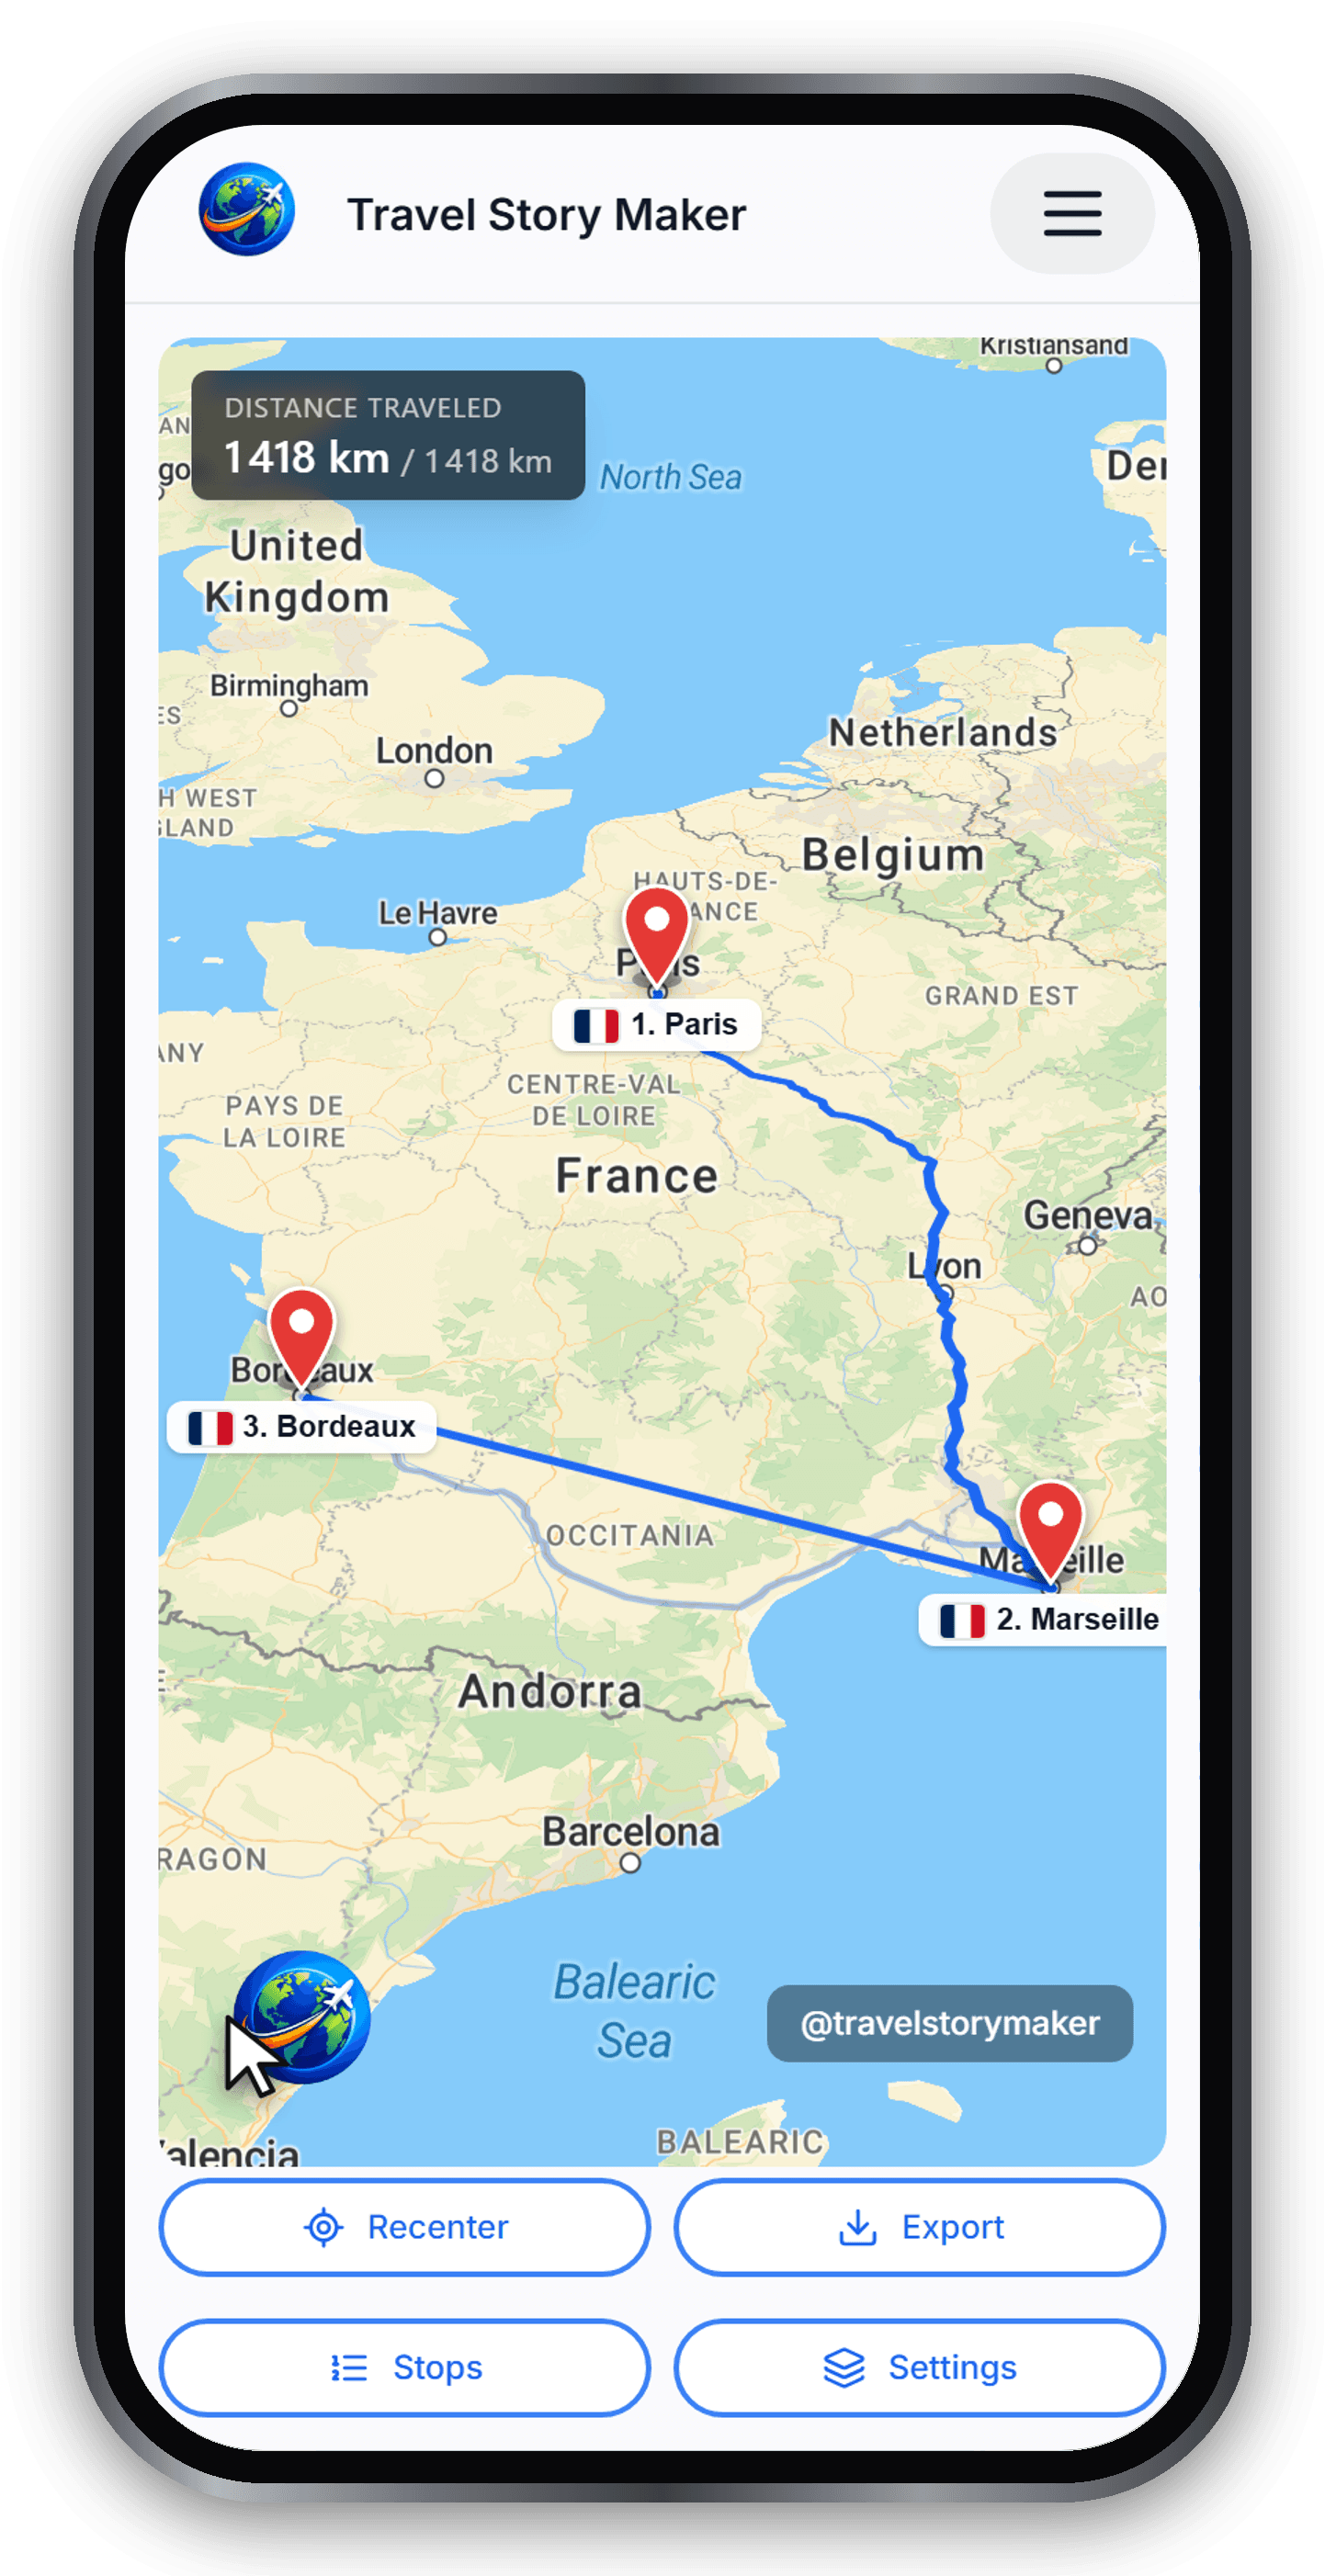
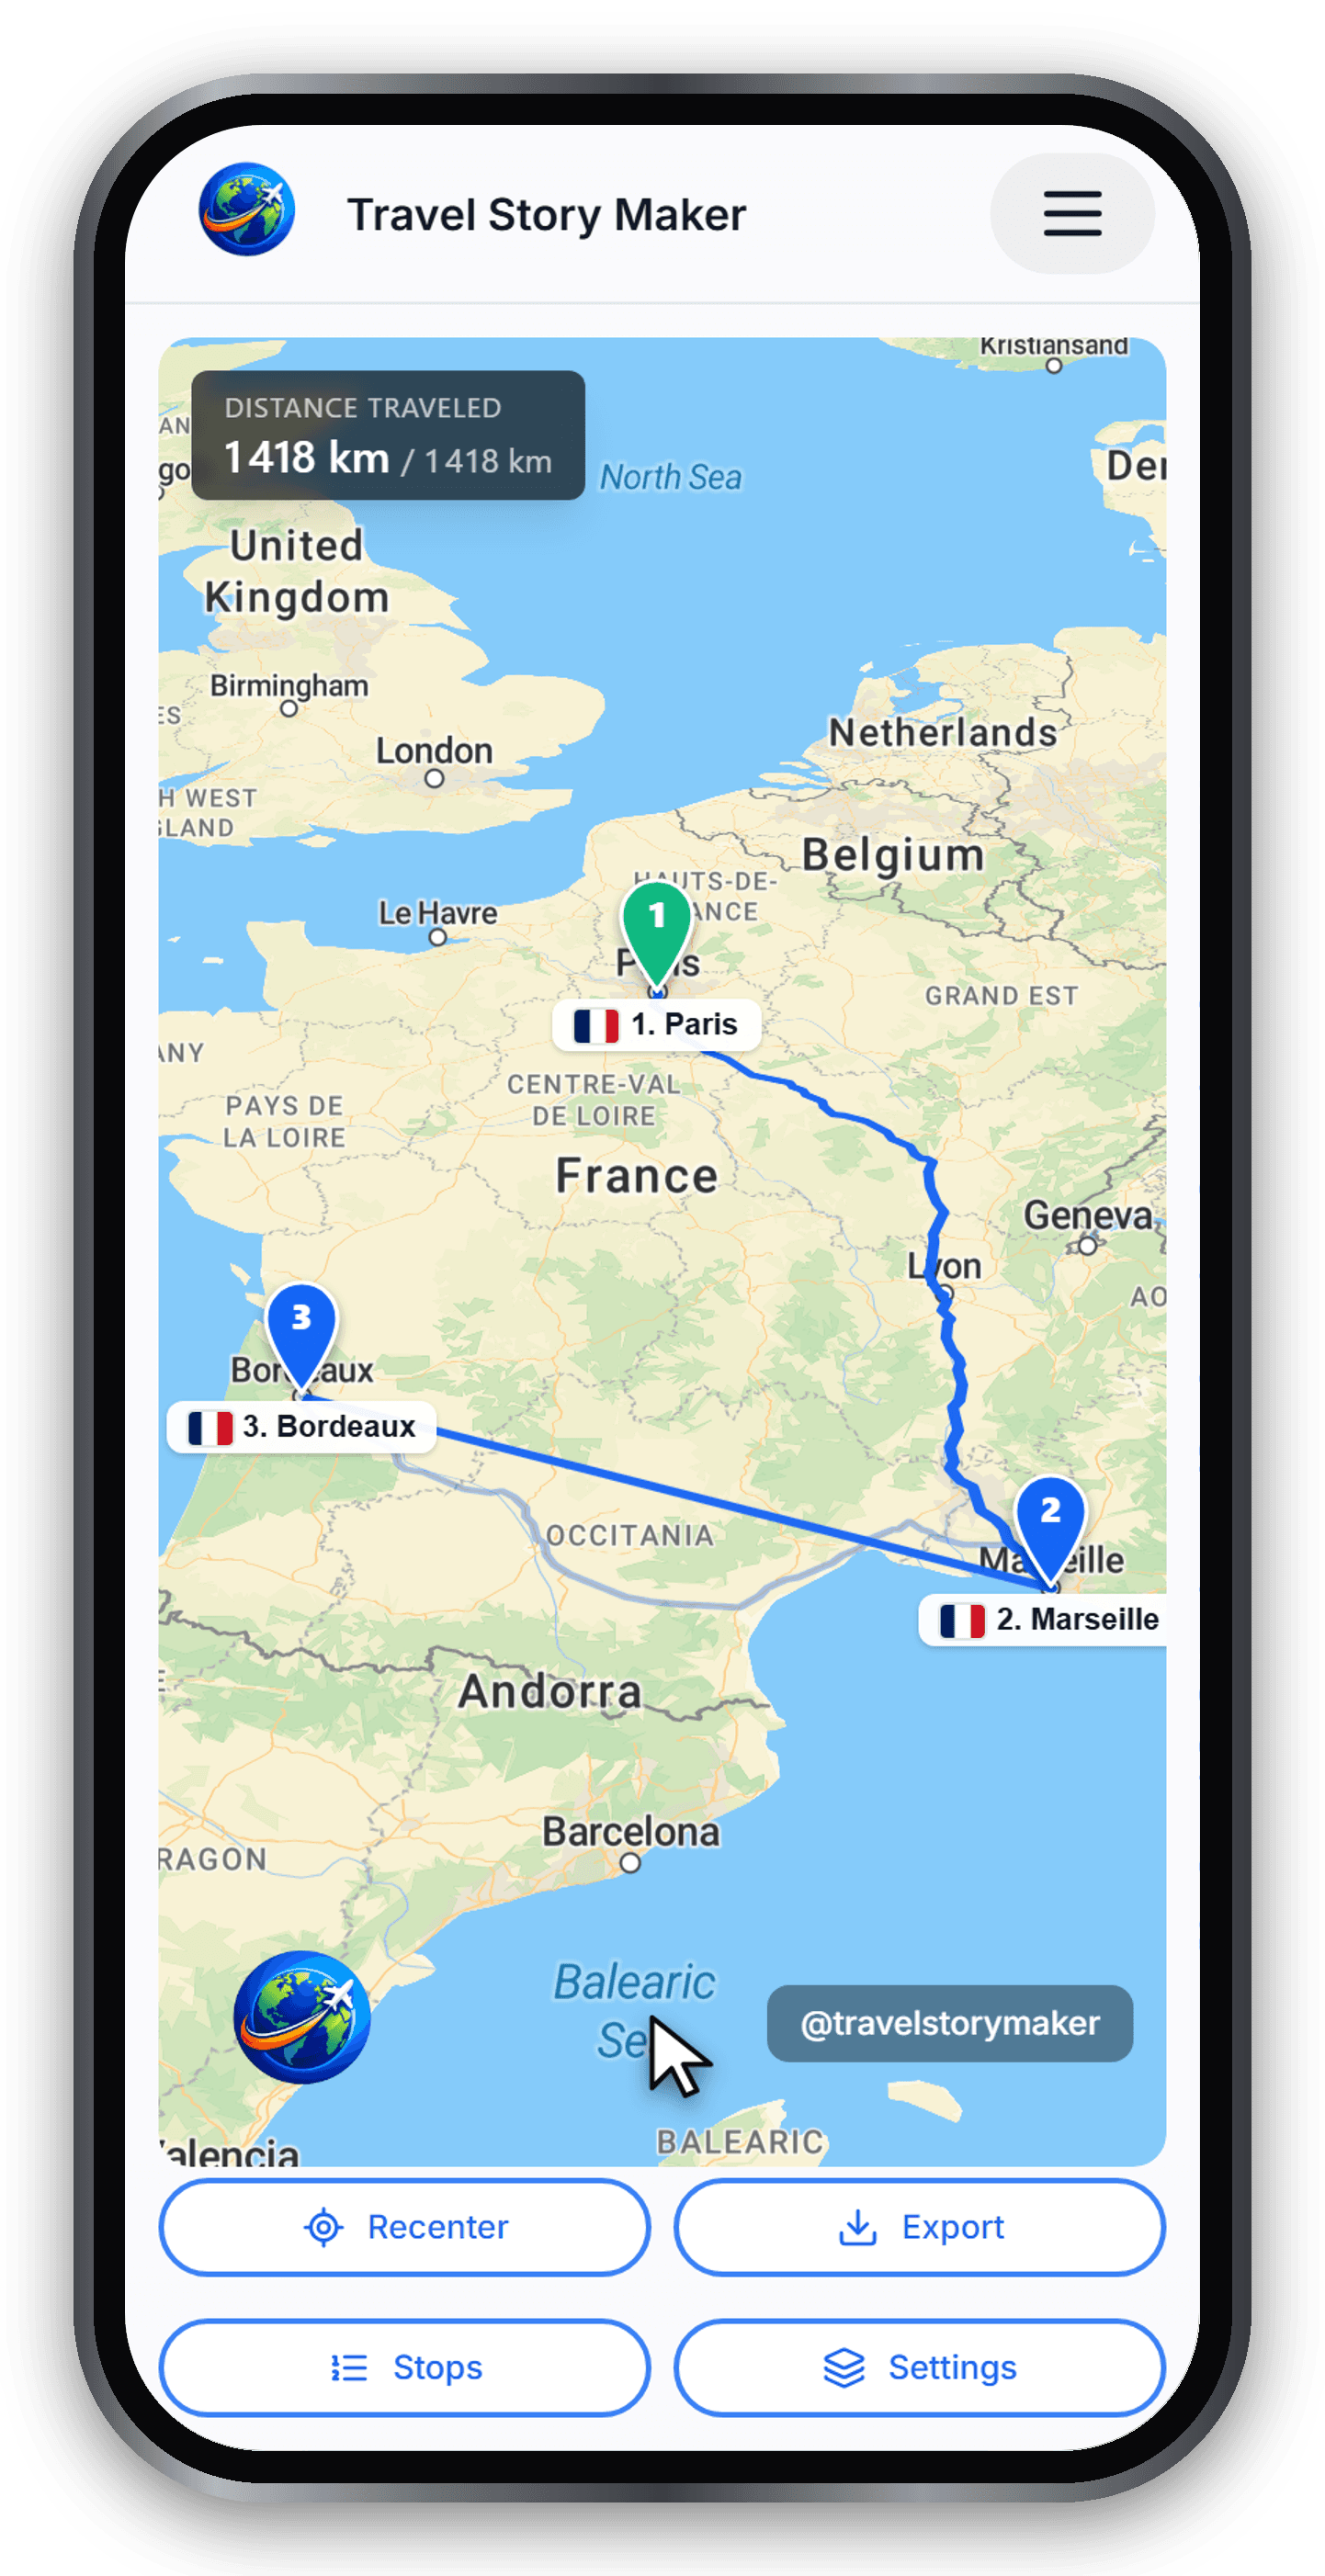
Numbered and themed markers
Some styles place the stop number inside the marker, so the order reads at a glance without the labels. Others use rings or dots that stay discreet on busy maps.
Control and access: Destination pins
Tip: consistency over variety
Pick one destination icon for the whole trip and keep it. Combined with a single vehicle family, a consistent marker style is what makes the animation look polished rather than busy.
Ready to try?
Open the editor and build your first animated travel map in minutes.
Open the editor