
How to actually see the northern lights
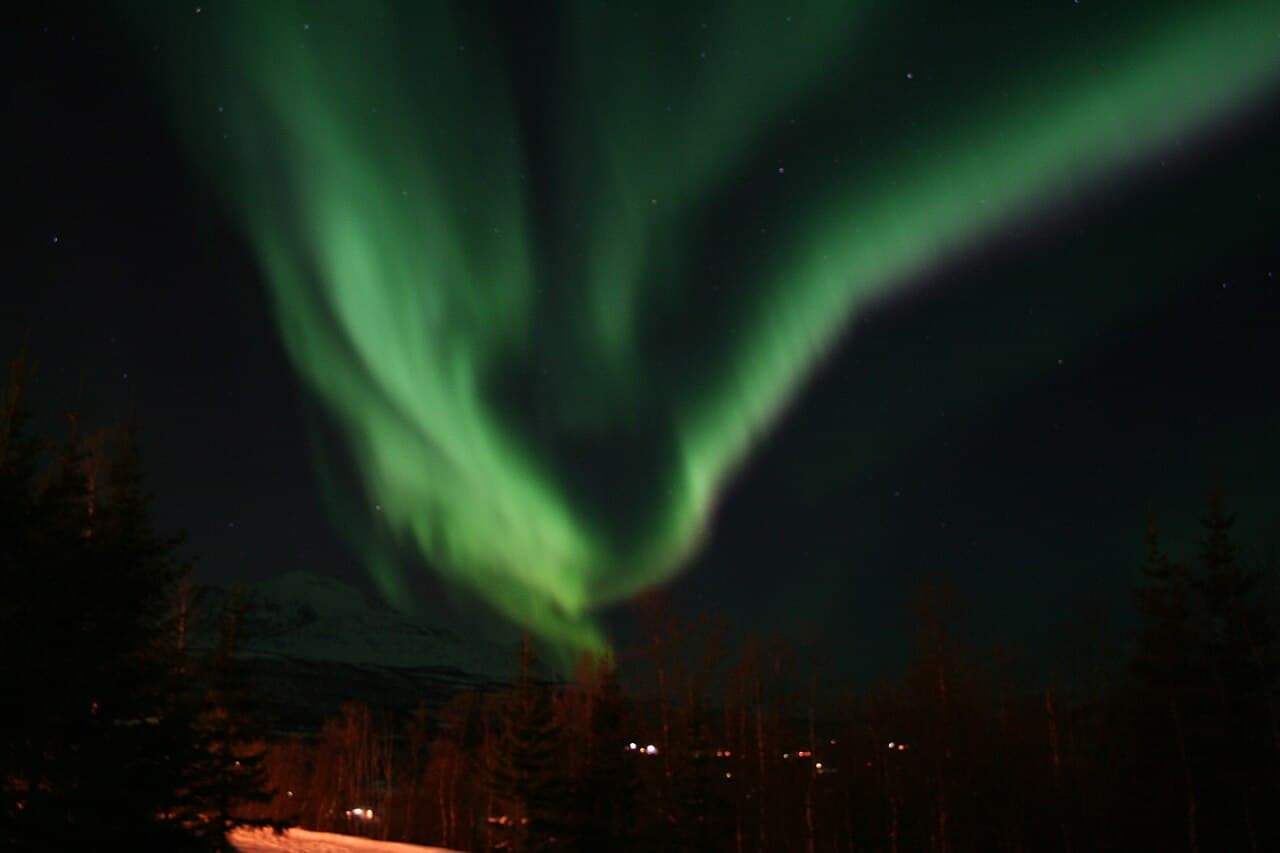
Most people who go looking for the northern lights come home without them, not because aurora is rare but because four unrelated things must align: enough latitude, darkness, clear sky and active solar wind. Three are predictable, so plan around them.
On this page
1. Get inside the auroral oval
Aurora sits in a ring around the geomagnetic pole rather than spreading evenly across the north. Northern Norway, Sweden and Finnish Lapland, Iceland, southern Greenland, the Yukon and Alaska sit under it on active nights.
Aim for somewhere between 65° and 70° north and expect to leave town at night. City light kills faint aurora as effectively as cloud. Going far beyond the oval can be counterproductive because the display moves towards the horizon.
2. Go when it is dark
Above the Arctic Circle the summer sun does not set for weeks. Aurora is still there in July, but invisible. The usable season is roughly late September to late March.
September–October and February–March are sweet spots: long nights without the deepest cold, easier roads, and slightly higher statistical activity around the equinoxes.
3. Weather beats everything
A moderate aurora under a clear sky beats a spectacular one behind cloud. Coastal Norway is beautiful and cloudy; inland Finnish and Swedish Lapland is colder, flatter and drier. Abisko sits in a rain shadow with one of the region’s most reliable clear-sky records.
Allow several nights rather than relying on one. More opportunities can help, but cloud, daylight and solar activity still make sightings uncertain; no stay length guarantees an aurora.
4. Then worry about solar activity
Forecasts use the Kp index, a 0–9 scale of geomagnetic disturbance. Inside the oval you may see aurora at Kp 2; at Kp 5 or more it pushes further south and becomes dramatic.
Short-term forecasts are reliable only about 30–60 minutes ahead. Long-range forecasts beyond three days are close to worthless. Build the trip around latitude, season and cloud statistics; use Kp to decide when to put your boots on.
What it actually looks like
To the naked eye, a moderate aurora is often a pale grey-green arc initially mistaken for cloud. Vivid pinks and purples in photographs come from long exposures gathering light your eyes cannot.
A strong display genuinely moves, folding and rippling across the sky in seconds, and green becomes unmistakable. If you get one, put the camera down for at least five minutes.
Photographing it without an astrophotography course
- A tripod is not optional. Exposures run from 2 to 20 seconds.
- Start with manual mode, a wide aperture around f/2.8, ISO 1600–3200 and a 5–10 second shutter. Shorten it if the aurora moves quickly.
- Focus manually on a distant light or bright star, then tape the focus ring.
- Batteries die at minus twenty. Keep two spares in an inside pocket and rotate them.
- Modern phones work surprisingly well in night mode when propped against something solid.
Staying comfortable enough to stay out
Most people miss the aurora because they go back inside. Standing still at minus twenty is different from walking, and the display often arrives after two hours of nothing.
Prioritise insulated boots with room for warm socks, a hat covering the ears, mittens rather than gloves, hand warmers and a flask. Take an accommodation wake-up call if offered; the best displays are often between 10pm and 2am, sometimes at four.
A realistic plan
A practical template is five nights in inland Lapland or Abisko in late February or early March, with a rental car or hotel offering nightly chase tours. Fill the days with activities you would enjoy anyway so the trip is not a failure if the sky closes.
Check the short-range forecast around 8pm and be ready to leave at short notice. The odds will be good, never certain - but one clear, active night can justify the other four.
Sources and useful links
Consult these organizations’ current information and conditions. These links do not validate every statement in this guide; schedules, prices and guidance can change.
Animate your itinerary
Once the logistics are sorted, turn the trip into a share-ready animated map.
Open the editor